Show Us YOUR Work Thread - Tilers Pictures

Edit May 2024: THIS is a New Show Us Your Work Thread for 2024 Onwards

This is the new Tilers Showcase Forum where we want new tiling work added, with each tiling job you complete having a thread of its own so people can see what kind of work you do, and potential customers can find your work


I thought it was about time we had a thread dedicated to all members of Tilers forums to show us any work that they do.

Be it from installing a kitchen to garden decking. Show us your work! Get those pictures taken, but then do something with them! Actually add them to a thread and some facebook groups with your website link in them etc and it'll help spread the tile love. 🙂

If you have done a job then please do share it with us.

Pics are a MUST as what is the point of sharing a job without them..:smilewinkgrin:.

So if you do a job and you take a few pics then please do share it with us.

Lets make it a big thread for all to view and input in.

Thanks Dave ..:thumbsup::thumbsup:
 
Last edited by a moderator:
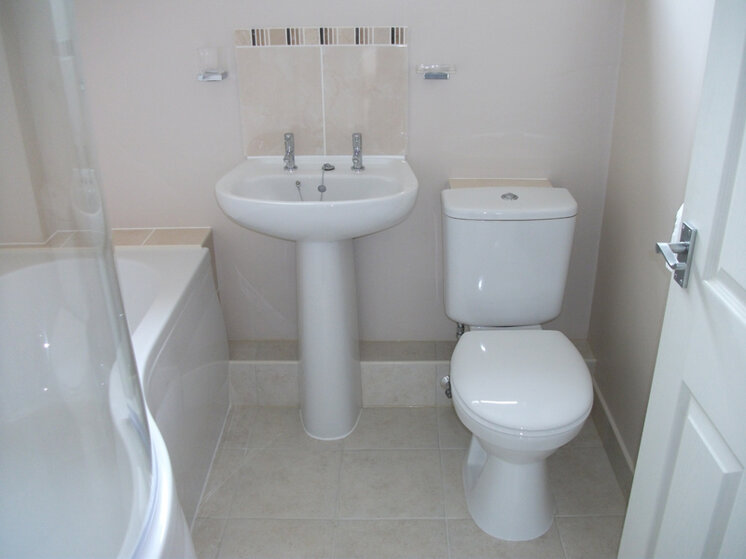
WOW! the quality of the work from you guys is amazing, something I can only dream of aspiring to.:thumbsup:
 
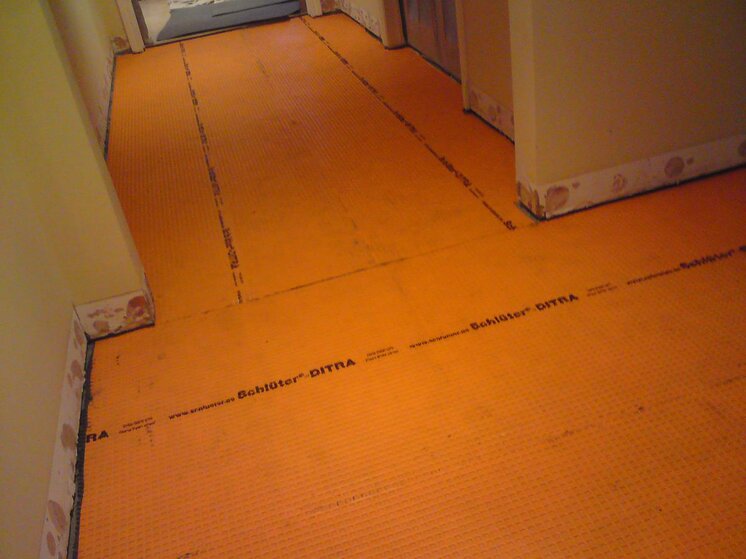
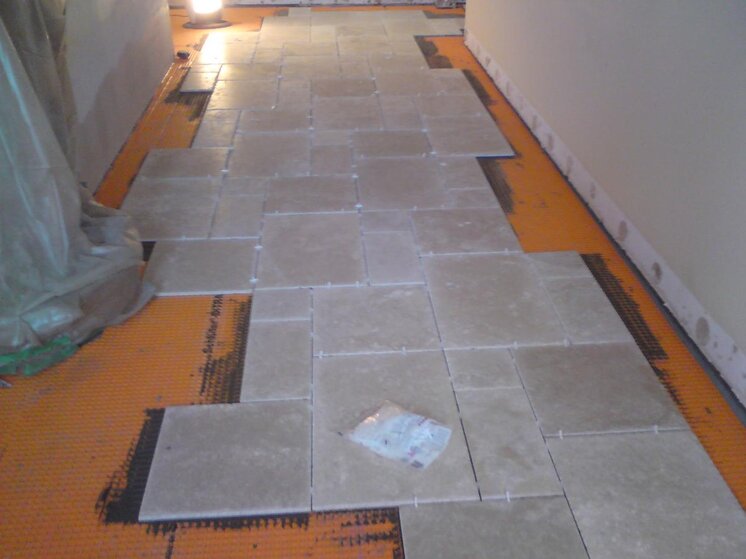
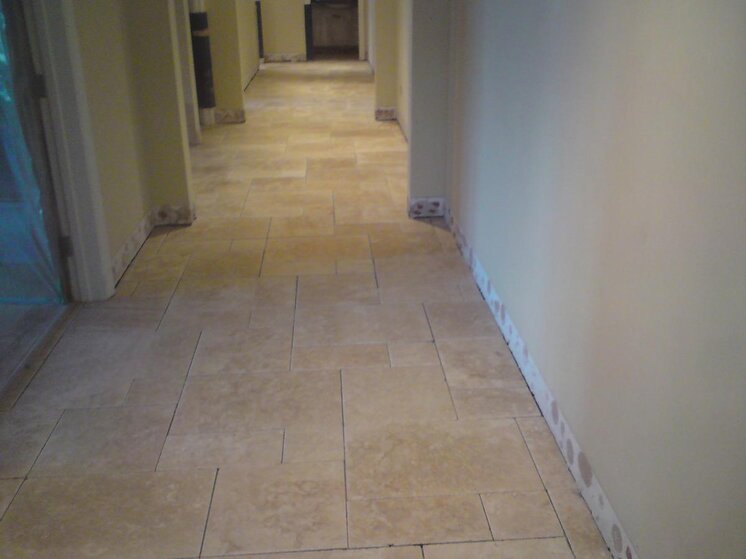
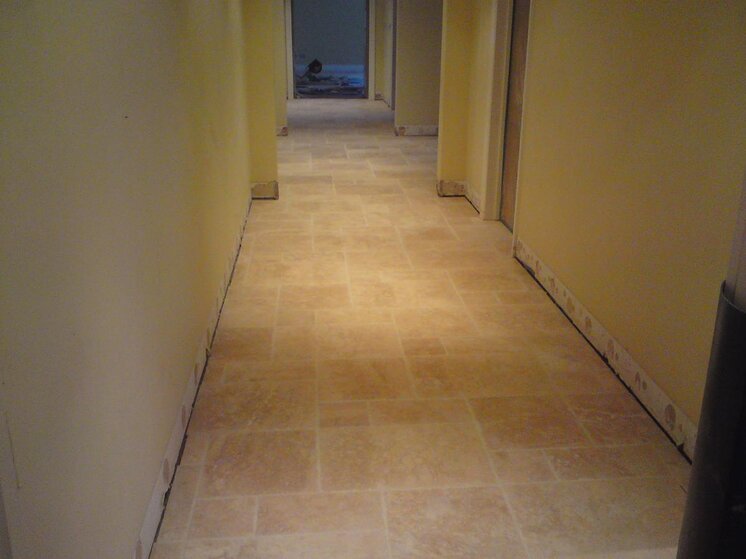
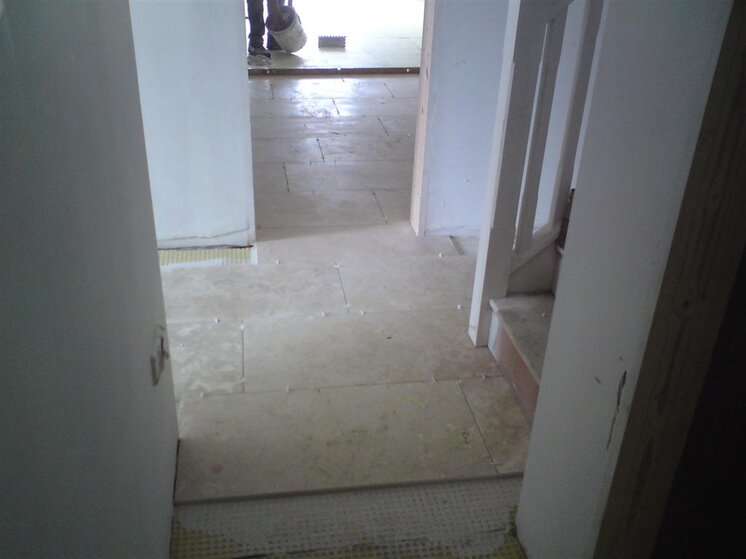
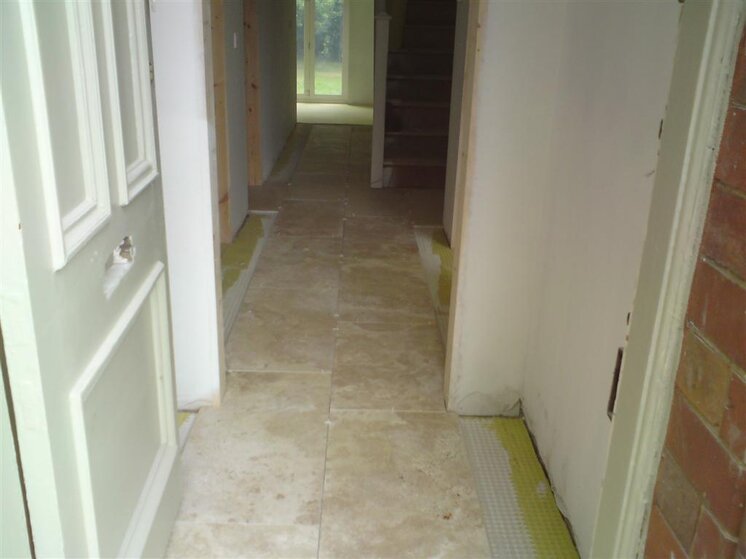
Hi all, i mnew on here. I thought I would share some pictures of a job I finished in the last few days. Lee

DDDDDDDDDD141.jpg

DDDDDDDDDD146.jpg

DDDDDDDDDD147.jpg

DDDDDDDDDD153.jpg

sdv003.jpg
 
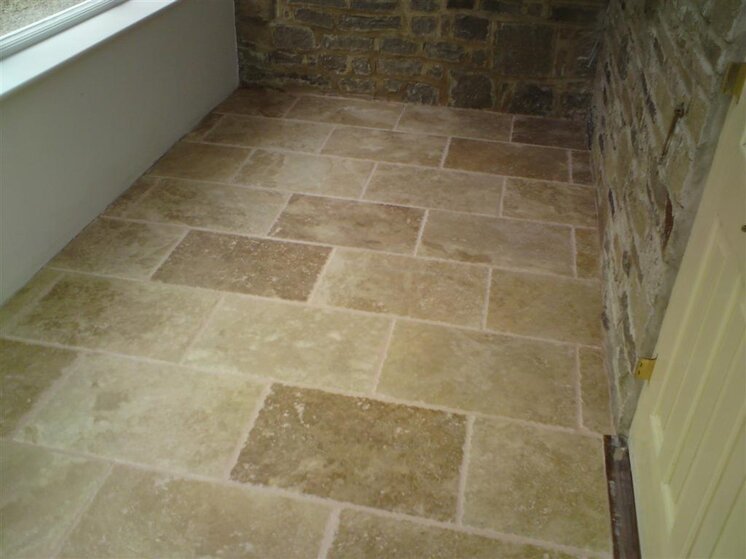
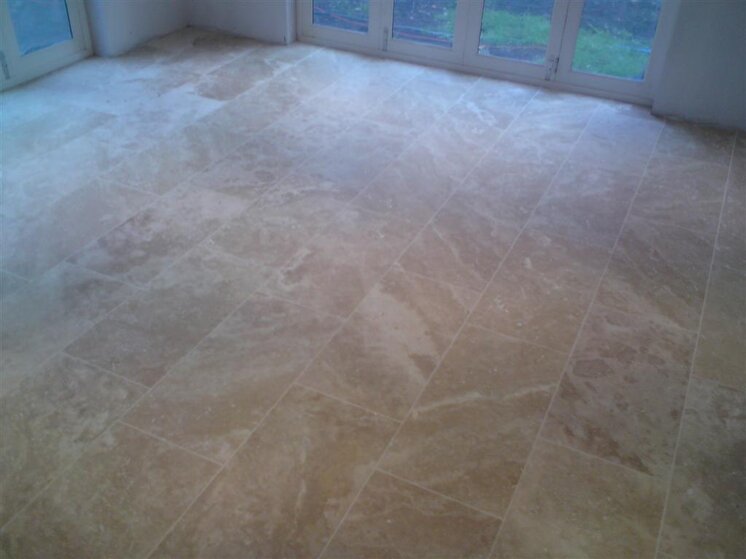
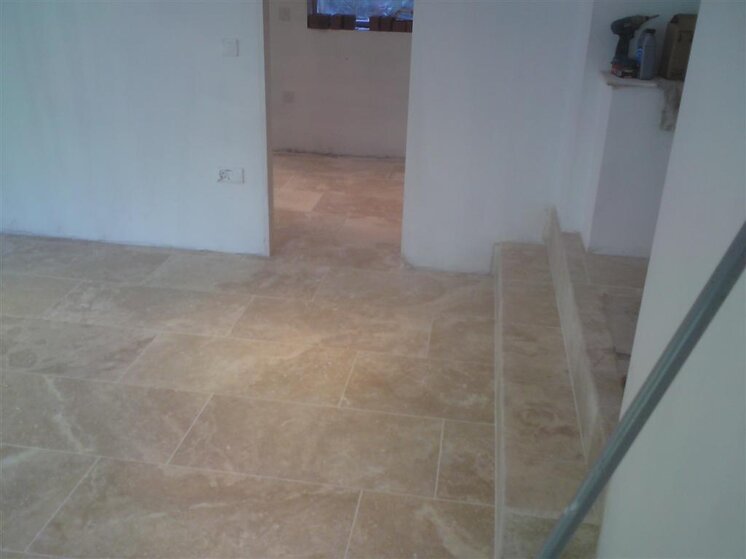
And a recent barn conversion we done.

DDDDDDDDDD103.jpg

DDDDDDDDDD104.jpg

DDDDDDDDDD111.jpg

DDDDDDDDDD118.jpg


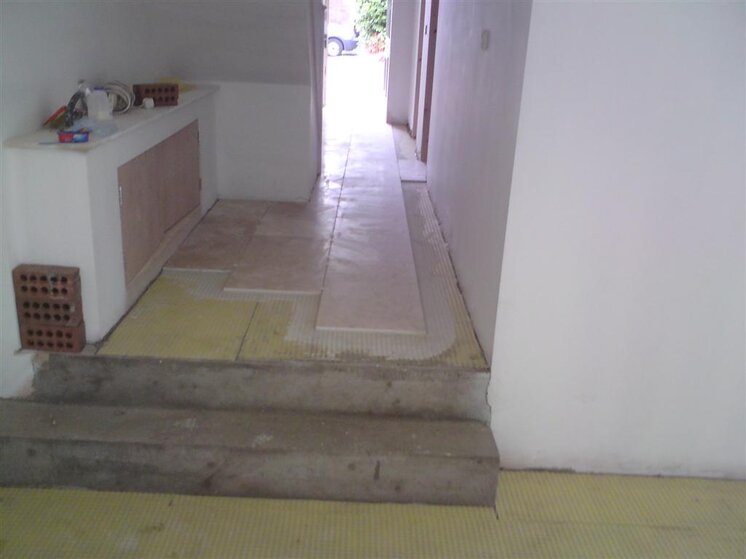
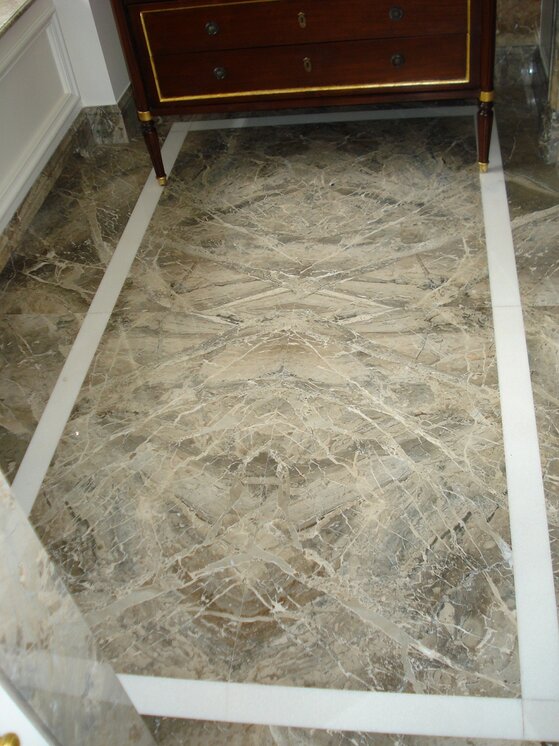
This project was undertaken in 3 weeks. Using Mandarin Stones Ecru Marble, Laid in Roman Opus Format. Final project was 150 sq m, the whole ground floor was tiled.
 
Is that tile on tile Lee?:smilewinkgrin:

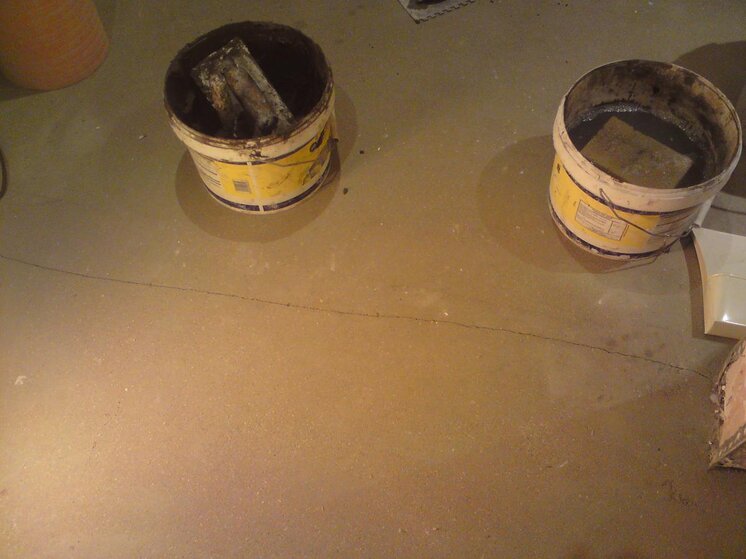
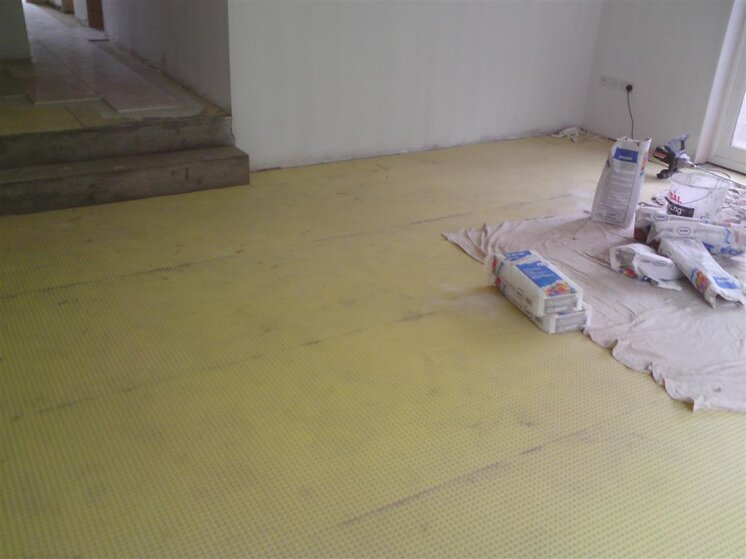
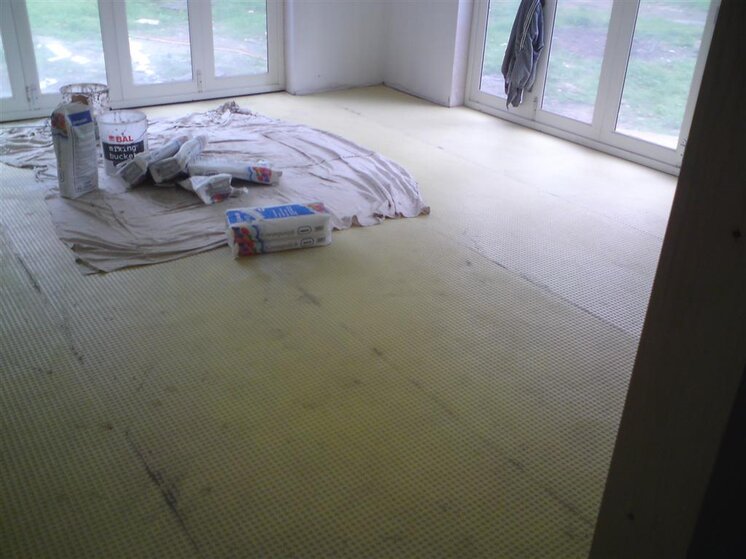
BAL Self Leveller was used 1st, to about 3mm.

Original floor wasnt too out of level, but best to be safe, especially as the complete floor is on show, no plinths etc. So had to be a perfectly flat finish.
 
Cheers Lee, was there a reason why the old tiles couldn't be lifted?:thumbsup:

No not really. But there was no need. The previous Tiler had stuck them down so well that it was decided they would be left. You can see from the photos that the Kitchen extension was built 3 inches lower than the next adjoining room, so height was not an obstacle we had to be concerned about.
 
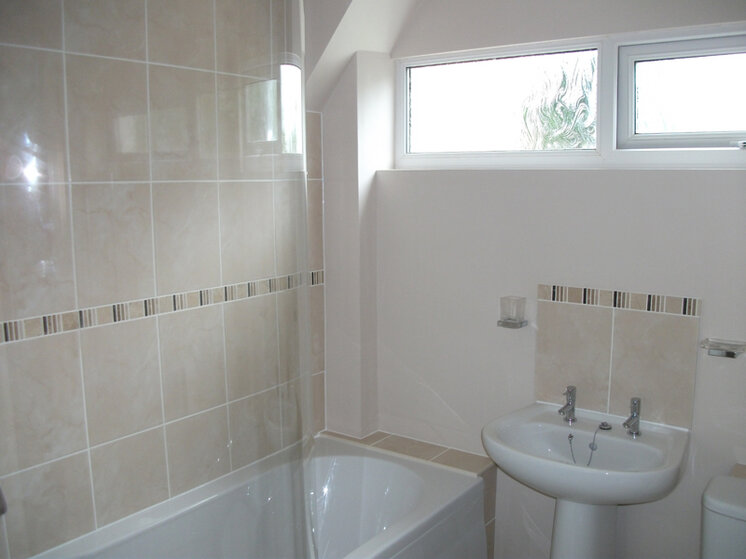
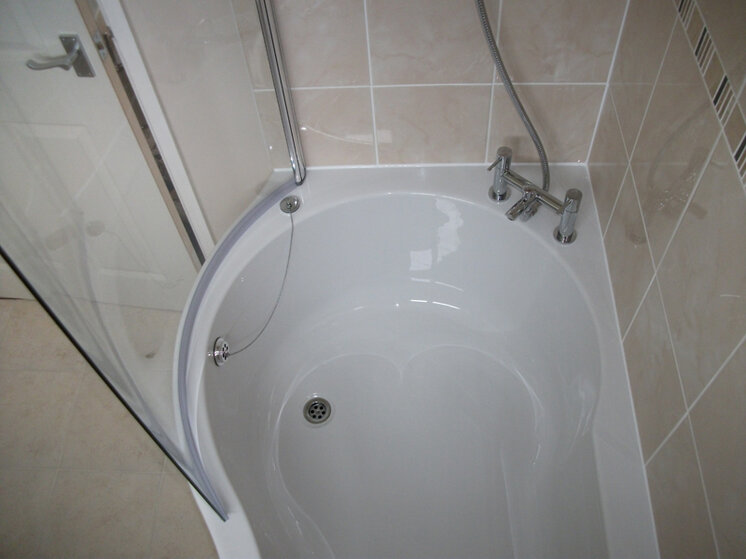
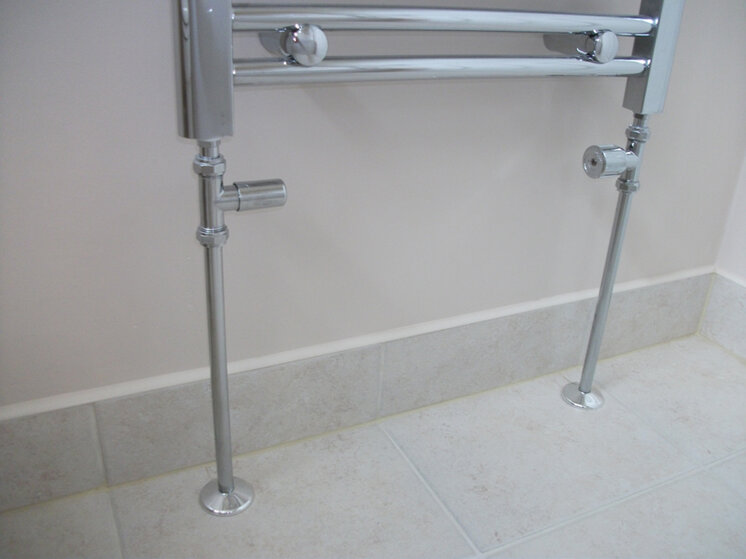
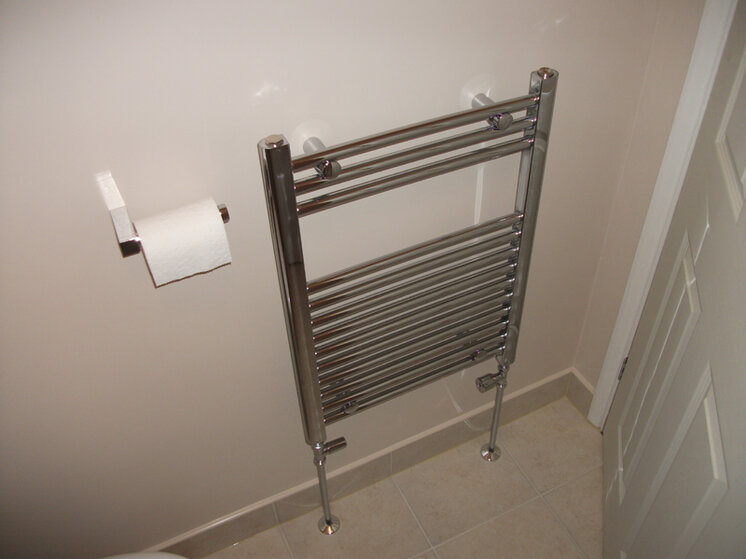
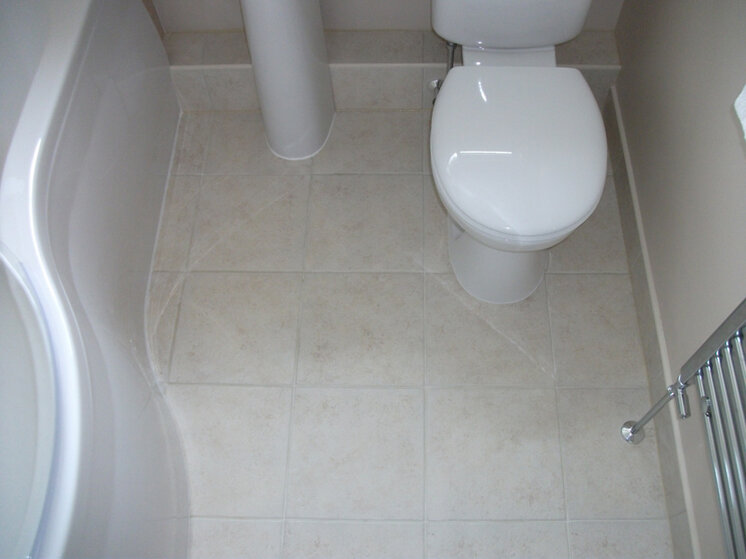
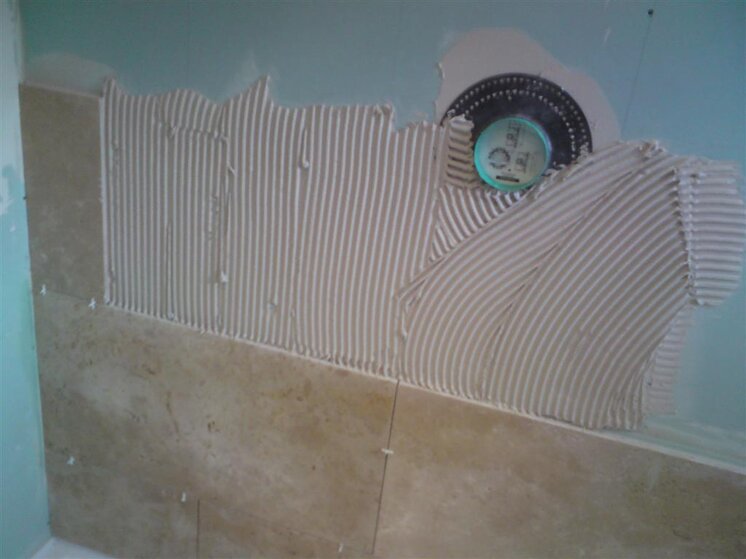
My first full bathroom refit - basic compared to most of the stunning work on here but a big deal for me. I've done everything but the skimming and 1st fix plumbing.

Used bal tanking and single part flexible on walls and hardie board and single part fast flex on floor.

Be interested in your comments.
 

Attachments

  • DSCF1480.jpg
    DSCF1480.jpg
    202.3 KB · Views: 296
  • DSCF1481.jpg
    DSCF1481.jpg
    194 KB · Views: 288
  • DSCF1483.jpg
    DSCF1483.jpg
    211.5 KB · Views: 285
  • DSCF1484.jpg
    DSCF1484.jpg
    221 KB · Views: 275
  • DSCF1491.jpg
    DSCF1491.jpg
    214.6 KB · Views: 277
  • DSCF1508.jpg
    DSCF1508.jpg
    205 KB · Views: 253
  • DSCF1507.jpg
    DSCF1507.jpg
    299.4 KB · Views: 254
  • DSCF1506.jpg
    DSCF1506.jpg
    225 KB · Views: 268
  • DSCF1494.jpg
    DSCF1494.jpg
    205.4 KB · Views: 278
Last edited by a moderator:
This is an NHBC job, I'm the third person to replace these tiles, so it's getting done right with silicon expansion gaps and ditra matting as shown in the pics. Tiles are tumbled edge filled Trav in a 3 element pattern (forgot the name of it).Originally fitted directly to the screed with no expansion gaps or decoupling matting:yikes:
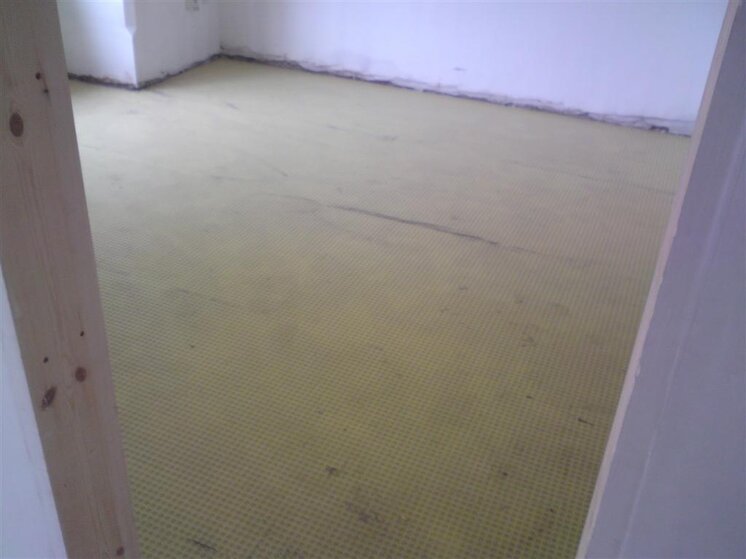
DSC00884.jpg DSC00882.jpg DSC00885.jpg DSC00888.jpg DSC00893.jpg
 
Last edited:
600x600 on wall

this project is done with a chinese copy of Luminar (Graniti Fiandre)
 

Attachments

  • IMG166.jpg
    IMG166.jpg
    63.6 KB · Views: 236

Attachments

  • Dark chipped edge travertine (1).JPG
    Dark chipped edge travertine (1).JPG
    74.9 KB · Views: 168
  • Dark chipped edge travertine (2).JPG
    Dark chipped edge travertine (2).JPG
    86.1 KB · Views: 156
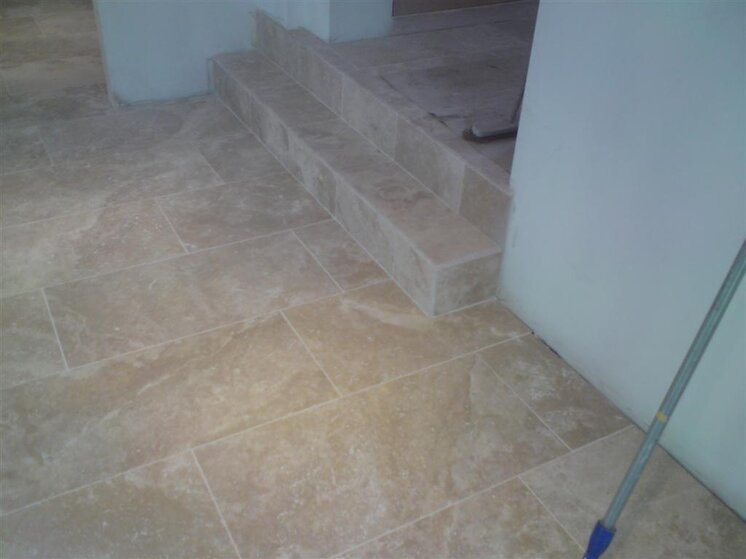
Just started a large job with Moccha brushed travertine 920x460 square edge and unfilled.
Supplied direct to the customer again from Perfect Home and garden stone products suppliers.

First process was to clean and prime the floor and then lay Dural Ci throughout the ground floor, which totals 170 sqr mtrs.

The property has piped heating which is ground source supplied and will be supplemented with solar panels and a log burning range cooker for running costs.

So we set from the hallway as requested and then this works into the rooms leading from that.

I also have 3 bathrooms to do in the same stone..

So i will add pics as i progress with the job..

So here's some pics of the job so far.
 

Attachments

  • Moccha travertine job007.JPG
    Moccha travertine job007.JPG
    50.3 KB · Views: 247
  • Moccha travertine job004.JPG
    Moccha travertine job004.JPG
    45.8 KB · Views: 253
  • Moccha travertine job005.JPG
    Moccha travertine job005.JPG
    94.5 KB · Views: 265
  • Moccha travertine job008.JPG
    Moccha travertine job008.JPG
    64.5 KB · Views: 260
  • Moccha travertine job009.JPG
    Moccha travertine job009.JPG
    88.1 KB · Views: 261
  • Moccha travertine job003.JPG
    Moccha travertine job003.JPG
    55.6 KB · Views: 256
  • Moccha travertine job002.JPG
    Moccha travertine job002.JPG
    57.3 KB · Views: 249
  • Moccha travertine job001.JPG
    Moccha travertine job001.JPG
    62.6 KB · Views: 265
  • Moccha travertine job006.JPG
    Moccha travertine job006.JPG
    56.1 KB · Views: 245
Sorry forgot to add.. yes it is random bond.. this is to create that none uniform look..

I get these jobs from my website and recommendations from Perfect Home and garden..:thumbsup:

Total mtrge for this one is 220 mtrs including the bathrooms.
 
Just an update on the tiling with the moccha travertine..

Some pics of the living area and some steps leading into the hallway with bullnosed edges.
And some pics of it getting some sealer applied.. ( Aqua-mix sealer's choice gold)

And the upstairs bathroom i started and is now complete , will get more pics this weekend..

The kitchen is going in , so stopped me getting pics of th at area as the floor is covered up at present..

So more pics to follow as i progress..
 

Attachments

  • scooby doo 027.jpg
    scooby doo 027.jpg
    59.1 KB · Views: 256
  • scooby doo 029.jpg
    scooby doo 029.jpg
    58.6 KB · Views: 253
  • scooby doo 026.jpg
    scooby doo 026.jpg
    43.9 KB · Views: 251
  • scooby doo 025.jpg
    scooby doo 025.jpg
    51.9 KB · Views: 254
  • scooby doo 024.jpg
    scooby doo 024.jpg
    56.8 KB · Views: 270
  • scooby doo 028.jpg
    scooby doo 028.jpg
    66.2 KB · Views: 242
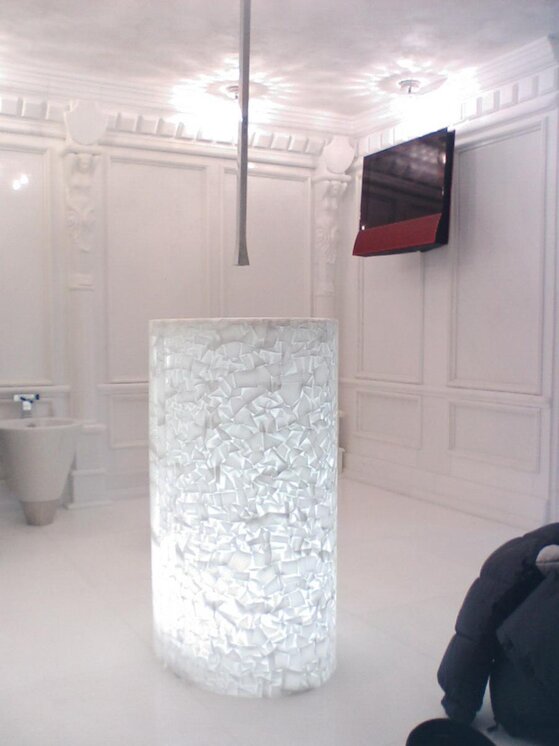
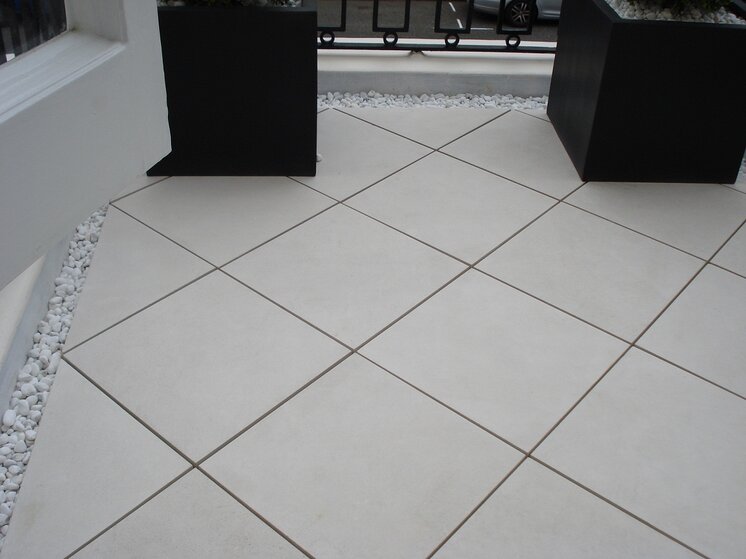
Just snagging the last bits of this job in Central London, heres a few pics... I included my little balcony, because I wanted this to be kept plain and simple. I think the next contract I do will be following this trend, no more fussy patterns, obscure busy marbles and onyxs..less is more.

Pebbs
 

Attachments

  • Belgravia 003.jpg
    Belgravia 003.jpg
    402.6 KB · Views: 248
  • Belgravia 004.jpg
    Belgravia 004.jpg
    337 KB · Views: 247
  • Belgravia 005.jpg
    Belgravia 005.jpg
    416.1 KB · Views: 240
  • Belgravia 006.jpg
    Belgravia 006.jpg
    519.2 KB · Views: 242
  • Belgravia 002.jpg
    Belgravia 002.jpg
    230.3 KB · Views: 240
Look forward to it..

My job above.. the customer is going to mail me some fully finished pics.. all sanitary ware in etc.. so even i look forward to those..:lol:
 
I would have got more but all the floors are coverd in cardboard to stop the other trades from scratching it..


Not that that stopped the ground heat source comp from setting a compressor away on one floor with nothing underneath for protection to the tiles..:mad2::mad2:

I kind of was not happy..:smilewinkgrin: but they are all buffed out now..
 
dsc00245qg.jpg
So, here's a job I just finished.

Floor - 6mm Hardibacker onto solid floorboards with TOPPS rapiset felxible adhesive underneath and "tons" of screws....

Wall, mostly tile over existing tile.
At shower area used 12mm Hardibacker as stud-wall was pulled down to install showerpipes.

Used Palace Flexible bagged adhesive from Topps.
Quite expensive, but mised well and went up great.

Built bath panel out of 6mm Hardibacker, with a removable section as client was concerned about pipe access.

Nice "feature" section of stone mosaic behind the taps, a real classy bathroom.

Hope you like it and its up to spec?!:thumbsup:
dsc00249jf.jpg
 

Advertisement

Thread Information

Title
Show Us YOUR Work Thread - Tilers Pictures
Prefix
N/A
Forum
Tiling Work Showcase Forum
Start date
Last reply date
Replies
3K

Advertisement

Tilers Forums Official Sponsors

UK Tiling Forum; UK

Thread statistics

Created
Dave,
Last reply from
Old Mod,
Replies
2,513
Views
524,903

Thread statistics

Created
Dave,
Last reply from
Old Mod,
Replies
2,513
Views
524,903
Back