Currently reading:
Show Us YOUR Work Thread - Tilers Pictures

Discuss Show Us YOUR Work Thread - Tilers Pictures in the Tiling Work Showcase Forum area at TilersForums.com.

Status
Not open for further replies.
Edit May 2024: THIS is a New Show Us Your Work Thread for 2024 Onwards

This is the new Tilers Showcase Forum where we want new tiling work added, with each tiling job you complete having a thread of its own so people can see what kind of work you do, and potential customers can find your work


I thought it was about time we had a thread dedicated to all members of Tilers forums to show us any work that they do.

Be it from installing a kitchen to garden decking. Show us your work! Get those pictures taken, but then do something with them! Actually add them to a thread and some facebook groups with your website link in them etc and it'll help spread the tile love. :)

If you have done a job then please do share it with us.

Pics are a MUST as what is the point of sharing a job without them..:smilewinkgrin:.

So if you do a job and you take a few pics then please do share it with us.

Lets make it a big thread for all to view and input in.

Thanks Dave ..:thumbsup::thumbsup:
 
Last edited by a moderator:
D

DHTiling

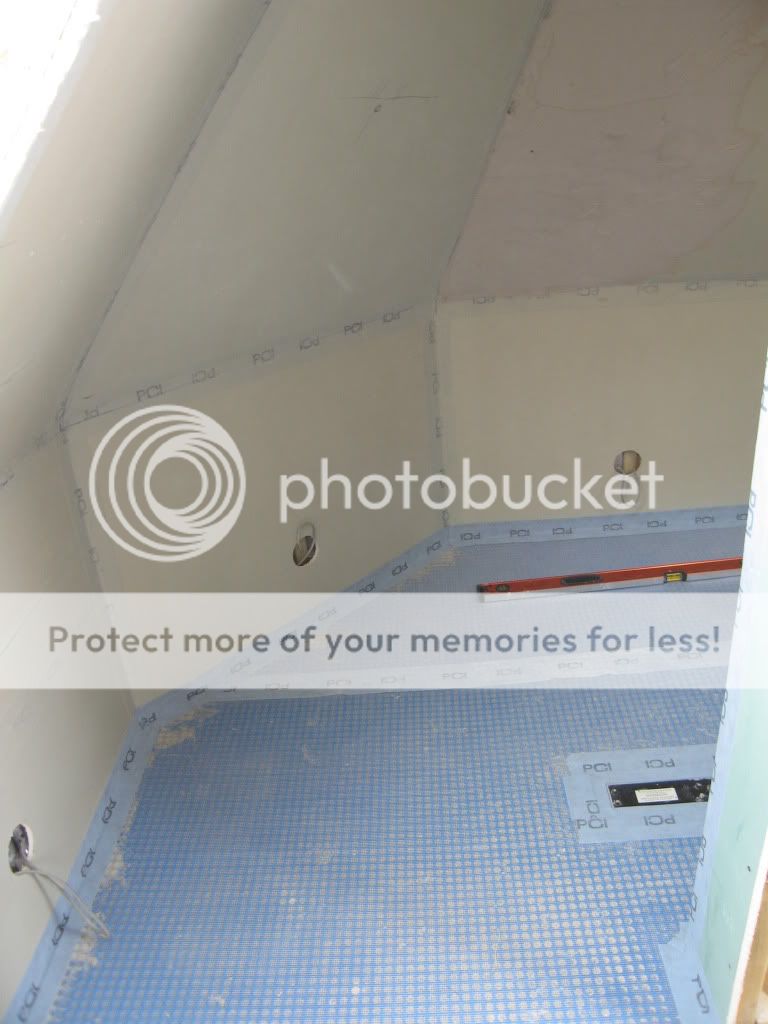
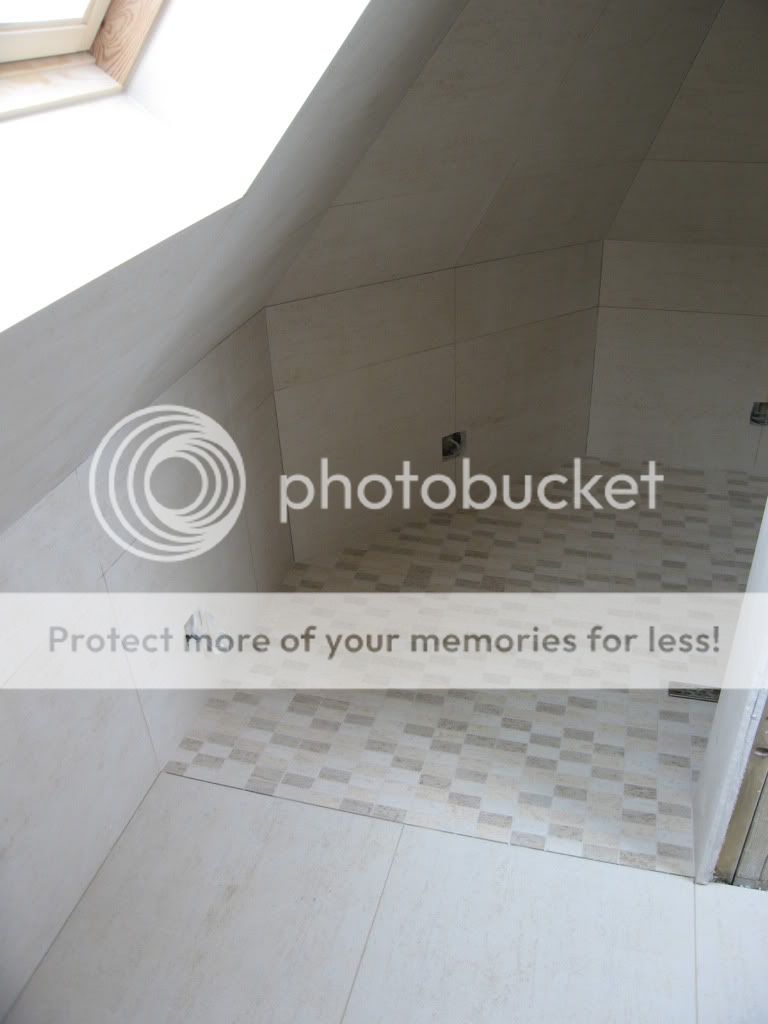
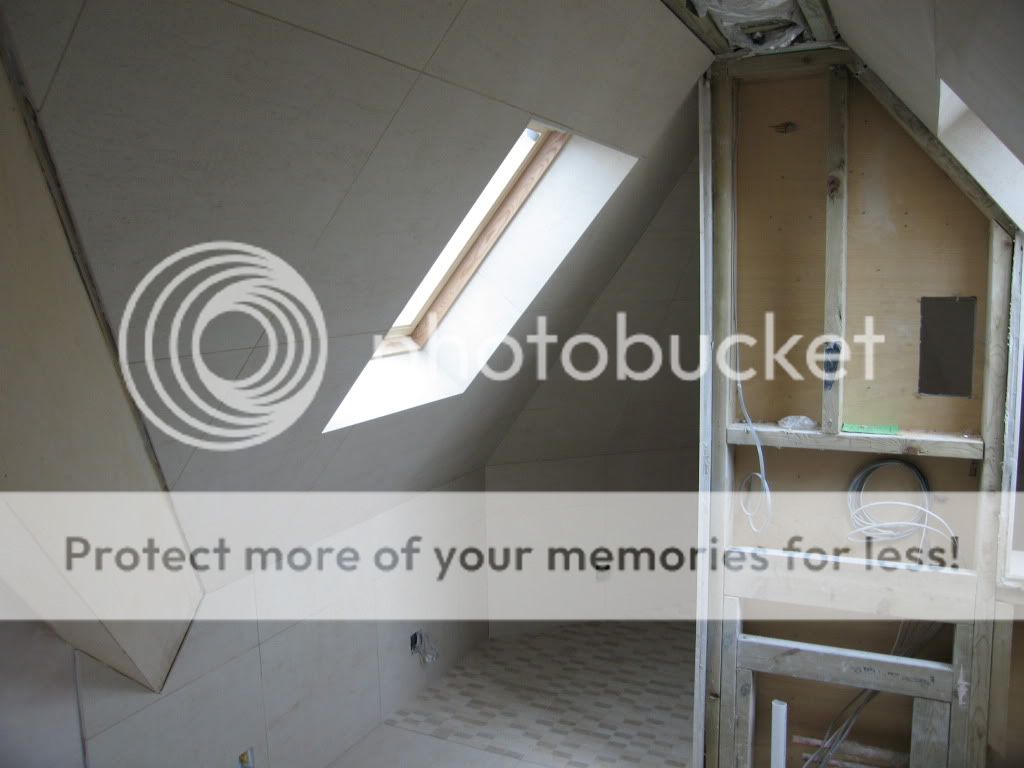
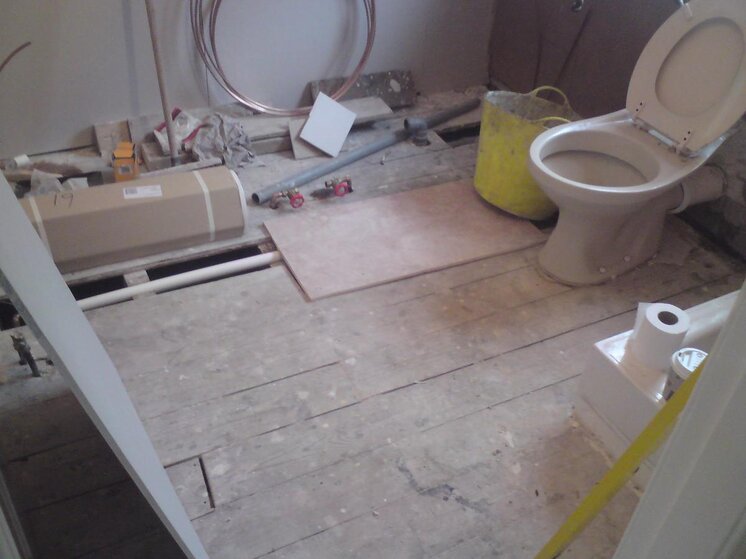
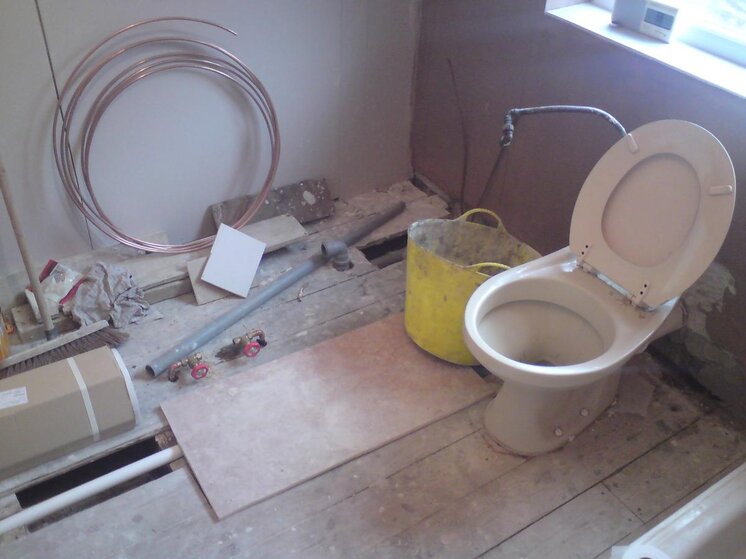
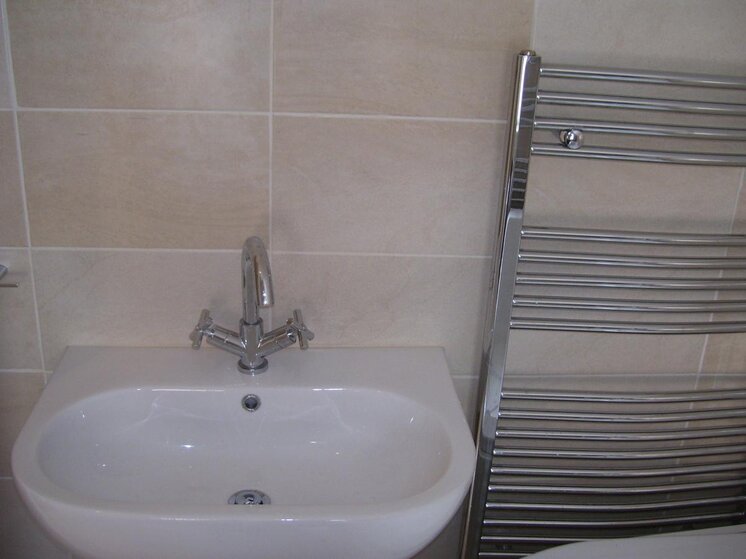
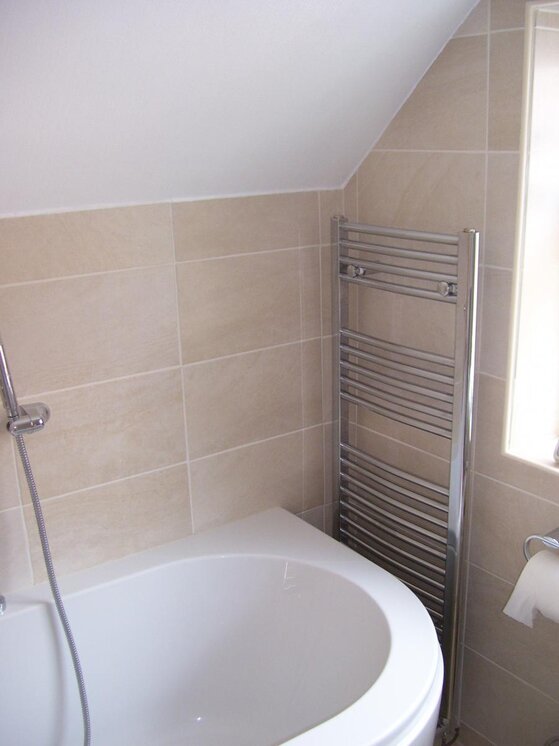
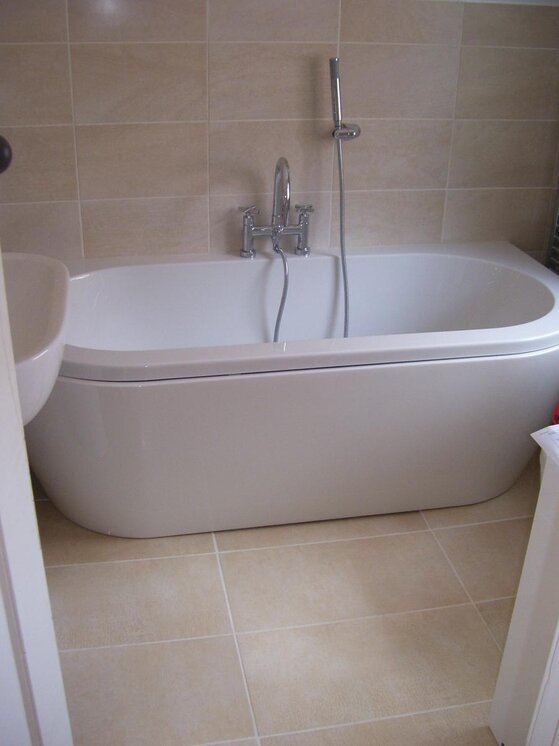
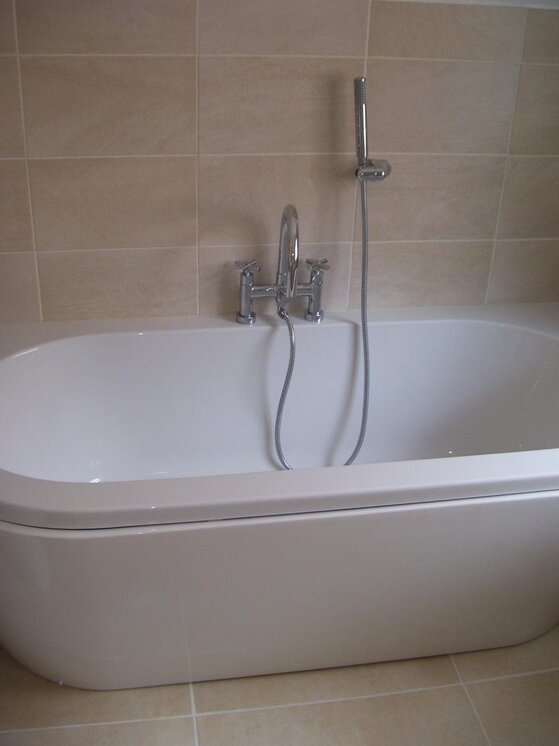
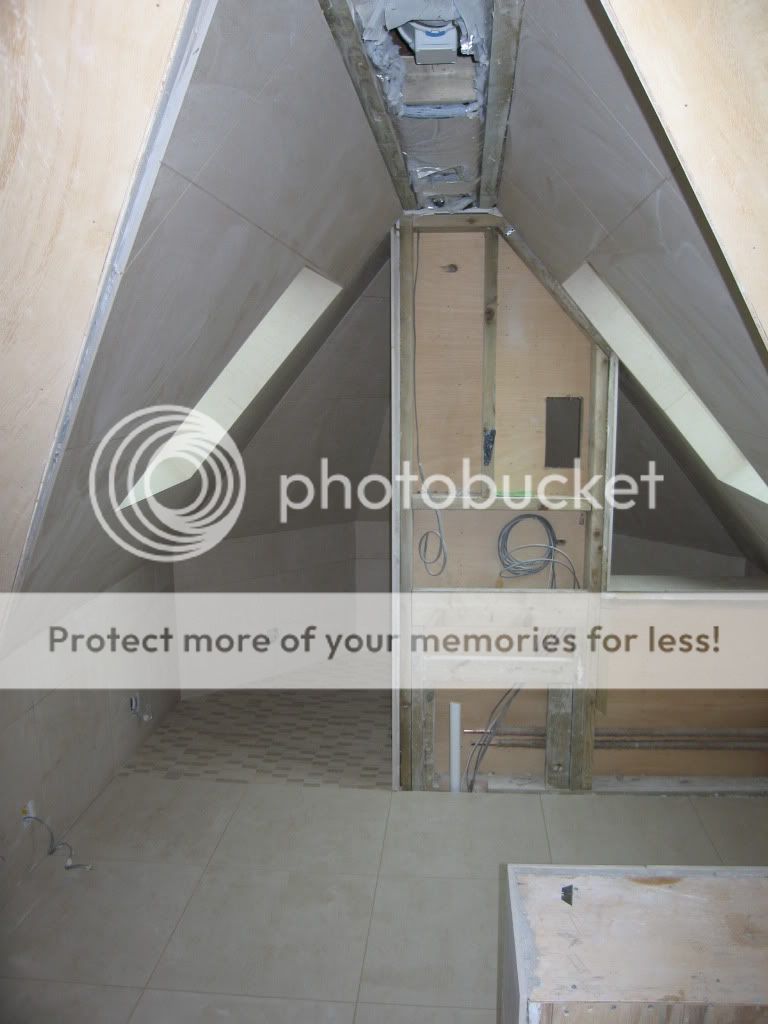
A Bathroom wall and floor i did.. i think the tiles worked well together.

The Bathroom was installed by my bro..
 

Attachments

  • scooby doo 009.jpg
    41.9 KB · Views: 1,096
  • scooby doo 010.jpg
    49.5 KB · Views: 999
  • scooby doo 008.jpg
    48.2 KB · Views: 943
D

DHTiling

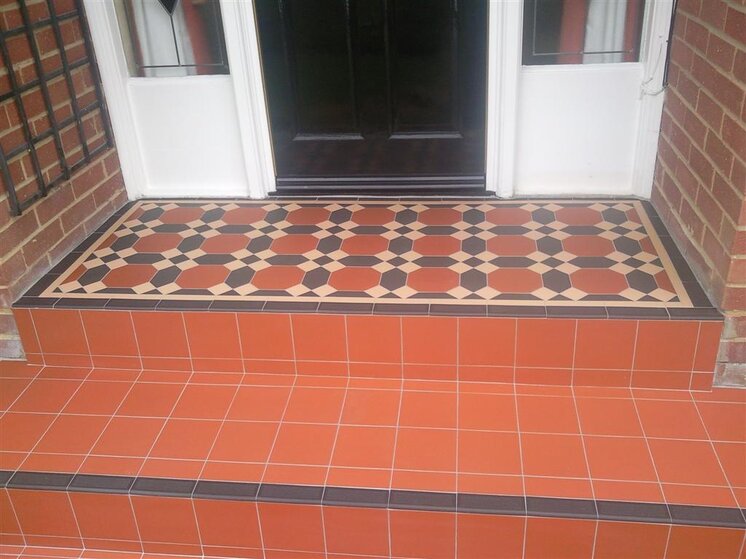
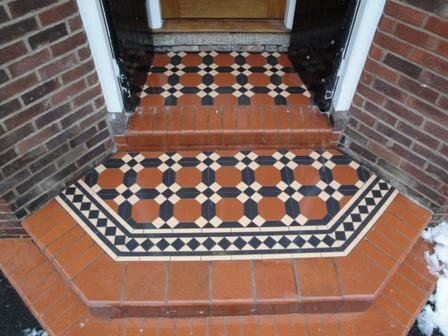
Just completed these Geometric patterned steps this morning.. tiles were from original style.

Before after shots...

The steps were well out of shape so had to try and square them up as well.

Had to try and keep black step tread mitres the same size on all corners so cross bonding needed to attain this.

Grouted with Mapei 112..and sealed with Aqua mix ultra-solv.
 

Attachments

  • Photo0216.jpg
    110.9 KB · Views: 514
  • Photo0215.jpg
    96.4 KB · Views: 540
  • Photo0211.jpg
    147.2 KB · Views: 539
T

Time's Ran Out

Quality TJ, I would imagine it would be cheaper for the customer if I cut my own. Rather than pay the extortionate prices, I might suggest that option in future:thumbsup:

It does work out a competitive price for the customer, but you can increase the labour figure considerably. Once you've set the template up for the octagonal piece you can cut the main tiles within an hour (3-4 mts) and the bonus is you keep all the corners for future borders.
 

Dan

Admin
Staff member
5,128
1,323
Staffordshire, UK
Just completed these Geometric patterned steps this morning.. tiles were from original style.

Before after shots...

The steps were well out of shape so had to try and square them up as well.

Had to try and keep black step tread mitres the same size on all corners so cross bonding needed to attain this.

Grouted with Mapei 112..and sealed with Aqua mix ultra-solv.

I thought I was going to see a pic of your burnt head too! :D :D

Well done mate. Very nice tiling there.
 
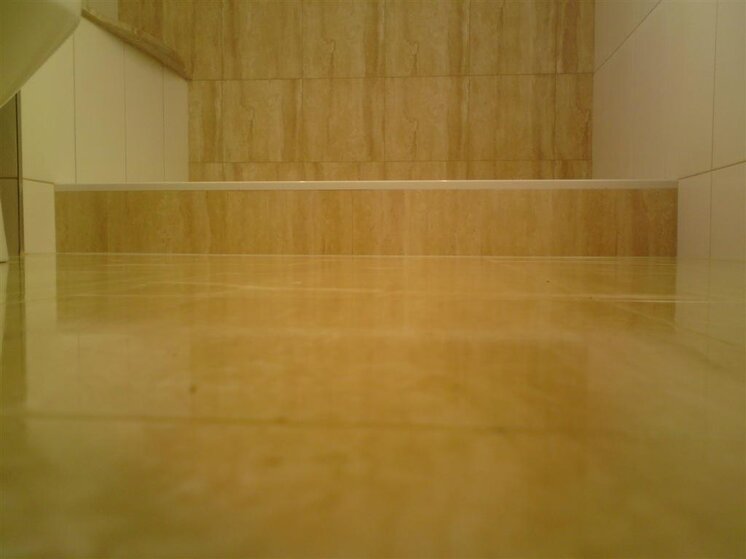
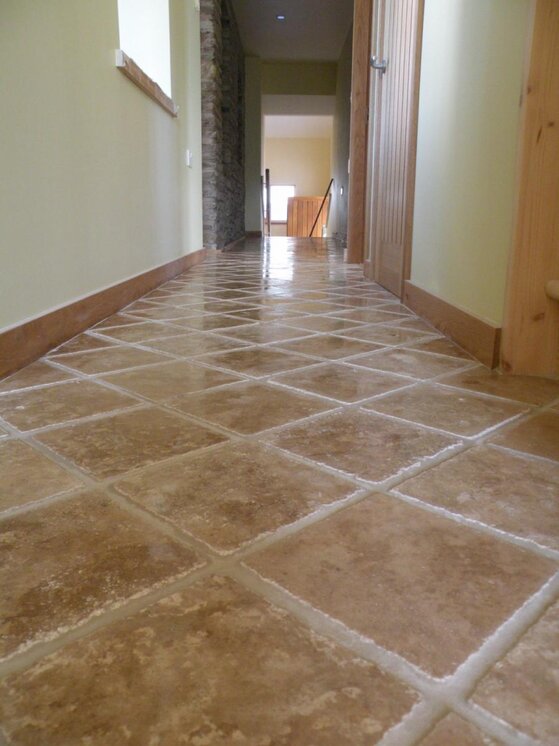
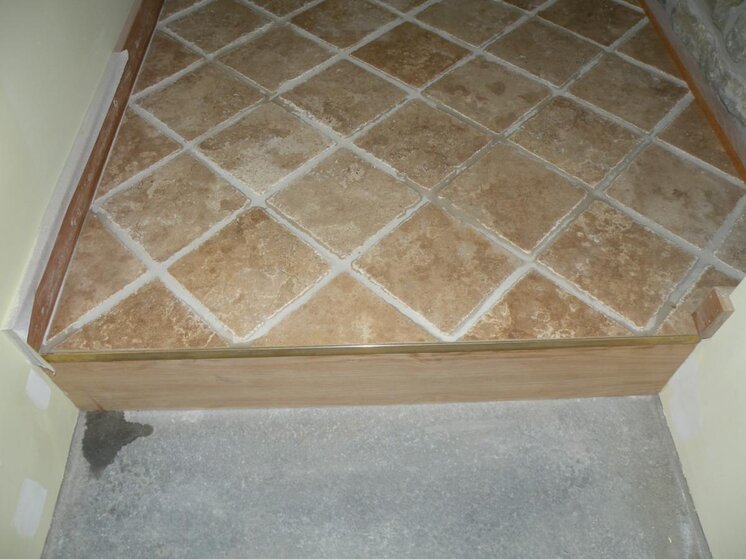
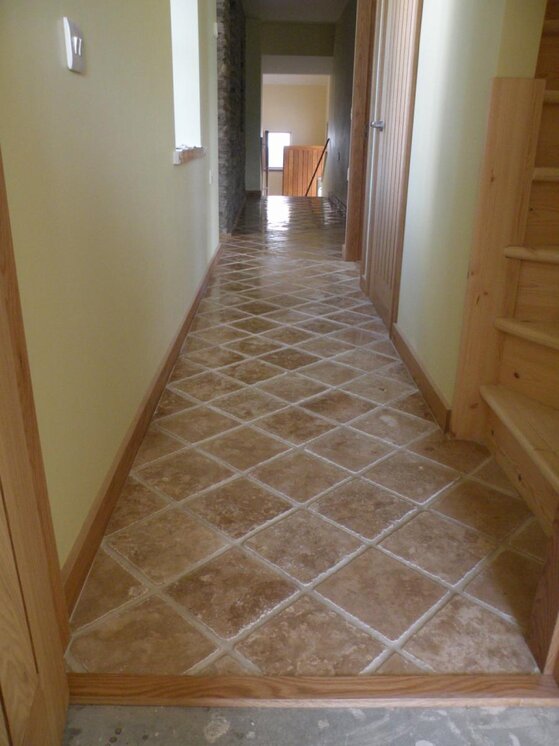
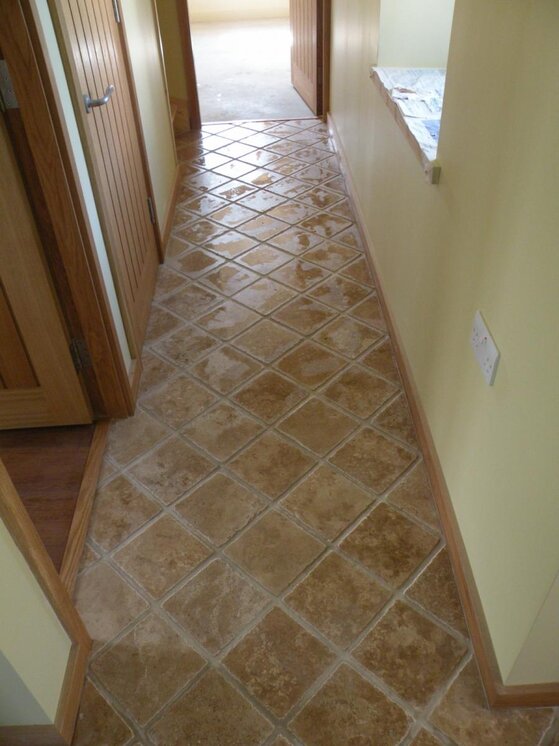
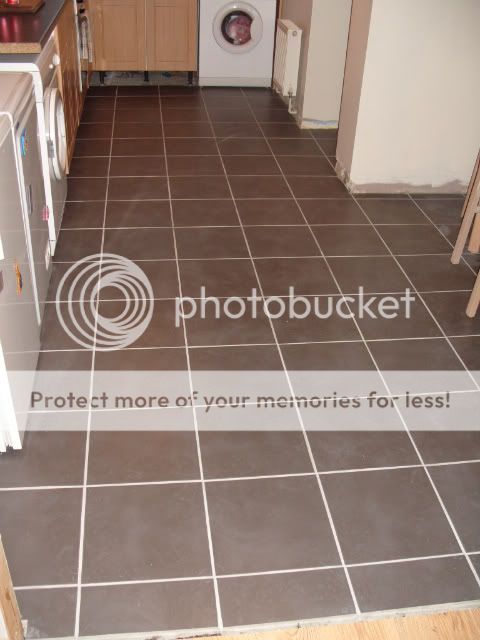
This is a corridor I did last month using Fired Earth 200x200mm Light Walnut Chiselled Edge Old Tuscan Travertine onto heated screed:thumbsup:

Nowt exciting I know, but I was quite impressed with my photography:lol:
 

Attachments

  • creya 055 [1600x1200].jpg
    100.8 KB · Views: 271
  • creya 056 [1600x1200].jpg
    115.8 KB · Views: 262
  • creya 050 [1600x1200].jpg
    117.8 KB · Views: 258
  • creya 054 [1600x1200].jpg
    97.7 KB · Views: 227
  • creya 057 [1600x1200].jpg
    107.2 KB · Views: 217
Aww thanks for that glad you like it.
Water jetted, and then found that everything else had been oversized and to be cut on site Then found out that the central point has to line up with the chandelers which meant I had to start the setting out all again. Slow work, but its coming along nicely now.

Pebbs

I did a very similar job, only in travertine, in an office building a few years back and had the exact same problem Lyn:mad2: Only I sent the whole lot back to the water jet company who turned it back around in 48hours for me:thumbsup:
 
P

Pebbs

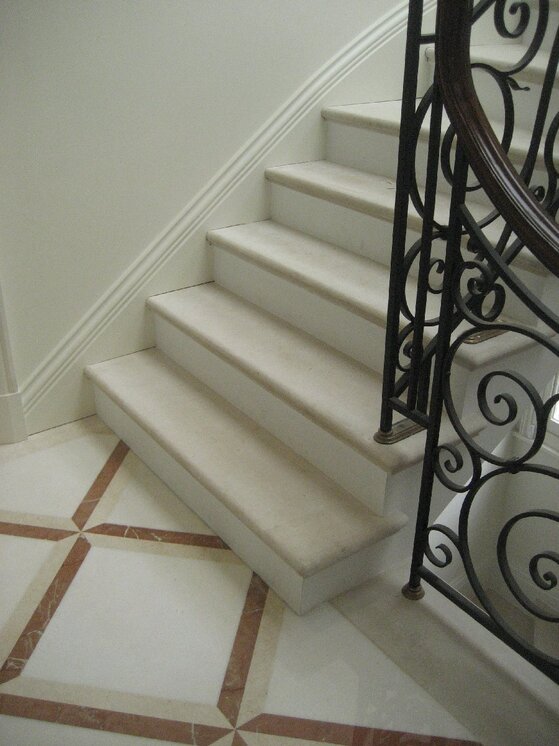
Some time ago I advertised for some stone fixers for this portland stone staircase, anyway it was all good and the job got done. These are a few photos from some of the areas we did, I'll try and post some other areas later this week. Had a bit of a quarrel on site and didnt feel like taking any more.

Before any of you eagle eyed lovlies point it out, yes I am aware of the gap between the treads and the stringers...My stone was in first so they messed that part up...time for a snagging session I think!

Pebbs

TH1.jpg TH2.jpg TH3.jpg TH4.jpg
 
U

united

Some time ago I advertised for some stone fixers for this portland stone staircase, anyway it was all good and the job got done. These are a few photos from some of the areas we did, I'll try and post some other areas later this week. Had a bit of a quarrel on site and didnt feel like taking any more.

Before any of you eagle eyed lovlies point it out, yes I am aware of the gap between the treads and the stringers...My stone was in first so they messed that part up...time for a snagging session I think!

Pebbs

:drool5: Wow that looks fantastic :thumbsup:
 
M

Mike

Just completed these Geometric patterned steps this morning.. tiles were from original style.
Before after shots...
The steps were well out of shape so had to try and square them up as well.
Had to try and keep black step tread mitres the same size on all corners so cross bonding needed to attain this.
Grouted with Mapei 112..and sealed with Aqua mix ultra-solv.
i have a similar floor to lay (from original style) approx 10m2 in a hallway. any idea how long it would take? i thought a few days but my supplier thinks 2 to 2 1/2 weeks! floor has had slc so is nice 'n flat . :thumbsup:
 
S

stu-180

Hello everyone, My first post !
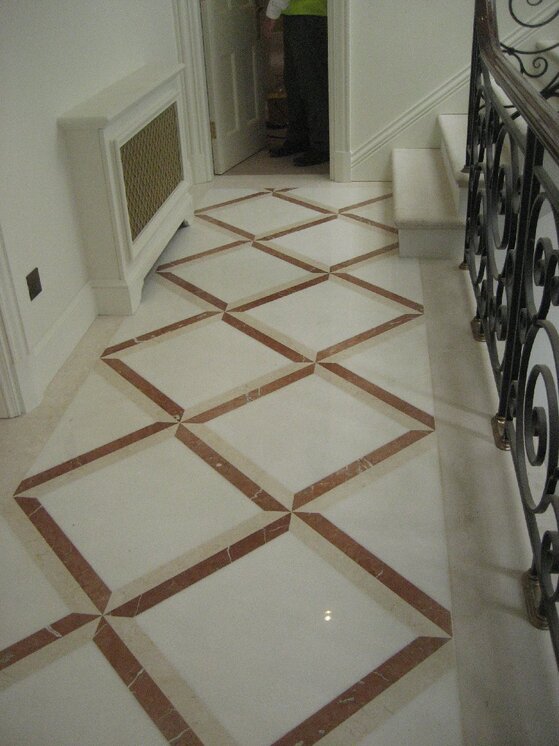
Just thought I would post up my first ever Diamond pattern floor its obviously nothing compared to some of the absolute stunning work on here but it was my first time laying them out like this, took my time and planned it out and it went freakishly smooth !

Showed these phots to a friends parents who decided they loved it and got me to do 22sqm for them, lot of cuts and templates but loved how it turned out.

SS850412.jpg


SS850408.jpg
 
M

Mike

I thought it was about time we had a thread dedicated to all members of Tilers forums.co.uk to show us any work that they do.
Be it from installing a kitchen to garden decking.
If you have done a job then please do share it with us.
Pics are a MUST as what is the point of sharing a job without them..:smilewinkgrin:.
So if you do a job and you take a few pics then please do share it with us.
Lets make it a big thread for all to view and input in.
Thanks Dave ( Admin)..:thumbsup::thumbsup:
here's a large floor i recently done. 600 x 300 ceramics (hardest ones i've ever cut) about 70/80 square metres plus the walls
 
Last edited by a moderator:

P

Pebbs

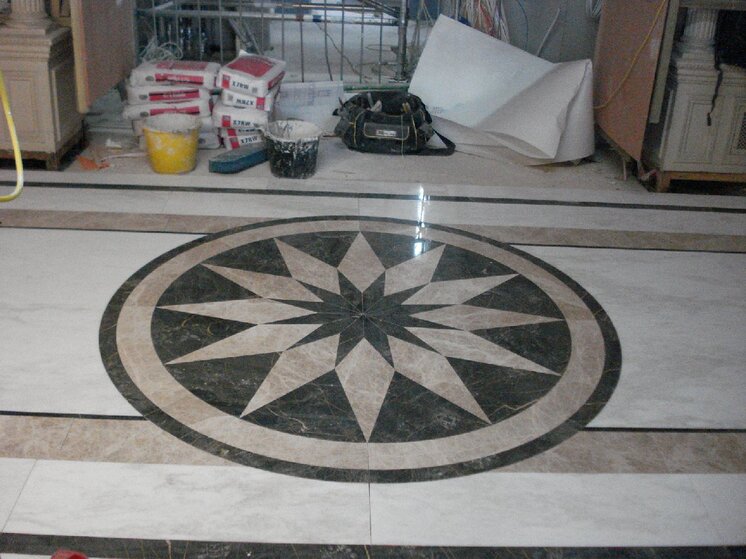
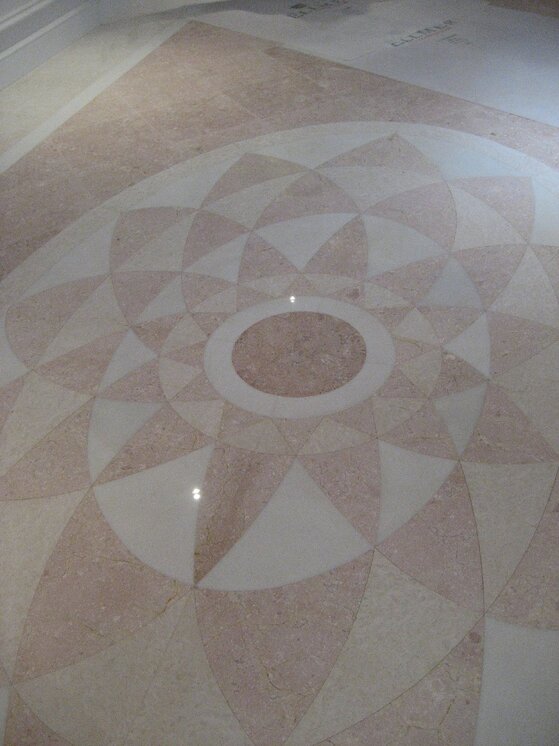
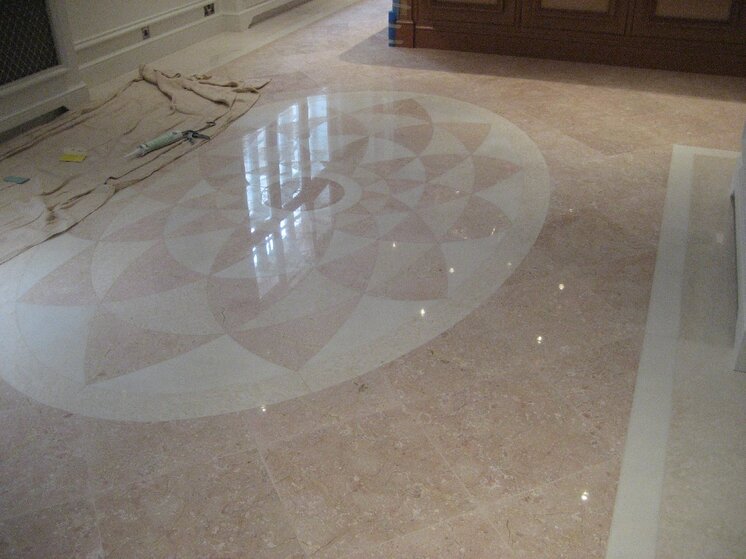
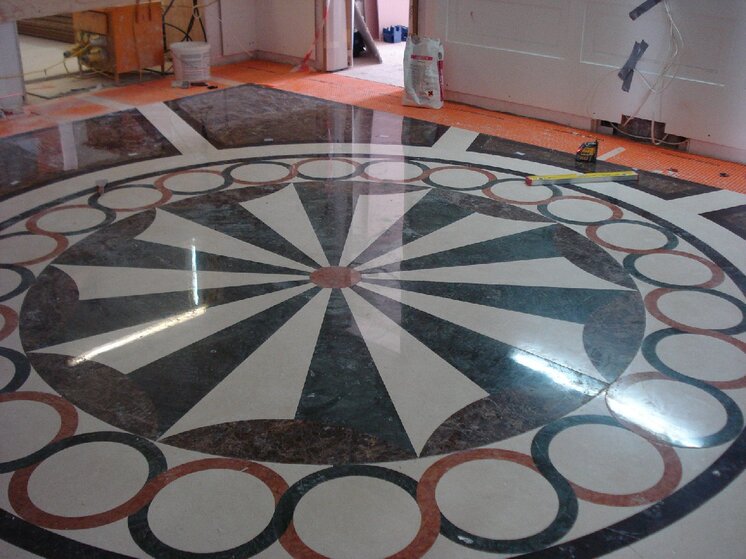
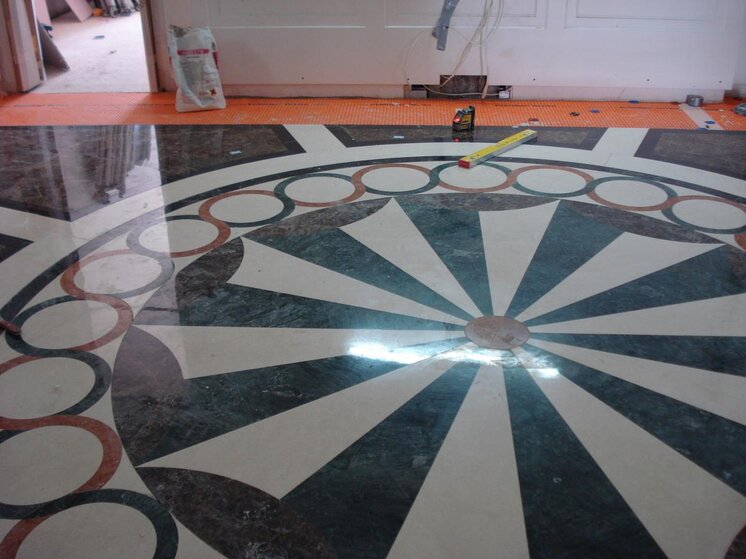
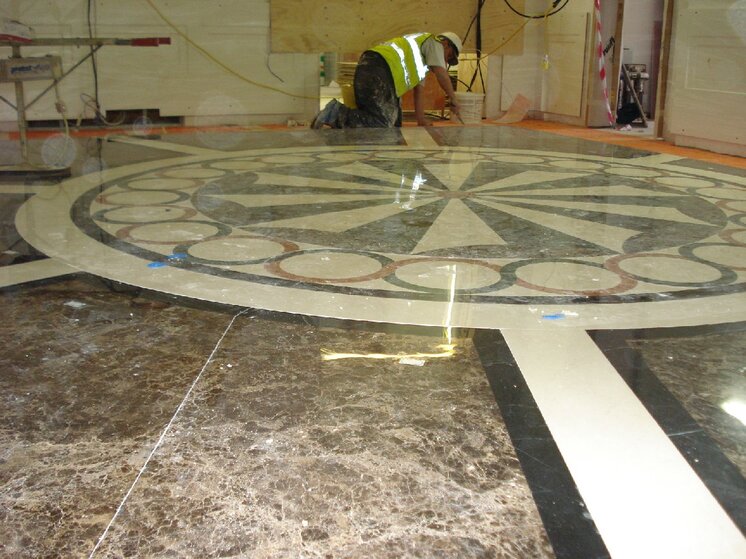
This one is a works in progress, I will take more photos next week towards the end of it being laid. I did the original design in diff coloured marbles and then the interior 'designer' talked the client into changing them to these. Colourwise I am very disappointed with the changes, but if thats what they wanted, then thats what they got. Never mind you cant have everything, I had a great day today, it was good to be back out on site working things through with the boys. We had a nightmare when the closure stone went in because the joints had to be adjusted again. No rapid set on this one!

Pebbs

CHT5.jpg 2010 242.jpg CHT7.jpg
 
S

stu-180

This one is a works in progress, I will take more photos next week towards the end of it being laid. I did the original design in diff coloured marbles and then the interior 'designer' talked the client into changing them to these. Colourwise I am very disappointed with the changes, but if thats what they wanted, then thats what they got. Never mind you cant have everything, I had a great day today, it was good to be back out on site working things through with the boys. We had a nightmare when the closure stone went in because the joints had to be adjusted again. No rapid set on this one!

Pebbs

WOW, that is some fine work there !

How on earth does this come together ?
Do you have to have all the pieces specially made ??

Have seen this type of work in fancy hotels and always wondered how they go about having it created.
 
R

Richard Edwards

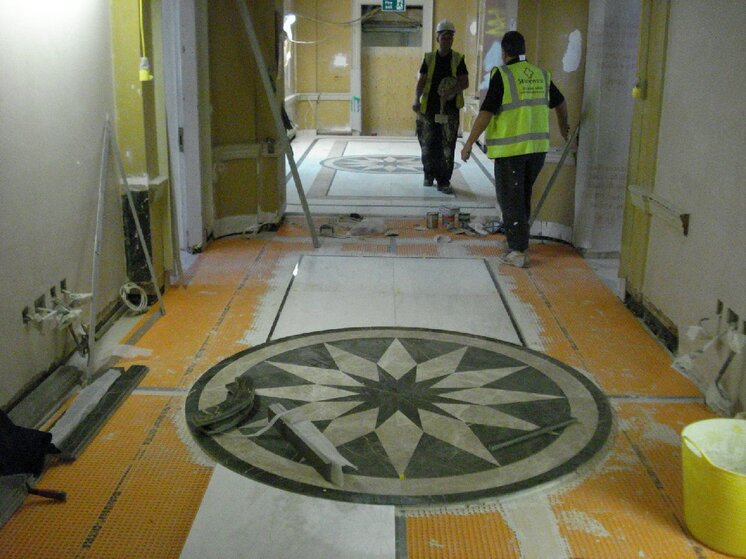
These are my work in progress photos, The total area is 100m2 broken into 4 bays. I had the first area dry laid, which is a good job because as it turns out there has been a load of cutting to do. Anyway were getting there now. I will post more when we are getting towards the end of this corridor?!

Pebbs

Now thats a bit special - I presumme its a public area ?
 
P

Pebbs

Thanks for all the lovely comments. I started working out this floor about 14 months ago, at that time I thought we were running with white, black, red and dark green. Then the client got his mind changed by the 'interior designer' and it resulted in these colour ways. Originally it was going to be fabricated in Italy, and then it got moved to China... :)mad2: I dont like Chinese production), but it was 65% cheaper than the Italian quote. Heres the sad bit, a lot of the marble was shipped from Italy in slab to China and then fabricated, this world has gone crazy. It was dry laid over there before being shipped, and what the photo doesnt show is the mistakes they have made. I was going through some of the pieces yesterday and noticed a lot of it had been rodded, which basically means something has broken along the way and its been pieced back together.
You have to ditra mat, and the substrate has to be as flat as a pancake or your looking at a disaster in the face. No one will ever see this floor, except the client and his family once its finished its private residential, everything in it is marble, including the 22 bathrooms! Thats life I guess!

Pebbs
 

Al@Lifetiles

TF
Arms
10
263
Really outstanding work on here. It's nice to see some passionate tiling going on! A hard act to follow but i tiled what i think is an unusual shower tray this week and thought i would share it with you all. The jury is still out on whether its just a bit wierd, but let me know what you think!
 

Attachments

  • Unusual shower tray.jpg
    110.9 KB · Views: 279
T

Time's Ran Out

John - did you do this in one piece ?

Almost! - the template is made for the full area and loose pieces just for any on site 'filling in'.
Changed the method of fixing on the last one - put the border in first then the centre 'panel' - and its taking far too long to complete with site visits/access.
Its like the wheel - why reinvent when it works!
 
Status
Not open for further replies.

Reply to Show Us YOUR Work Thread - Tilers Pictures in the Tiling Work Showcase Forum area at TilersForums.com

Advertisement

TF on Facebook

...
Top