R
redrex
hiya all,
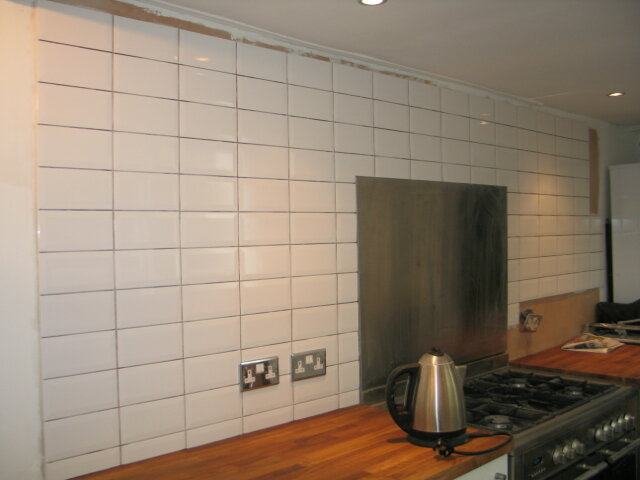
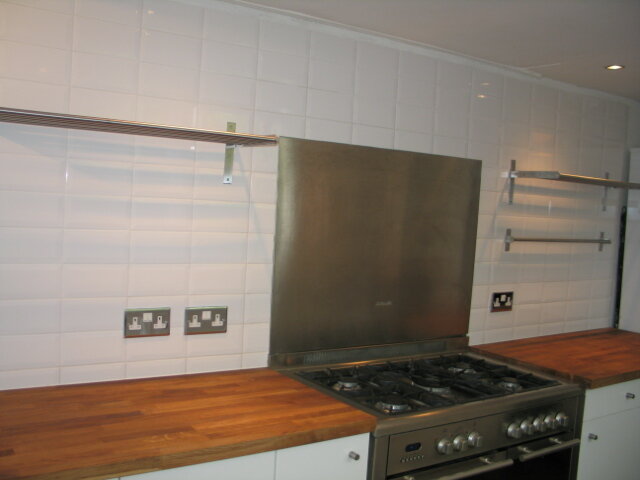
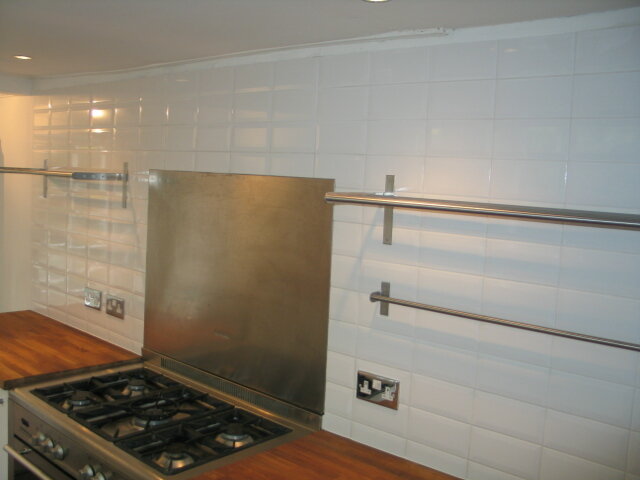
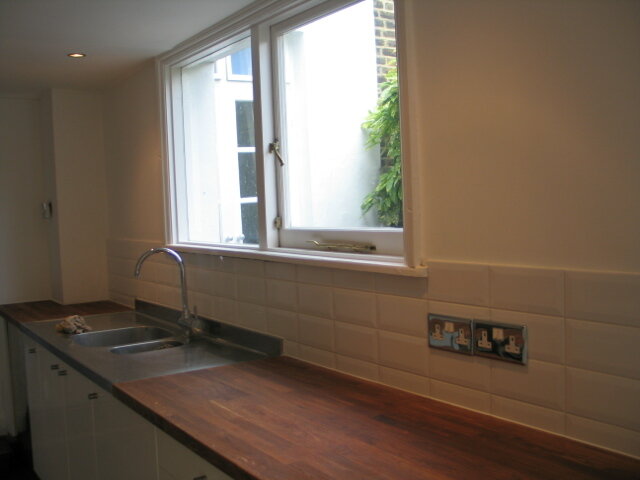
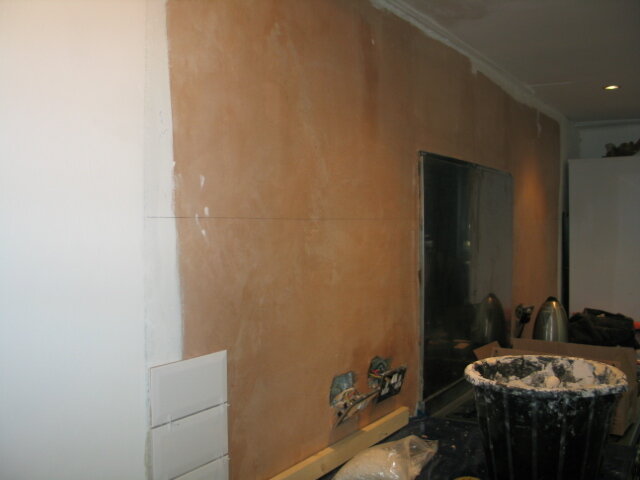
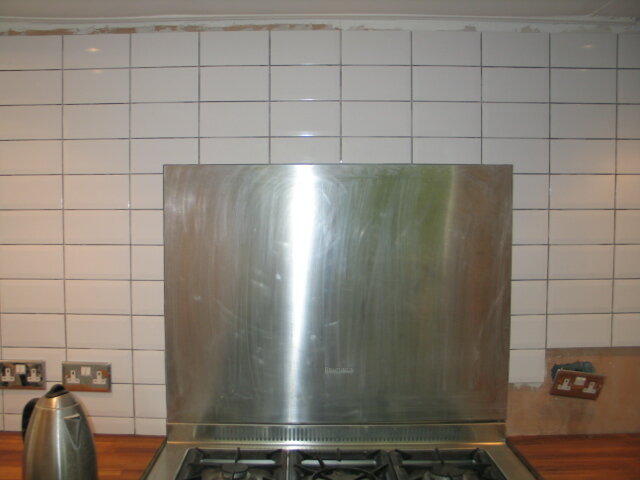
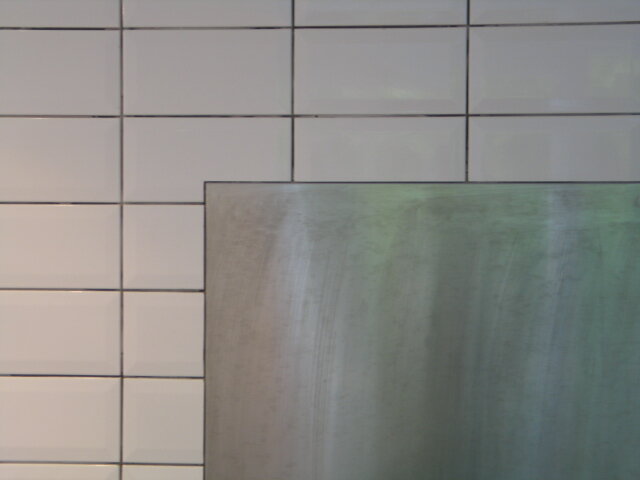
been a busy couple of days, managed to slip in this splashback while the plumber sorts out my other job. other than the rubbish walls that the 'plasterer' left-suggested bin the plasterer next time and use backer board. what i wanted to know is could i have set out differently? this is a galley kitchen, the wall opposite is 4 courses high so fairly simple. on the bit in the pics the left worktop is about 5 mm higher than the right. I ended up with half a cut to the worktops to take up the difference, also these are metro tiles so if i started with a full tile, the bevel would show on the right but i would have had to trim the tiles on the left and the bevel would have gone, so looking a bit odd. the top of the wall is going to be painted so no issues there. also, because the walls where so far out (plasterer), sometimes 10mm and in a wavy pattern, i used keraquick to build out and stick the tiles-customer didnt want twait for plastering to be done again and a wait of a couple of weeks to dry, i didnt want to run the risk of the addy setting and finding out i had missed my levels across the ali splashback so i worked down 5 courses then battened out and went back up. sounds a bit back to front but the levels are perfect (get your rulers out on your screen:lol🙂 any other way do you think? back tomorrow to do the last 15 tiles:mad2: customer bought exactly the sq/m before i could suggest adding a bit more for wastage. overall im happy with the cuts etc and should look nice when grouted, primed with
primer G. customer also didn't want cuts at either end of the worktop or the tiles go beyond the edges.
Ed
Attachments


Last edited by a moderator: