Search the forum,

Discuss Grounting Indian Sandstone Over Ufh in the Canada Tile Advice area at TilersForums.com.

T

tim441

20160528_073325_resized_1.jpg hanks for the input.

For those that read in future here is an update on what we have done:

1. Allowed pumped screed to dry naturally for 3 days with doors windows shut for first 24 hours
2. After that added dehumidifiers overnight with fans to help air circulation. We used 3 domestic type ones but ideally would have been at least 500W each. During the day doors and windows open was more effective. Dehumidifies initially filled overnight. after that they part filled only so seemed sufficient. On cold nights left on oil filled electric heater to keep temp around 20 degrees.
3. After a week turned on u/f heating. Started at lowest temp (25 deg) and left on 24x7. Increased temp by 5 deg a day up to 55 deg.
4. We ran like that for about a month (including dehumidifiers). Then gradually reduced temp 5 deg a day to 25 deg and then off.
5. Using the old plastic bag on screed test overnight there was still a little dampness. I would recommend following guidelines and testing with hygrometer or continuing until completely dry. But we gambled and i think its ok as it was almost dry. If using a porcelain or ceramic tile it is vital its dry. With a natural stone it will dry very slowly through the stone. But I am sure the adhesive manufacturers will still insist the screed must be completely dry first.
6. With u/f off for 3 days (dehumidifiers still on) we fixed India sandstone with 10mm notched trowel and Granfix CSA. 65 sq m... approx 20 x 20kg bags
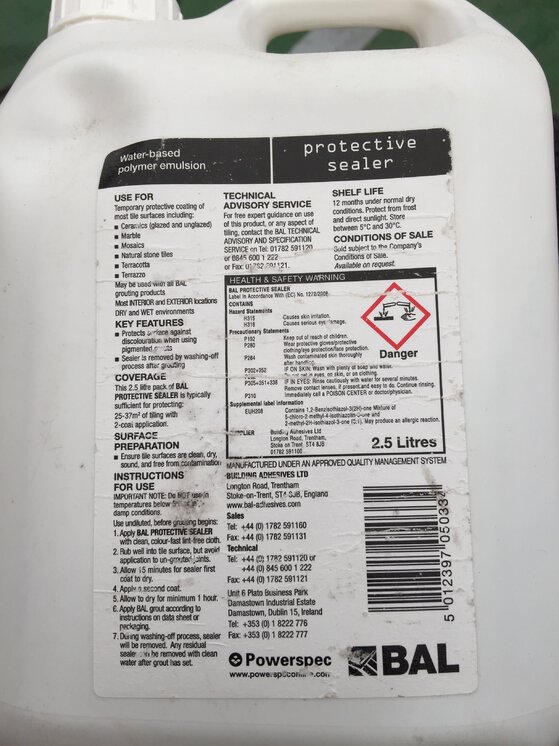
7. Sealed after 2 days with Everbuild GEOSTONE5 Geo-Fix Stone Protector. Followed guidelines. Seemed to do a good job and only used less than 10 litres on 65 sq m. Cost effective compared to other products. Used a roller and brushed into edges. Mopped up any pooling within 30 minutes.
8. Grouted with grey Granfix Maxigrout. 65 sq m ... approx 11 x 10kg bags for patio packs of 22mm calibrated slabs approx 10-15mm joints. Very little wastage.
9. Grouting trial and error on best method for us was.
a) Use grout bags... at least 2 people... one to mix and fill joints.. one to clean etc
b) with grout at thick cream so it stood in joint without running everywhere but completely filled joint. If its too stiff it is too hard to get out of bag and does not fill joint so well.
c) allow to just start to go off... push into joints fully with wide pointing tool. as soon as practical cut off snots with trowel and pick up into waste bucket.
d) continue to clean up with sponges etc as normal.. we washed whole slab to ensure no portrait from grout but probably would have been ok anyway due to sealer.
10. 2 days later sealed again with Geo-Fix as above. In reality slabs did not take much but grout joints took a little

fyi slabs were grey, calibrated 22mm, tumbled, patio pack. used the same as patio... another 150+ sq m with sand/cement base and joints
would recommend allowing time for screed to dry properly. typically 1mm per day up to 50mm i believe. But dehumidifiers and forced heating will reduce the time significantly.

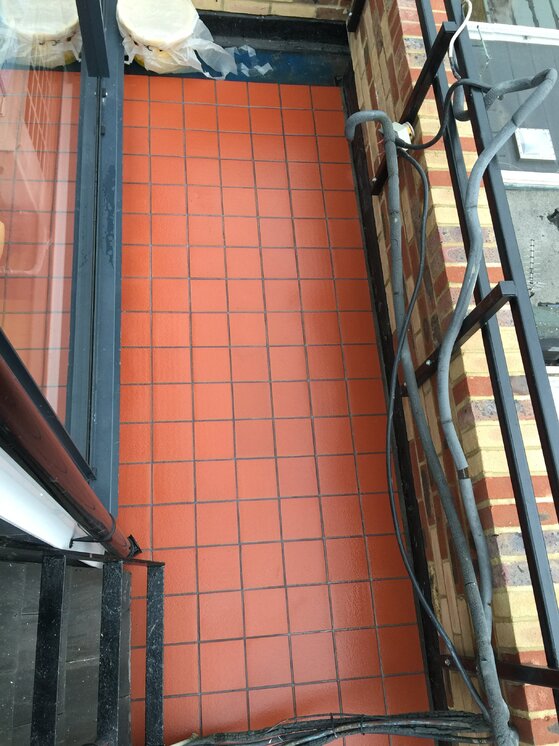
View attachment 81902

Looked very good! forgot to take pic before furnished....
 
T

tim441

reminder: of course needed to wash all equipment regularly. trial and error but for the Granfix we could mix 2 batches and then clean bucket, grout bags etc. Each batch about half a bag of grout powder. Better to mix and wash out regularly than fight it going off and wasting material!
 

Reply to Grounting Indian Sandstone Over Ufh in the Canada Tile Advice area at TilersForums.com

There are similar tiling threads here

Good morning all. After a little advice. I'll post pictures a bit later. However.... The...
Replies
6
Views
901
I had a small leak in the main water line before the stop tap in my 1950s house. The copper pipe...
Replies
1
Views
659
Hi! I'm looking for some advice, I have laid some SLC (Mapei 1210) in our conservatory in...
Replies
5
Views
628

Advertisement

New Tiling Questions

Replies you've not seen

Top