Why you should do a bounce test and then check the floor

Tilers Forums Official Sponsors

Chalker

TF
Arms
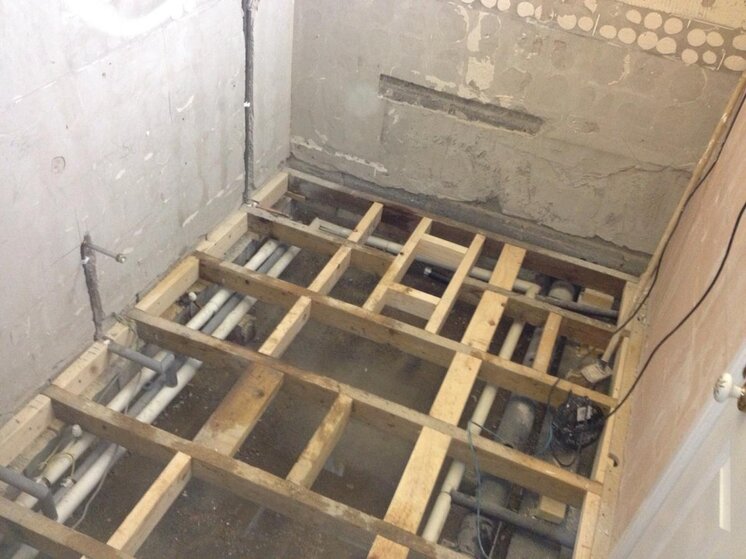
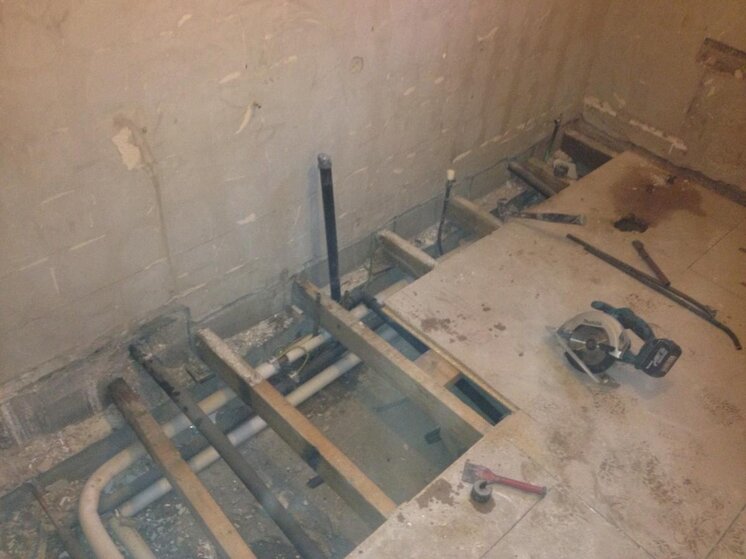
Started a bathroom today, bounced on the floor and in more than one place it was terrible. So instead of taking traps up and fitting noggins ,i decided to lift the whole floor.
heres what I found!
no noggins at all.
no perimeter noggins.
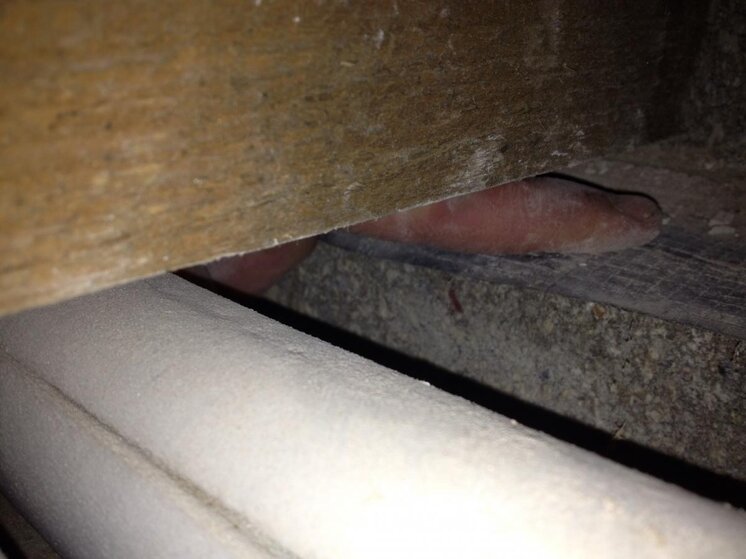
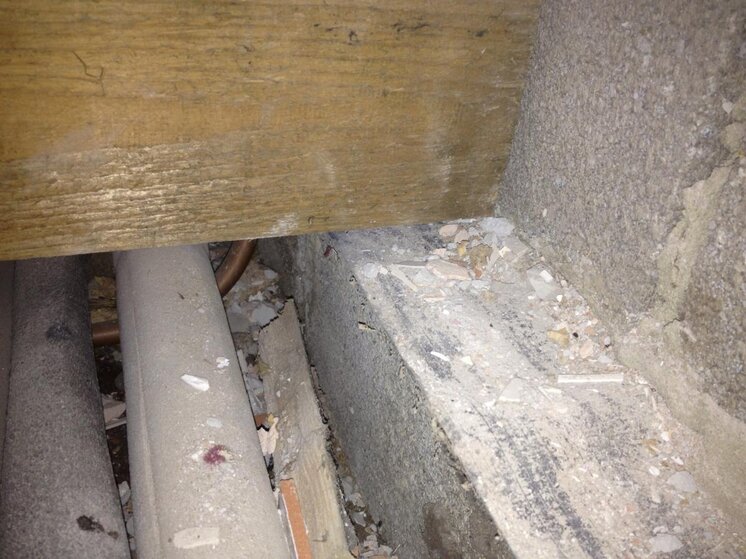
two of the joists were nearly an inch from touching the sleeper wall.

Looks like some work tomorrow!
 

Attachments

  • image.jpg
    image.jpg
    97.7 KB · Views: 211
  • image.jpg
    image.jpg
    160.9 KB · Views: 178
Last edited:
Brilliant example chalker thanks for sharing what do you plan to do to get the beams all sitting level on the sleeper wall? Cheers
 
Brilliant example chalker thanks for sharing what do you plan to do to get the beams all sitting level on the sleeper wall? Cheers

Looks like two issues need to be addressed mrT
1, excessive bounce
2, floor possible not flat / level.

Ask yourself. How would you fix these two problems? I know it's hard as your only looking at pics, it's difficult to see exactly what's going on.
 
Same as whitebeam but more than a couple of noggins lol. Also if the joists are too far out and shims can't be used it would be a case of bolting 2x4 to the existing joists but at the correct level and fixing timber to the 2x4's... All theory of course as I have no experience of levelling out a timber floor 😉 so please don't slate me lmao
 
Thanks for the replies.
im going to run a perimeter nogging, then two rows of 4x 2 noggings going the length of the floor. All glued amd screwed. The sleeper walls are level, so I'm sure I can get the floor flat and level. Will have to do some packing on the sleeper walls, after making all the pipework alterations I've talked the customer into letting me fit 50mm kingspan between the joists, ( extra cost). Then fitting 22mm ply, glued and screwed ready for the aqua4ma wet room tray and floor panels.

thats in theory anyway.
You clearly know your stuff buddy... You doing the pipework too? :yikes:
 
Only plumbing I have ever done was fitting the 15mm push fitting to my new shower lol surprisingly went well haha
 
Oow Oow! Where can I get some? Haha
good luck Chalker, don't forget the progress pics pls! :builder2:
Here's this mornings work/ update.
wold have really liked to replace the joists, but I'm on a price and the joists go through into the hallway next to the bathroom.
1st pic shows the gap under one of the joists.
i cut some new packers for under the joists to level the floor and then ran a noggin round the outer edge. This was then secured to the dividing wall.
two other rows of noggins were fitted, one which will go down the centre of the 1st sheet of ply and one to support the ply edge.
the joists which will end up where the shower waste will go have been trimmed too.
have finished the pipework and drainage alterations so will be insulation and fitting plywood tomorrow . Got to get the ceiling boarded by lunchtime as the plasterer is coming!
 

Attachments

  • image.jpg
    image.jpg
    87.1 KB · Views: 85
  • image.jpg
    image.jpg
    121.7 KB · Views: 91
brilliant stuff mate looks a lot neater and safer now!.. did the packers you mentioned go all around the perimeter of the room to bring it all up level? or just used to sit under the ones that were not quite sitting correctly? cheers
 
Here's this mornings work/ update.
wold have really liked to replace the joists, but I'm on a price and the joists go through into the hallway next to the bathroom.
1st pic shows the gap under one of the joists.
i cut some new packers for under the joists to level the floor and then ran a noggin round the outer edge. This was then secured to the dividing wall.
two other rows of noggins were fitted, one which will go down the centre of the 1st sheet of ply and one to support the ply edge.
the joists which will end up where the shower waste will go have been trimmed too.
have finished the pipework and drainage alterations so will be insulation and fitting plywood tomorrow . Got to get the ceiling boarded by lunchtime as the plasterer is coming!
DUDE! If u keep using fingers as packers U'll only get to do another half dozen jobs and U'll be stumped! :2thumbsup: haha
good stuff m8 thanks for keeping us up to date!
 
brilliant stuff mate looks a lot neater and safer now!.. did the packers you mentioned go all around the perimeter of the room to bring it all up level? or just used to sit under the ones that were not quite sitting correctly? cheers
they were only needed onto the sleeper wall on the left hand side .
 
18mm ply. Then aqua4ma tray and floor panels ( see post) .then electric underfloor. Then slc. Then tiles (see current wet room tray post)

need bathroom finished by Friday.
 

Advertisement

Thread Information

Title
Why you should do a bounce test and then check the floor
Prefix
N/A
Forum
Canada Tile Advice
Start date
Last reply date
Replies
25

Advertisement

UK Tiling Forum

Thread statistics

Created
Chalker,
Last reply from
Chalker,
Replies
25
Views
7,091

Thread statistics

Created
Chalker,
Last reply from
Chalker,
Replies
25
Views
7,091
Back