O
Old Mod
Just completed a project which I found to be quite a challenge.
Tiling a downstairs cloak with Original Style 300x600 6mm Decorative Glass.
On the face of it, it seemed ok, until I realised that it was a window wall and the client was insistent on there being no tile trim.
So this meant either laying the tiles square to each other around the window or mitring them all. Of course the latter was requested!
The cutting blade became the most important decision of all, and with the help from Dave@tradetiler I went for the Montolit 180 glass blade at a mere £148 delivered, but what a piece of kit it turned out to be!

I thought this was a good cut! Till I tried this!

And just to show its not just a piece......

The other weapons of choice were....

And....

Biggest concern was the mitring, had no idea how successful it was going to be. Also when they were mitred this would remove the backing which left 6mm of clear glass on the edge. I was unsure what kind of finish this would leave. I knew one thing for sure tho, I couldn't afford there to be any leeching of adhesive or grout into that last 6mm
I made the decision to put clear Silicon in the last 6mm on the edge, theory being that it would stop grout and dirt ingress at the edges but also form a thin barrier between the glass to prevent the glass from actually touching. To me that seemed like the way to go, it was fragile enough without two glass edges coming together. Fortunately it actually seemed to work! Very messy job tho, adhesive on the wall, adhesive back buttered on tile with a large Silicon bead on both pieces just before fixing then squeezing it all together without chipping the glass. Believe me once mitred you only had to look at the edge funny for it to chip!
The only adhesive that Original Style would recommend was Mapei's Keraquick and Latex Plus! oh joy! Hottest week of the year and I have to use this super quick setting adhesive with a material more delicate than tissue paper!
Anyway this was the end result, luckily the client was overjoyed with the result, and me? ......... I was just relieved it was over haha

Oh yeah, the top of the cistern had to be removable to! Grrrrrrr. So settled on fixing front mitres permanently and making rear two tiles removable with a sucker pad!


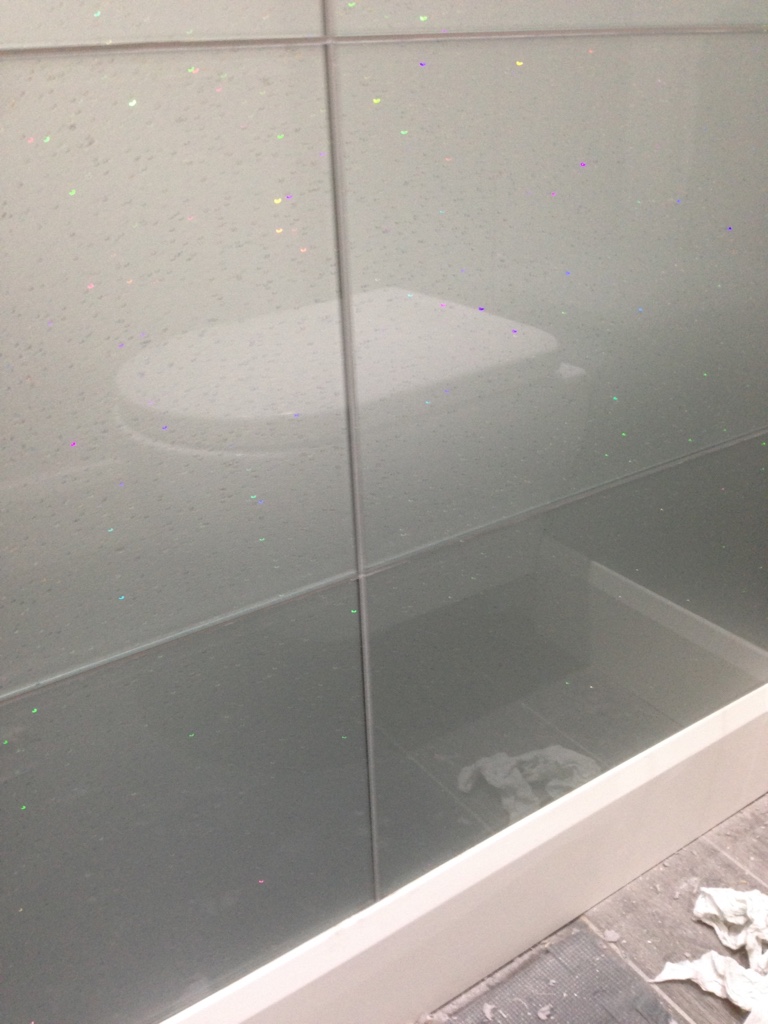

Not my floor BTW!
Tiling a downstairs cloak with Original Style 300x600 6mm Decorative Glass.
On the face of it, it seemed ok, until I realised that it was a window wall and the client was insistent on there being no tile trim.
So this meant either laying the tiles square to each other around the window or mitring them all. Of course the latter was requested!
The cutting blade became the most important decision of all, and with the help from Dave@tradetiler I went for the Montolit 180 glass blade at a mere £148 delivered, but what a piece of kit it turned out to be!
I thought this was a good cut! Till I tried this!
And just to show its not just a piece......
The other weapons of choice were....
And....
Biggest concern was the mitring, had no idea how successful it was going to be. Also when they were mitred this would remove the backing which left 6mm of clear glass on the edge. I was unsure what kind of finish this would leave. I knew one thing for sure tho, I couldn't afford there to be any leeching of adhesive or grout into that last 6mm
I made the decision to put clear Silicon in the last 6mm on the edge, theory being that it would stop grout and dirt ingress at the edges but also form a thin barrier between the glass to prevent the glass from actually touching. To me that seemed like the way to go, it was fragile enough without two glass edges coming together. Fortunately it actually seemed to work! Very messy job tho, adhesive on the wall, adhesive back buttered on tile with a large Silicon bead on both pieces just before fixing then squeezing it all together without chipping the glass. Believe me once mitred you only had to look at the edge funny for it to chip!
The only adhesive that Original Style would recommend was Mapei's Keraquick and Latex Plus! oh joy! Hottest week of the year and I have to use this super quick setting adhesive with a material more delicate than tissue paper!
Anyway this was the end result, luckily the client was overjoyed with the result, and me? ......... I was just relieved it was over haha
Oh yeah, the top of the cistern had to be removable to! Grrrrrrr. So settled on fixing front mitres permanently and making rear two tiles removable with a sucker pad!
Not my floor BTW!
Last edited by a moderator:
