Bathroom project - Work in progress

D

davemul

Apologies mods of this needs to go elsewhere.. please feel free to move it or bin it!

Riiiight.. here goes....

We've been in our first house nearly 2 years now. We've (well ... more like I'VE!) done everything else bar the bathroom. It's an old 1800's cottage so the bathroom was in a pretty bad way. Solidly built but nasty and OLD!

I decided a few weeks ago to RIP it out and start from the beginning.

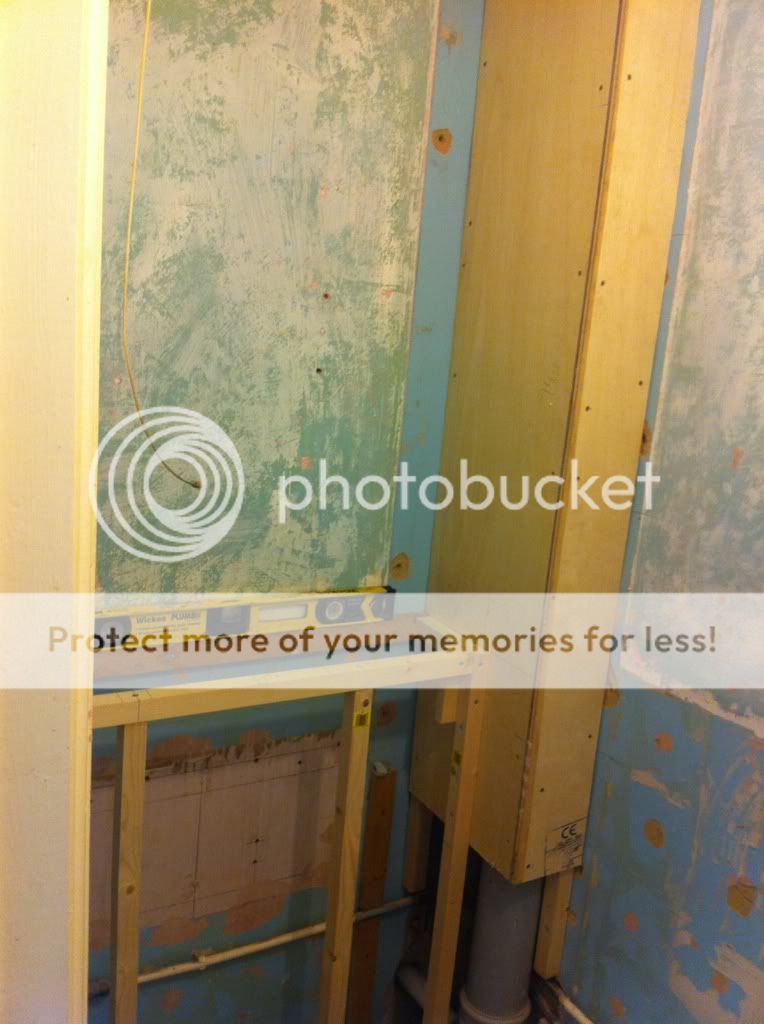
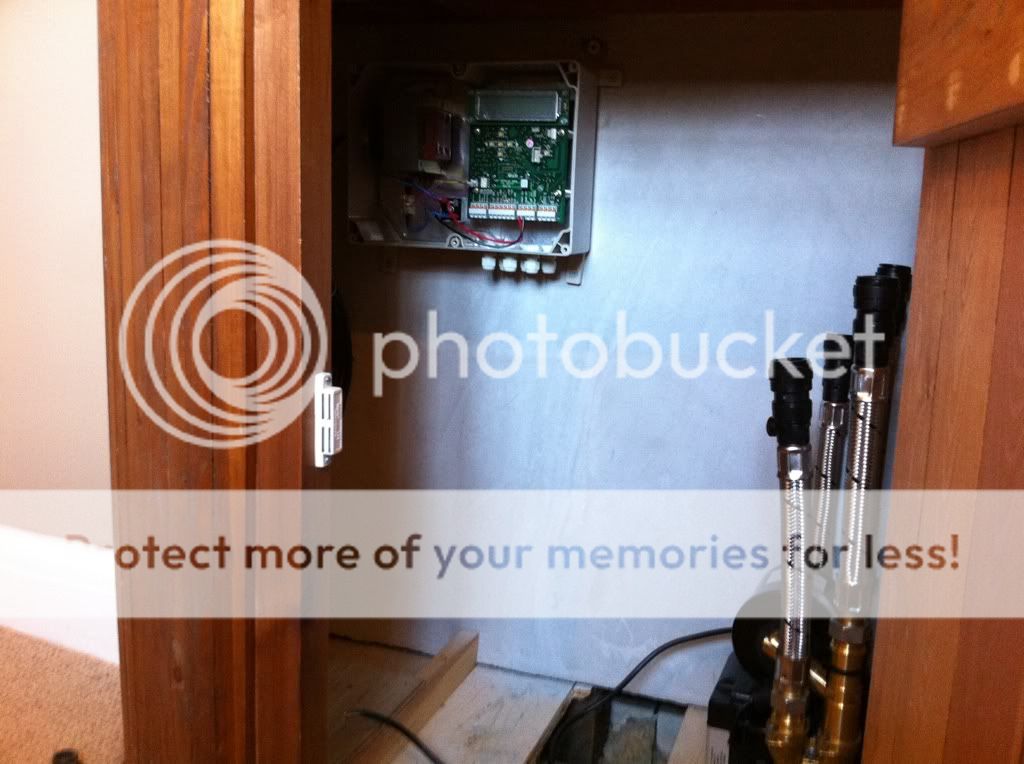
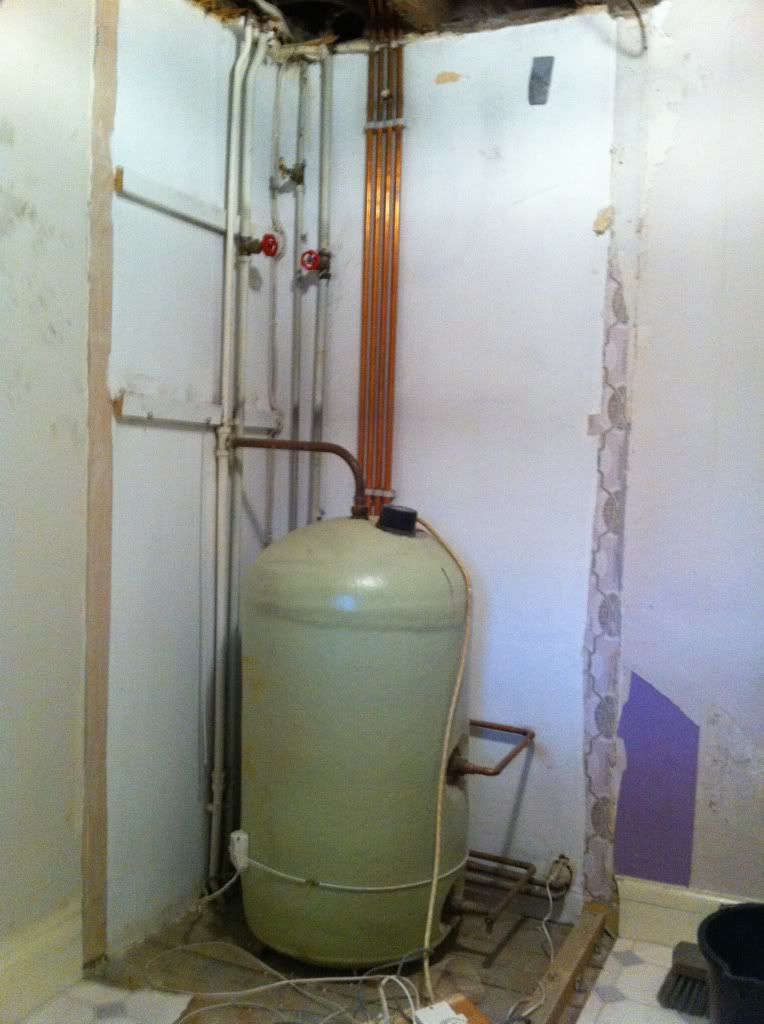
First task was to move the hot water cylinder from in the bathroom to a new cupboard outside the room (thanks to Scruff from ultimatehandyman.co.uk for the advice!)

Now you see it...
7599aa0b.jpg


Now you dont!

984bc1db.jpg


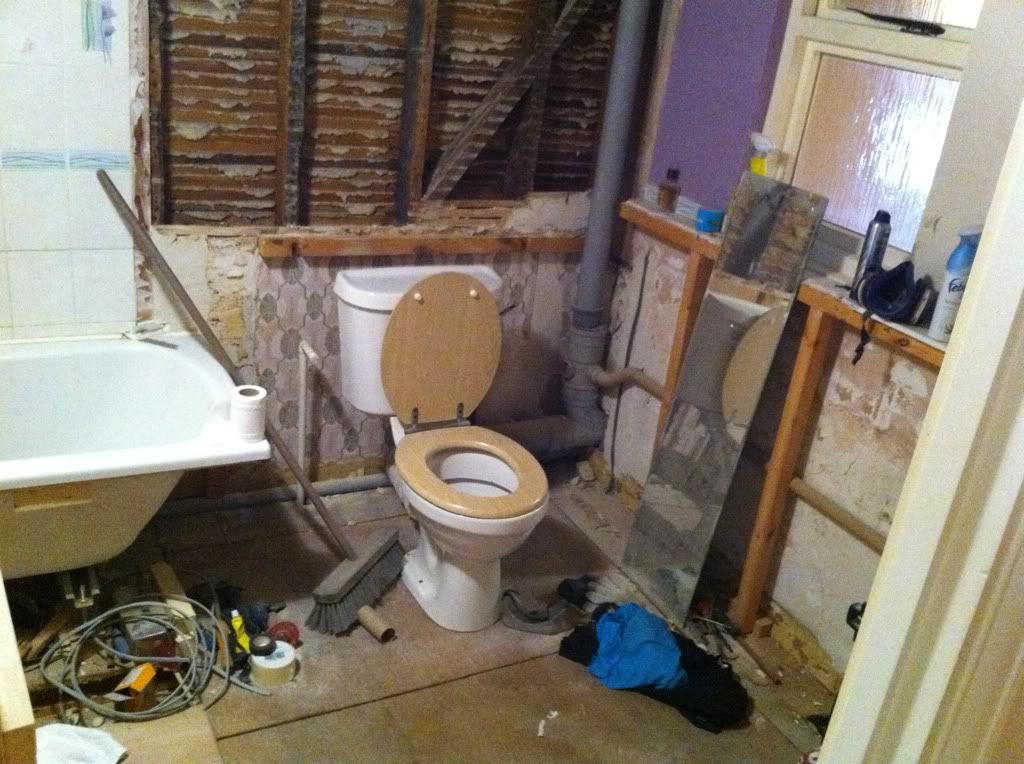
Ive taken quite a lot out..

CARNAGE

6ea9c026.jpg

80443c6c.jpg


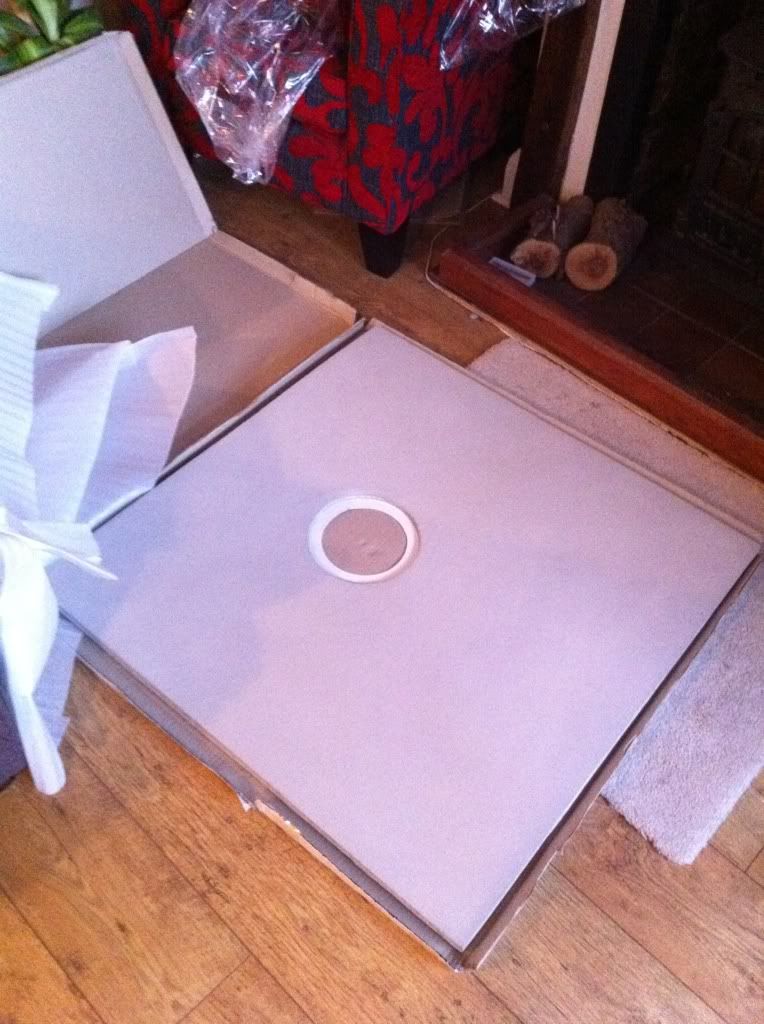
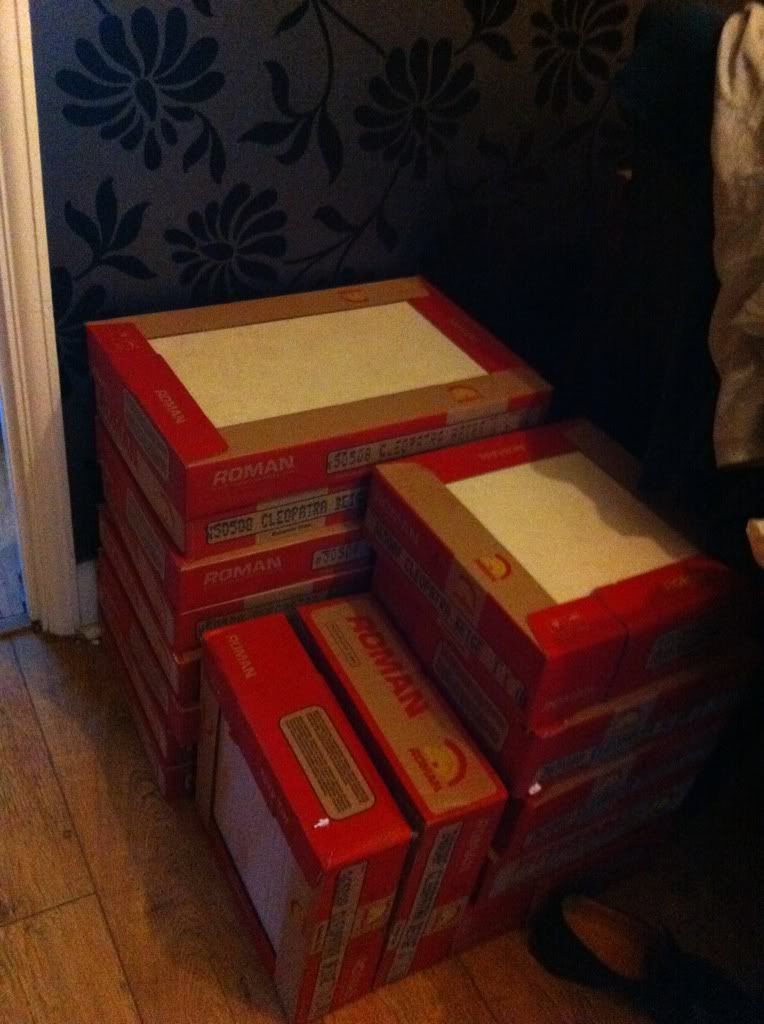
Well, I picked up a load of bits today..

Marmox goods and tiles!

dd3c2c45.jpg

25b0ec7e.jpg

57a0edf2.jpg

98dac92b.jpg

8fe80143.jpg


New shower pump for the house too

89a80179.jpg


Also have taken delivery of a taptile wireless light switch system Taptile - Ditch the switch one-touch mood lighting and dimming solutions for the bathroom and kitchen

6 astro glass downlights

an airflow icon15 extractor fan

and some Polk RC60i ceiling speakers

and a couple of remote water isolation switches about surestop

More bits arrive tomorrow.. i'll update this thread as I go along... im taking next week off to start the plumbing and install!
 
Last edited by a moderator:
Looking forward to seeing the progress Dave. Nothing like doing it all yourself.
Especially good when it's your own home as all those little problems you come across are treated as a
challenge and satisfying when overcome whereas on a paid job they are just a PITA
 
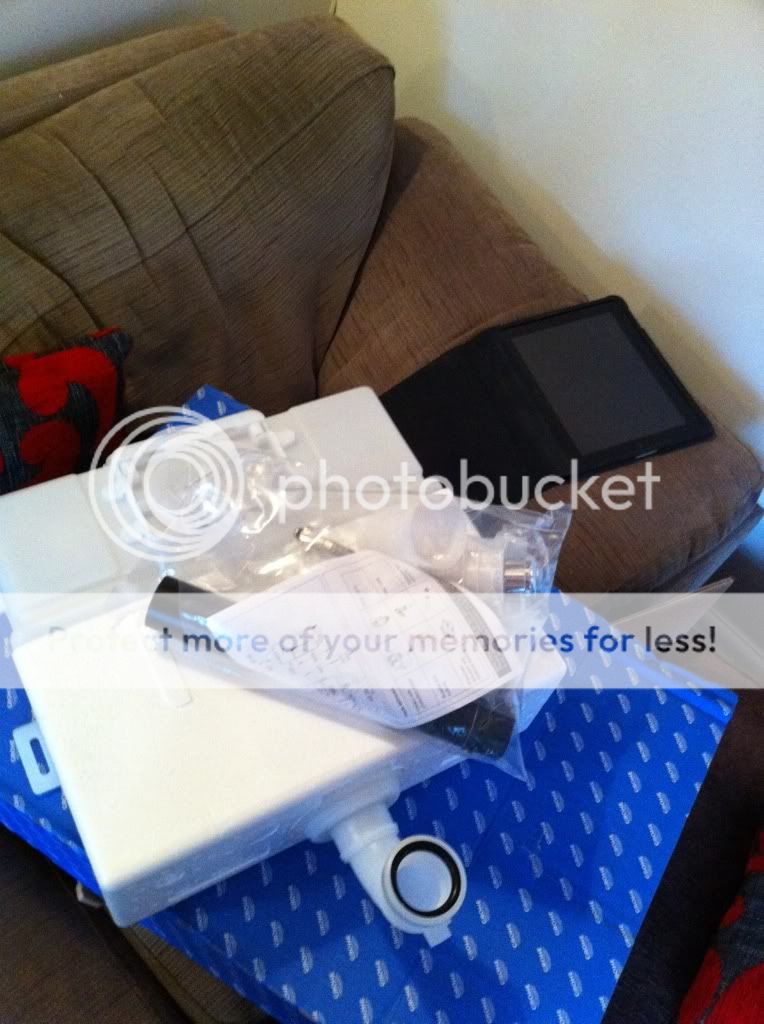
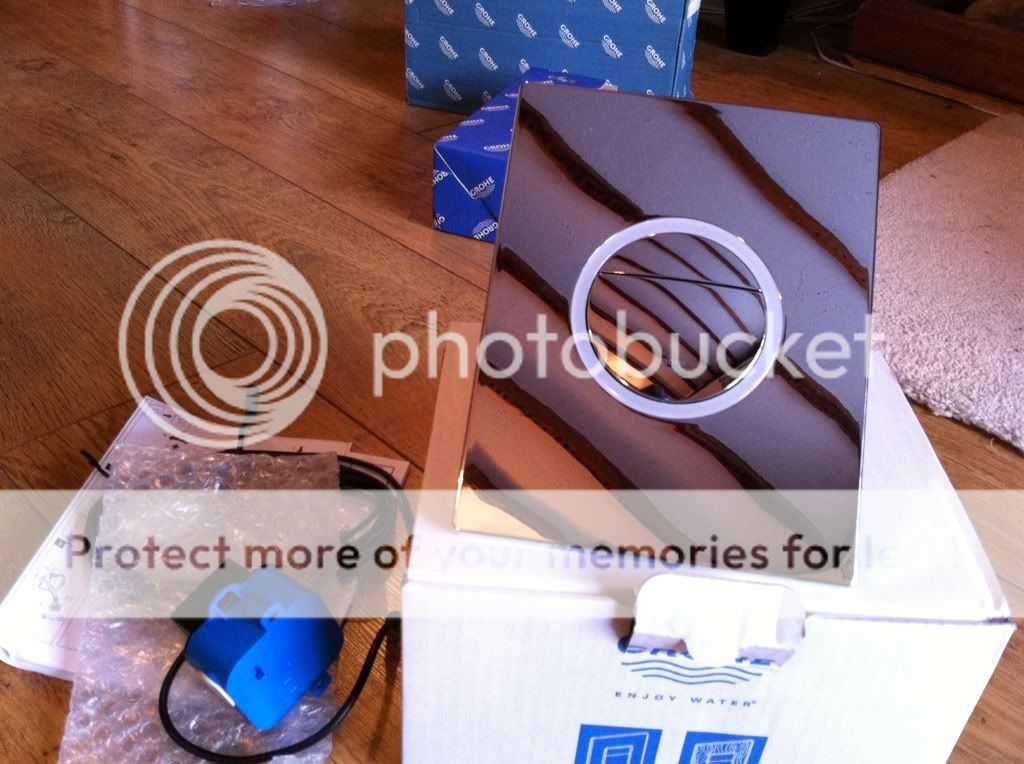
Few more bits arrived today, a few boxes from Grohe

21e0f613.jpg


concealed cistern

63f36772.jpg


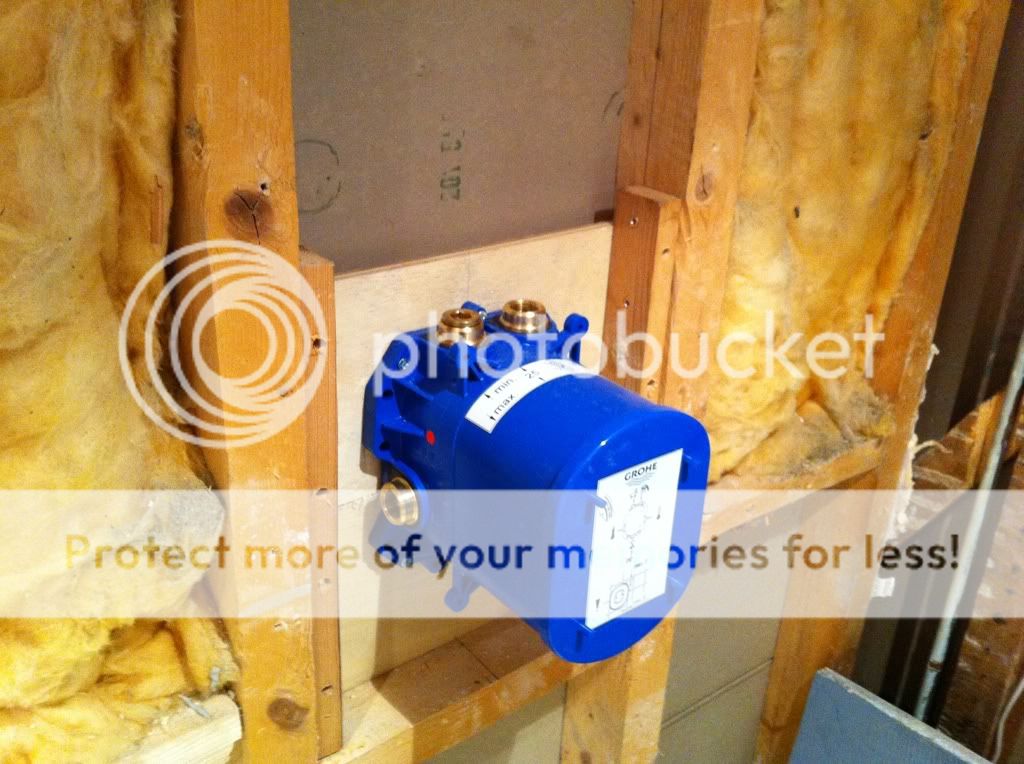
concealed fixed shower head

7688280a.jpg


some taps for the basin

and the most expensive toilet flush ever.. dont ask me WHY! I just thought a flush button with a light ring would be cool!

ccb175b5.jpg


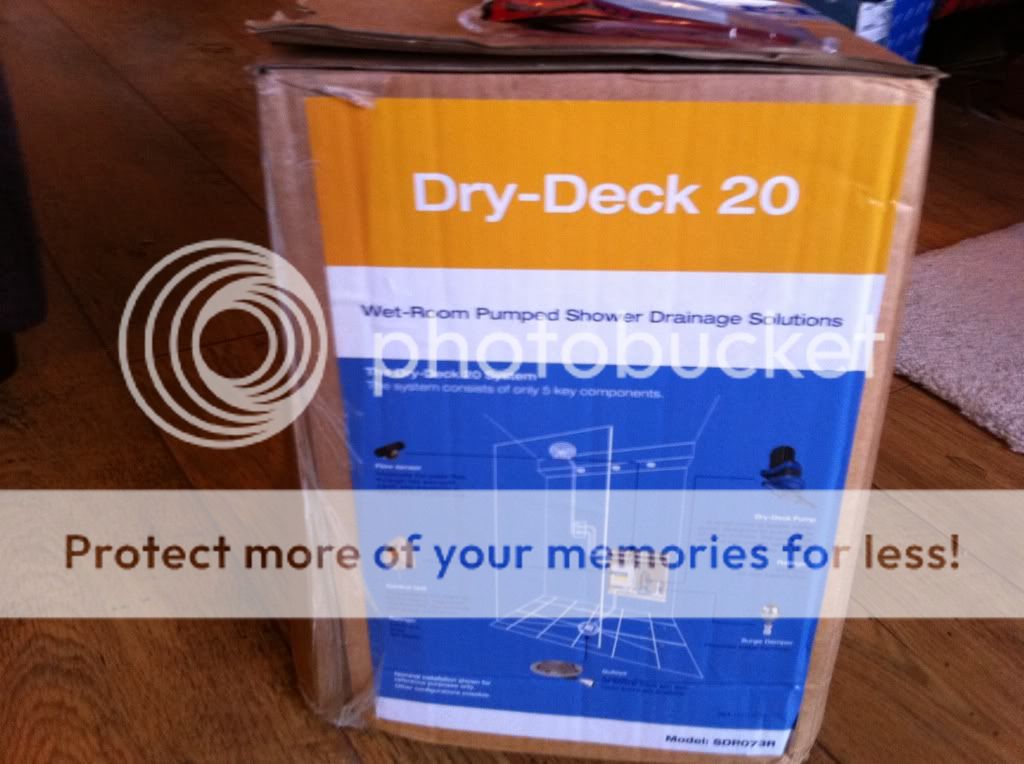
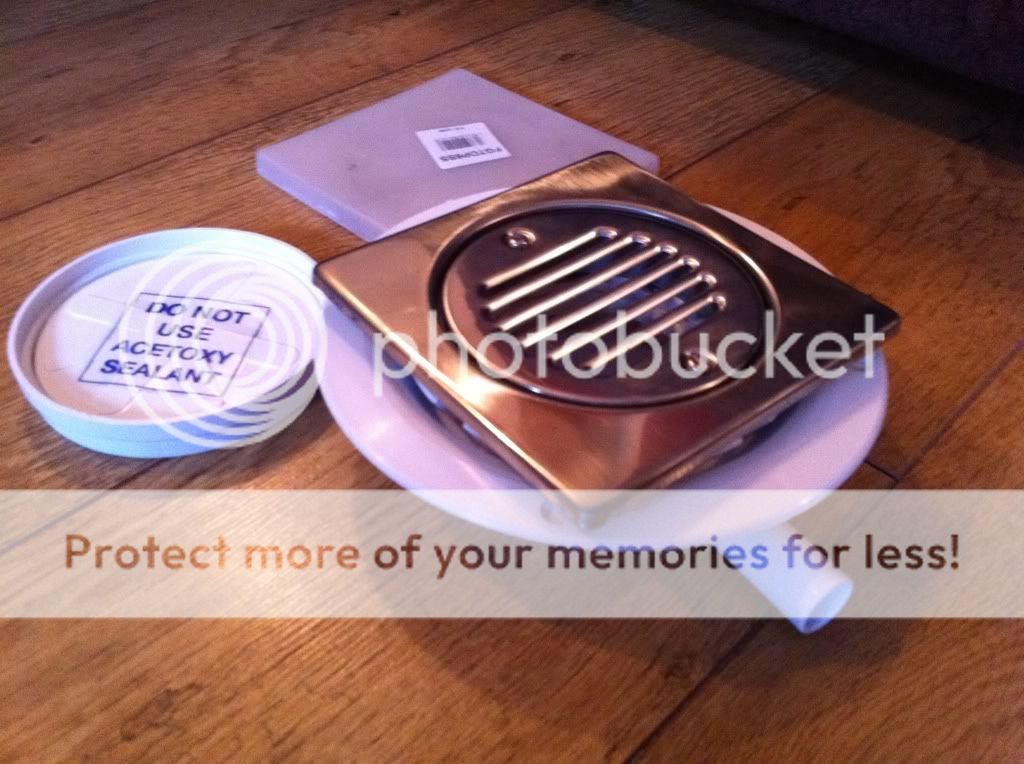
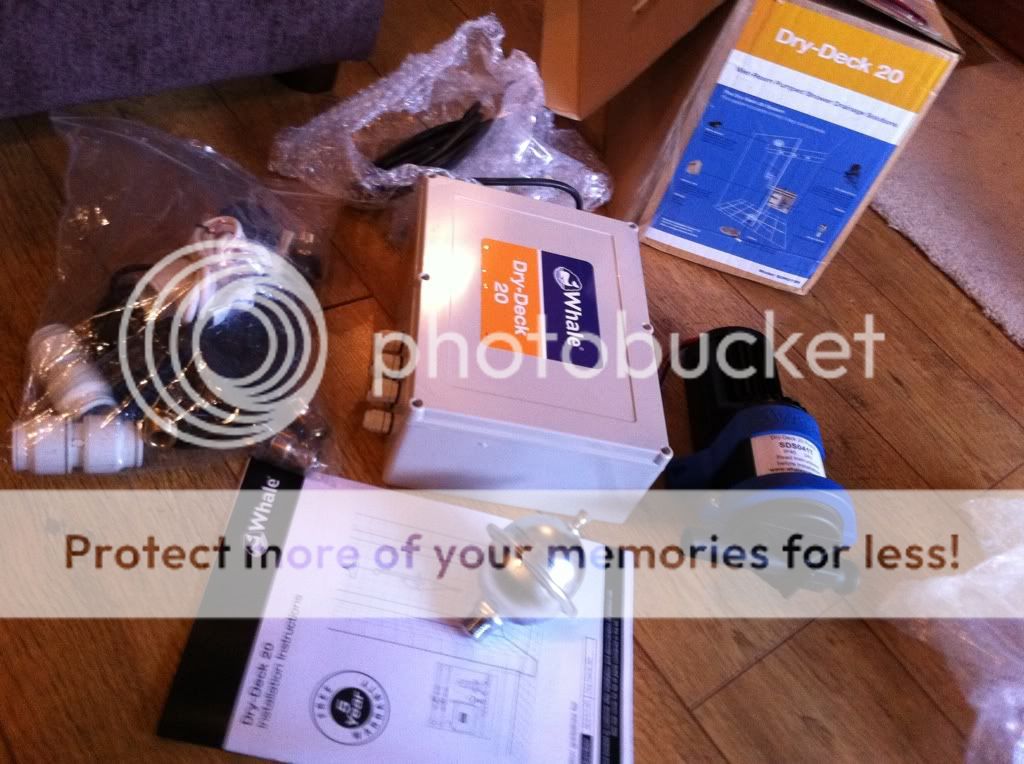
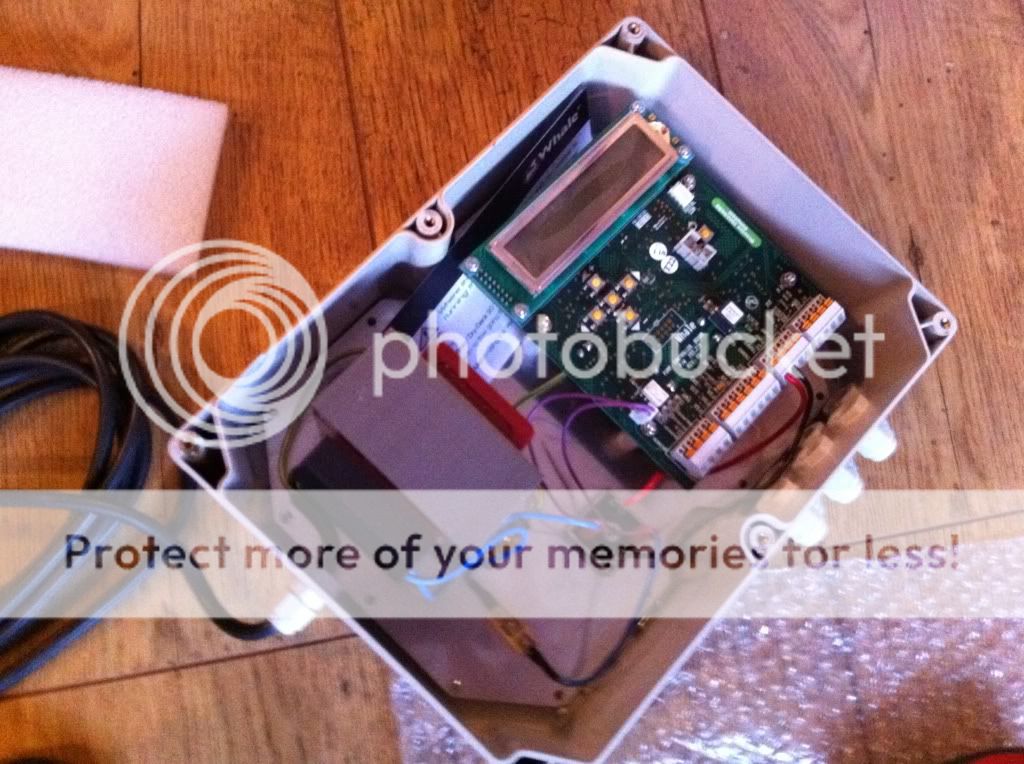
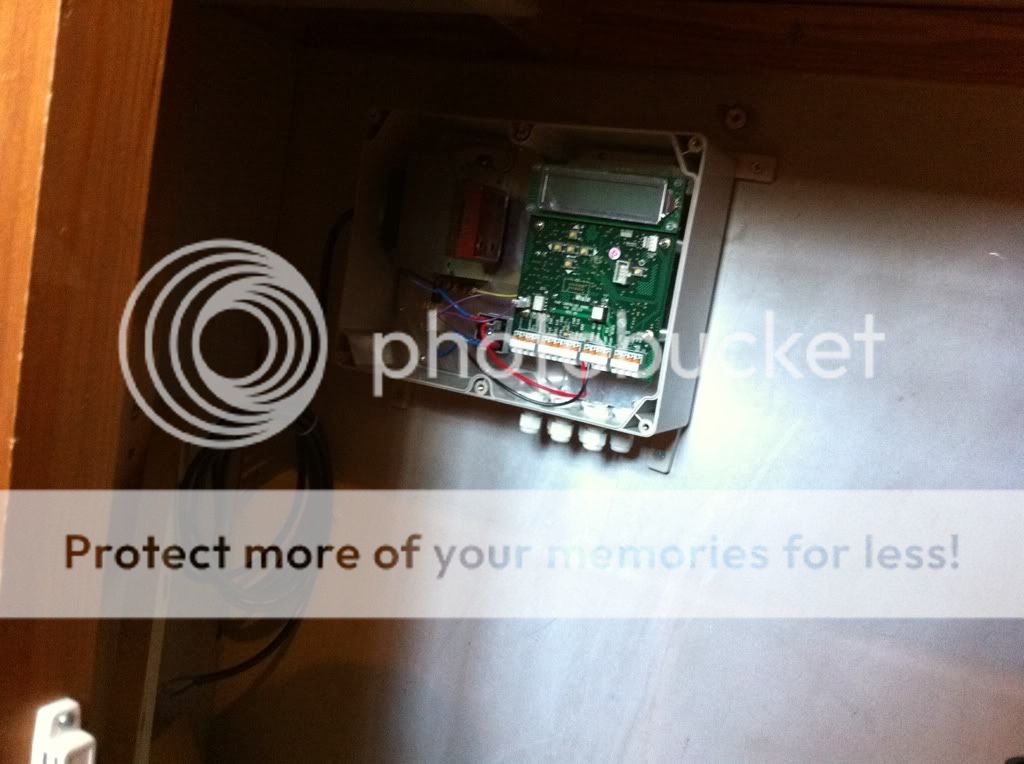
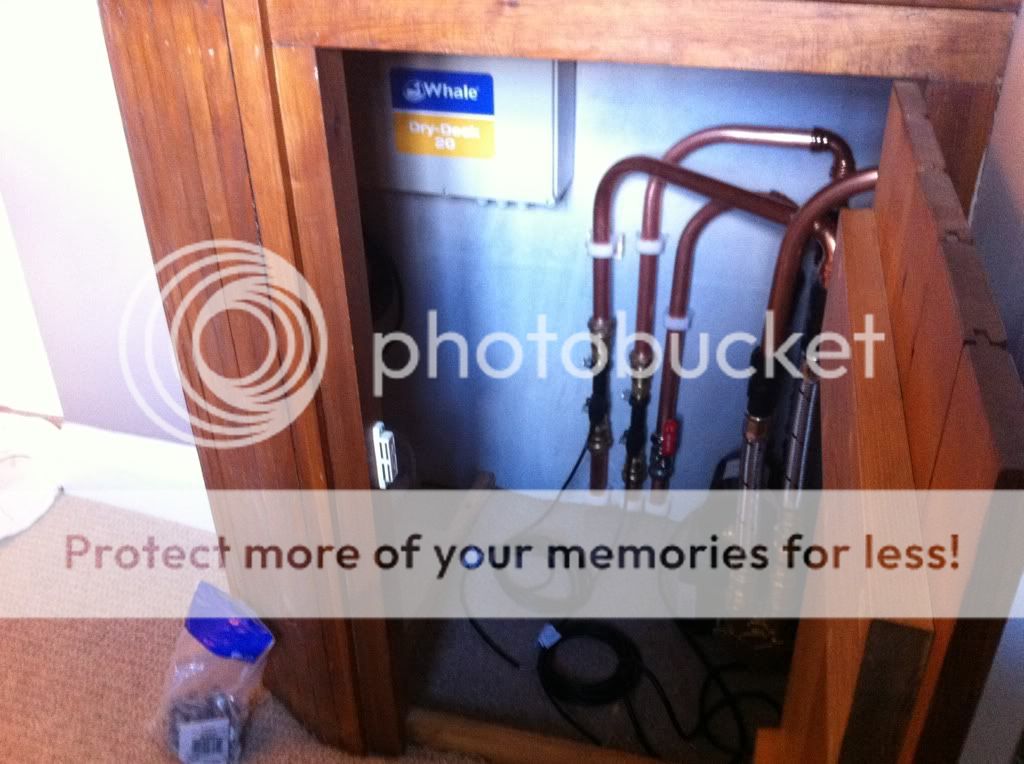
Oh and the dry deck 20 pump system turned up. Gravity drainage would be a bit of a prob so I thought id get it all pumped away. Kit looks pretty good. Very smart stuff check out the website The New Dry-Deck 20 from Pump Technology

f46ccb98.jpg


b6115b67.jpg


2c550edf.jpg


488a96dd.jpg
 
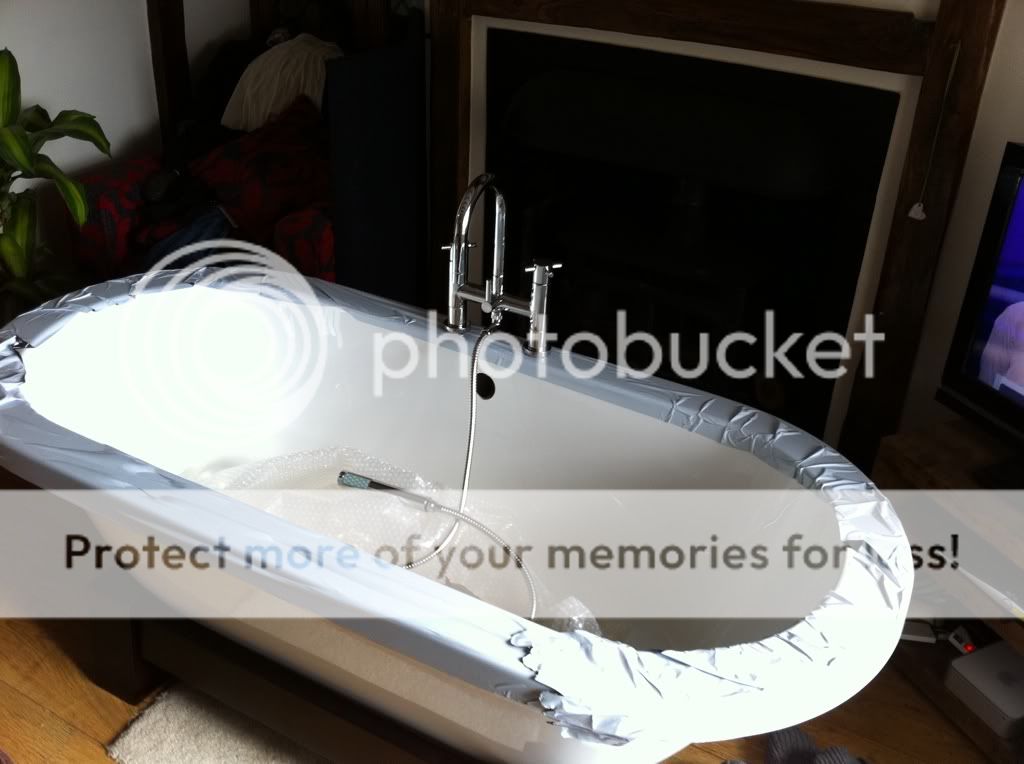
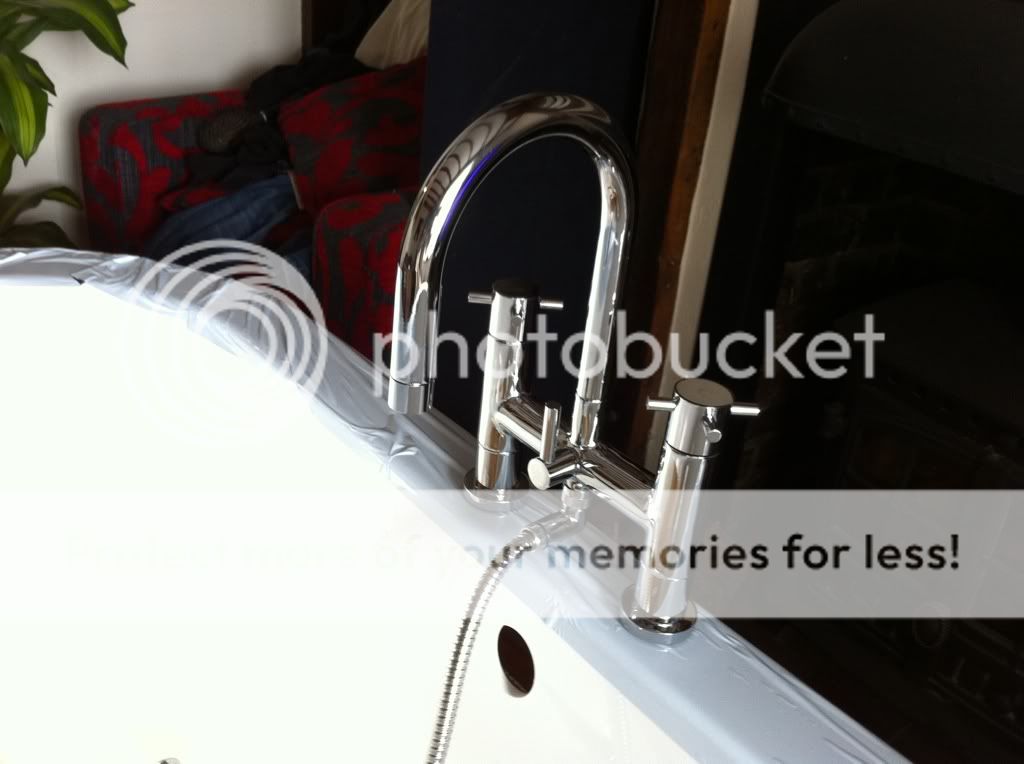
Woohoo,bath has arrived.

cbf545d2.jpg


d6daca95.jpg


I also did a bit of boxing out in the downstairs cloakroom ready to tile/fit concealed cistern loo/sink

0a98a471.jpg


3faa9adc.jpg


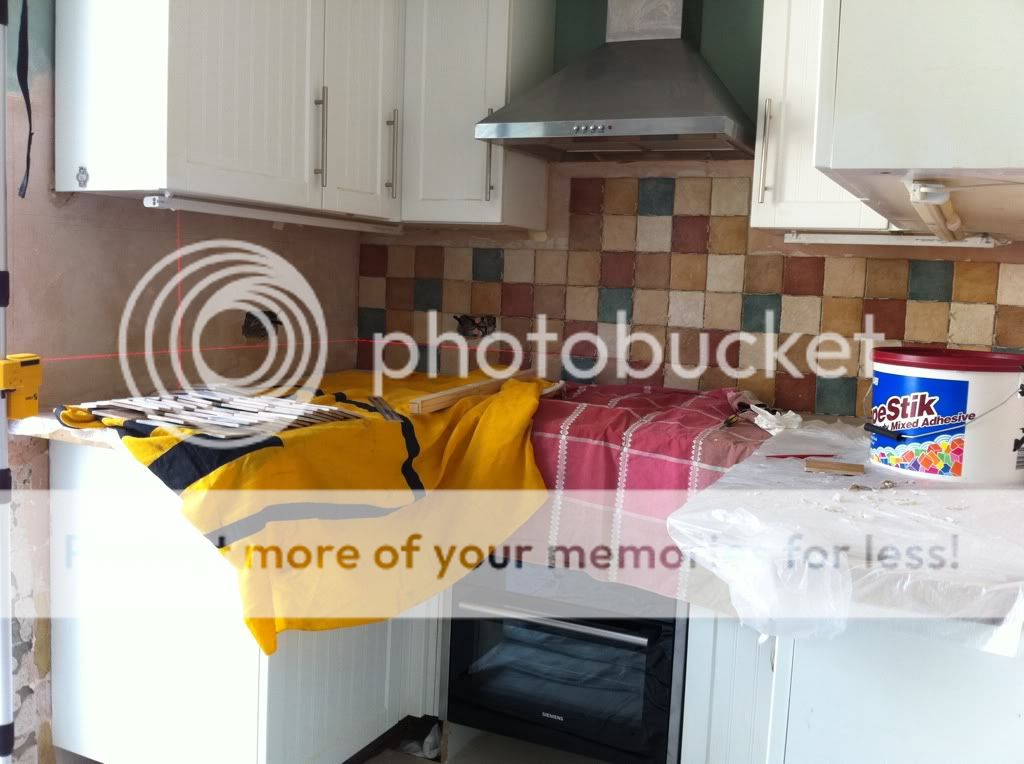
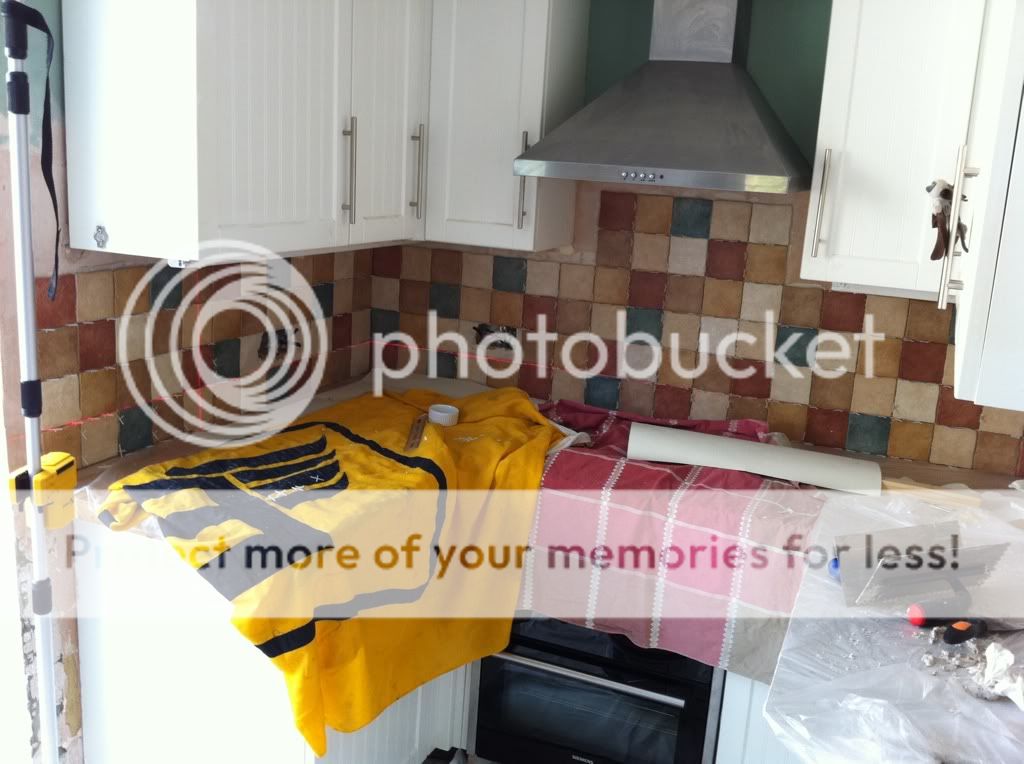
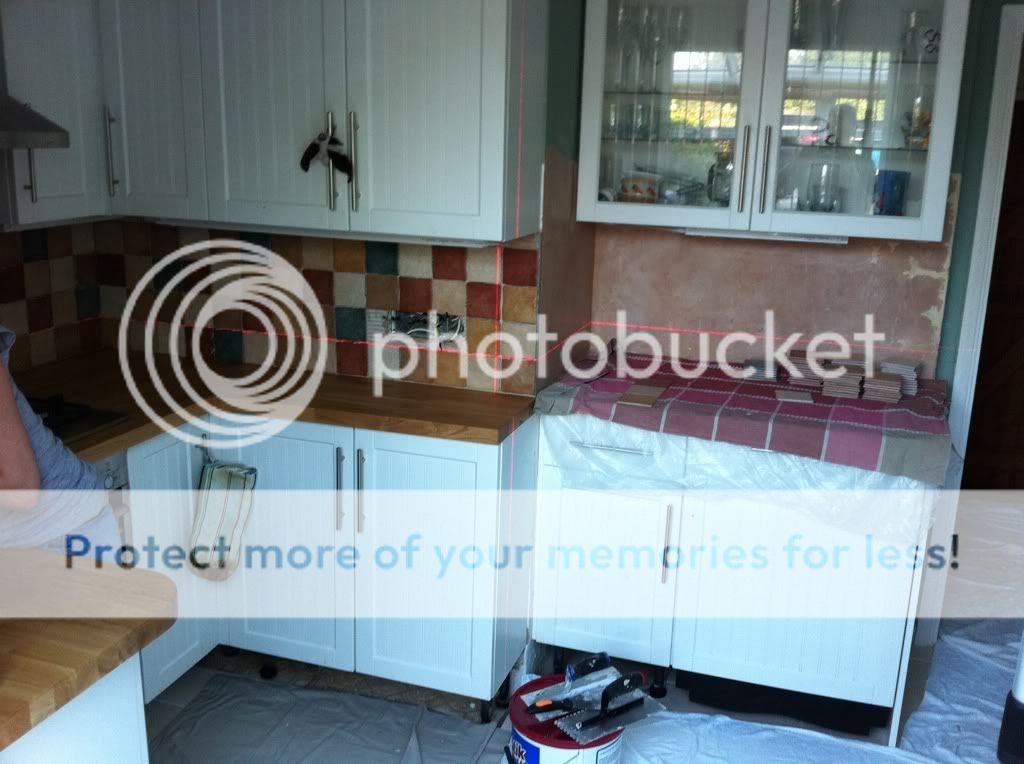
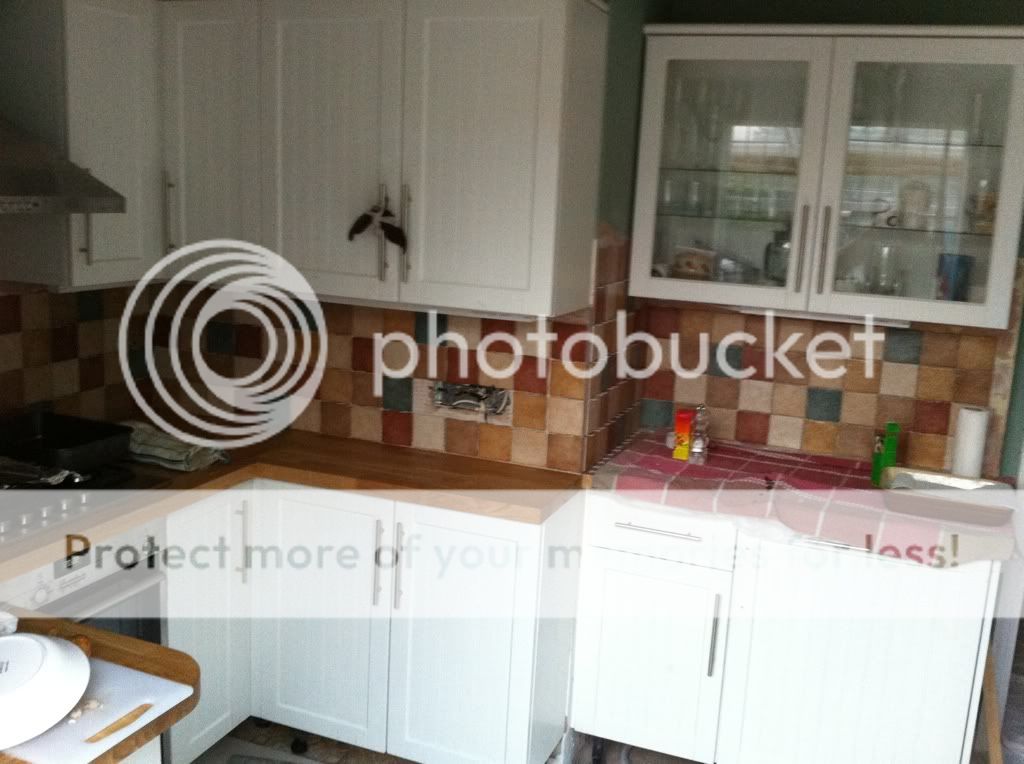
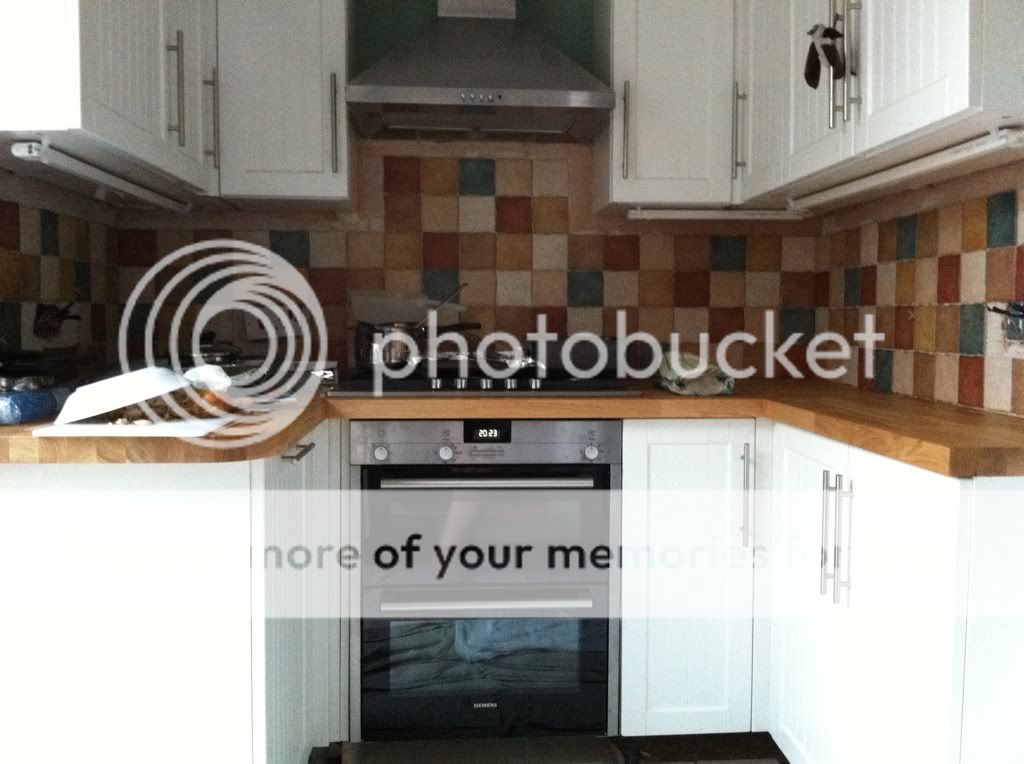
AND.. I decided to tile the kitchen! First ever time tiling a wall... not too bad I hope!

743b50f1.jpg


47b8b2ed.jpg


712e881e.jpg


9f34c559.jpg


b92f0188.jpg


absolute nightmare as no walls were straight! im just about to finish the window surround today, then i'll grout in a few days once fully dry!
 
Good one..
I was slightly concerned when i saw the pic of the underside of the tray with the cut-out for the pipe that it might of been foam cored as per the Showerlay tray and would need full support.
Look forward to seeing the ongoing pics :thumbsup:
 
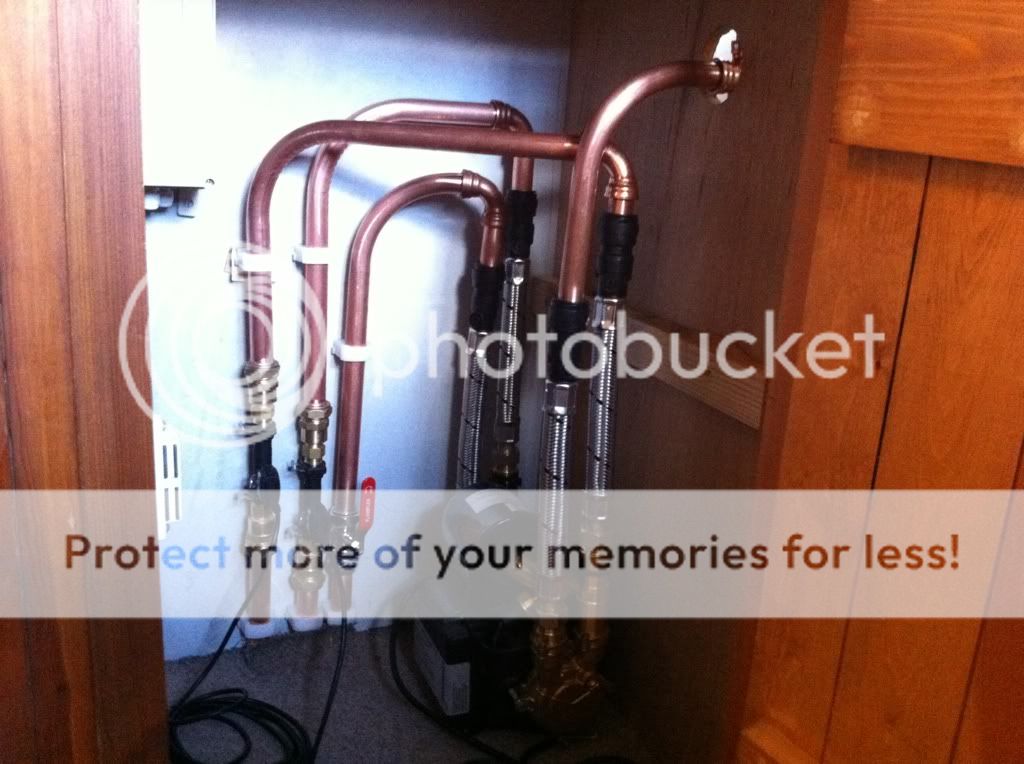
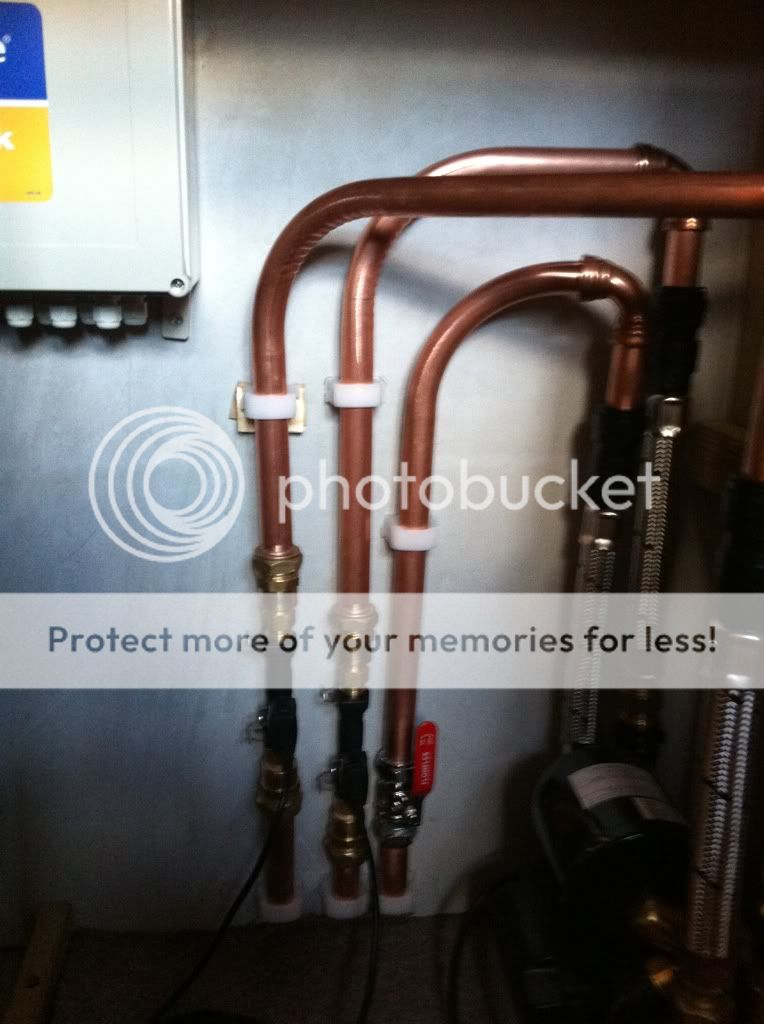
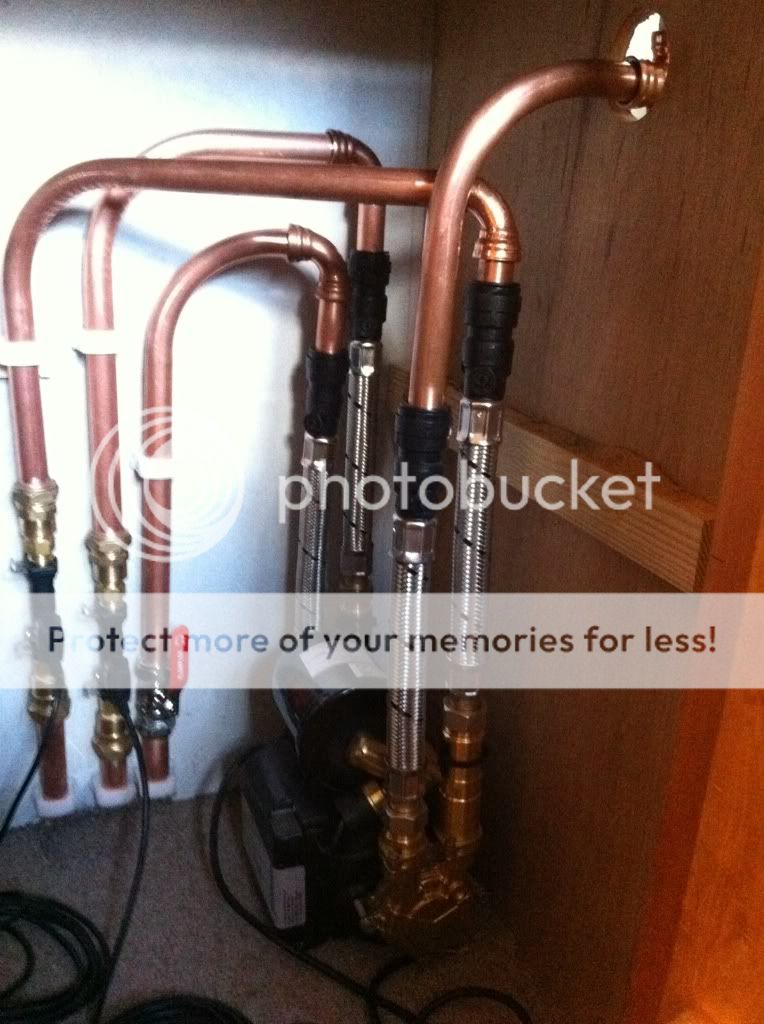
Started to plumb the shower pump and flow sensors for the dry deck today. Better not leak!


a6cf65c9.jpg


f02c8f39.jpg


f63e1d77.jpg


3370a337.jpg


did some plumbing for the shower mixer and some electrics also... more pics tomorrow

this bathroom lark is stressful!
 
Pushfit for ease in my situation. I'm only using compression where its a last resort and im no plumber so am not going near solder! 🙂

Only problem is copper pushfits are so expensive! I reckon ive spent £800 in fittings and pipe alone so far!
 
I either use a local plumbers merchant for speedfix (plastic) or B&Q trade section if I am out of town for similar prices.
I use speedfix on copper pipe - I'm NO plumber either, but I'm insured and I know what I'm doing - kind of!

(Those copper pushfit are about four times the price of speedfix at a merchants)
 
Riiighty ho.... Today I have been a proper bender!


Pipe bender that is!

Shower mixer/thermostat hot and colds are fully plumbed from the new pump

Shower head fitting is also plumbed

Tomorrow i'll route the pipework for the bath taps, cap them off and then turn the water on and try and fix all the leaks!

bit concerned with the shower mixer but I used a good few loops of gas ptfe tape on the screw in unions and they went in pretty tight so fingers crossed!

fb85d36c.jpg


552049f0.jpg


c7e657ba.jpg


9baef84c.jpg


bd59b024.jpg


b0e6dfcc.jpg


efda173b.jpg


and the mess that is my desk.. where I try to work things for this damn bathroom out! oh and ask questions to you kind folk on here of course!

83f49863.jpg
 
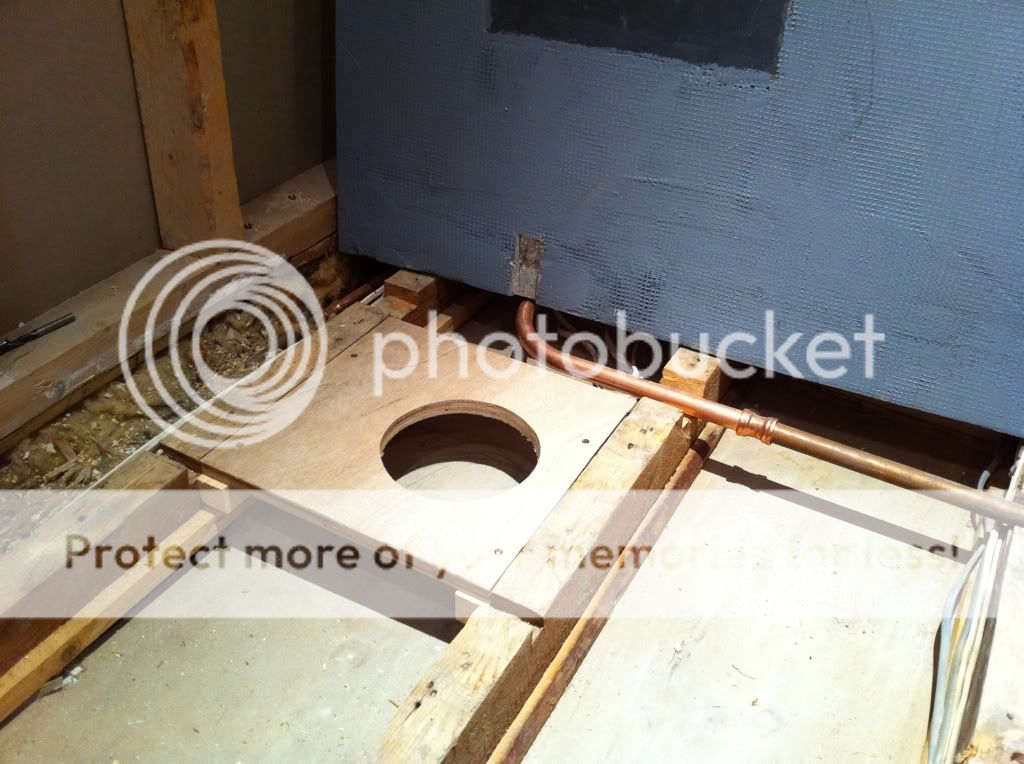
Finally, all the plumbing / re routing is finished. It's all tested too. Shower turns pump on, no leaks anywhere (touches wood)


Pipes done, just sorting some extra wiring / tidying up the old stuff too. Previous installer had it running everywhere and not clipped anywhere!


insulated the hot water pipes too. Have left the cold and shower waste pipes. Had to add a few noggins to support the edges of where the plywood will meet and the perimeter of the marmox wet room tray


984ad9ed.jpg


d75adc49.jpg


e4d6c63a.jpg


Next I layed some insulation in between the joists. Not over any cables now they have been tidied up and clipped to the joists. HOW ITCHY! very itchy!


22faf05d.jpg


Started to prime the underside and edges of the WBP ready to lay


e15b4b69.jpg


WBP now fixed. Every 150 centres. Used a lot of screws!


1300b114.jpg


cd4484f9.jpg


Most of the electrics now in, apart from some final clipping, I should be ready to test / set up the dry deck once ive fixed the wet room tray/gulley. Added a light in the cupboard aswell that comes on when door opens as it was getting dark in there!


043782e2.jpg


58f9aadb.jpg


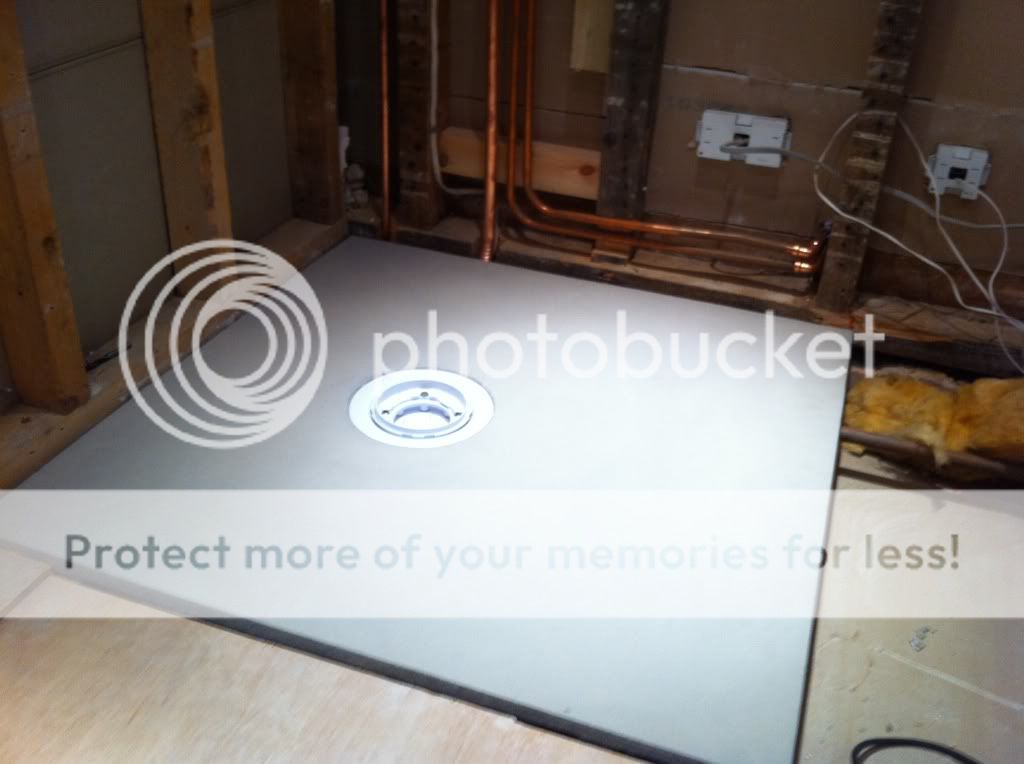
next step.. laying the marmox boards and tanking!
 
Fixed the entrance by replacing knackered boards with 18mm ply.. the fein has been a lifesaver during this project!

Also measured and cut the marmox backer boards. Just need to mark where the pipes/cables are then its adhesive time!

75c471f7.jpg


a7c906e0.jpg


b1859977.jpg


7732d266.jpg
 
Thanks mate

just finished sticking down the boards and screwing... PHEW is all I can say. Went pretty well. Just letting things dry.

Might change career the way i'm going! 🙂
 
Hi Dave, nice job mate. I cant wait to see pics when its done, I'm especially looking forward to seeing the glowing toilet flush button.

Grohe gear is top notch but damn expensive, worth the money though.

Is the bath mixer fed from unbalanced feeds? eg cold from mains and gravity hot, if so dont forget the non return valve on the hot to prevent cold entering the hot water system, which it will because of the higher cold pressure. It will push hot water back into the cylinder and back up into the loft tank and then pour out of the overflow. Granted it will only do this when your using hot and cold together, or if it develops an internal fault.

Many a young plumber has been caught out with that one, they keep replacing ballvalve washers but cant understand why the tank keeps filling!

Make sure you use the low pressure flap type or it will restrict the flow. Get them from BES Plumbing.


Plumbing Supplies | BES Gas & Plumbing Fittings Part 7463
 
Last edited:
Hi Bob, thanks mate 🙂

Cold feed to the bath is from the water tank in the loft (which then goes on to feed the pump then on to the shower). Hot water cylinder is also fed from a tank in the loft too mate.

Sound ok?
 
oh and i bet you are all TOTALLY fed up of pictures of the floor, so the last ones for the time being. All stuck down with SPF and screwed with washers as I went along. Also Sealant in between each board. Will tape then paint with mapegum later.

d91bc53b.jpg


7b0f2221.jpg
 

Advertisement

Thread Information

Title
Bathroom project - Work in progress
Prefix
N/A
Forum
Bathroom Tiling Advice
Start date
Last reply date
Replies
324
Unsolved
--

Advertisement

Tilers Forums Official Sponsors

UK Tiling Forum; UK

Thread statistics

Created
davemul,
Last reply from
Dan,
Replies
324
Views
86,371

Thread statistics

Created
davemul,
Last reply from
Dan,
Replies
324
Views
86,371
Back