Discuss Advice Please - Fixing This! in the America area at TilersForums. The USA and UK Tiling Forum (Also now Aus, Canada, ROI, and more)

Reaction score
0
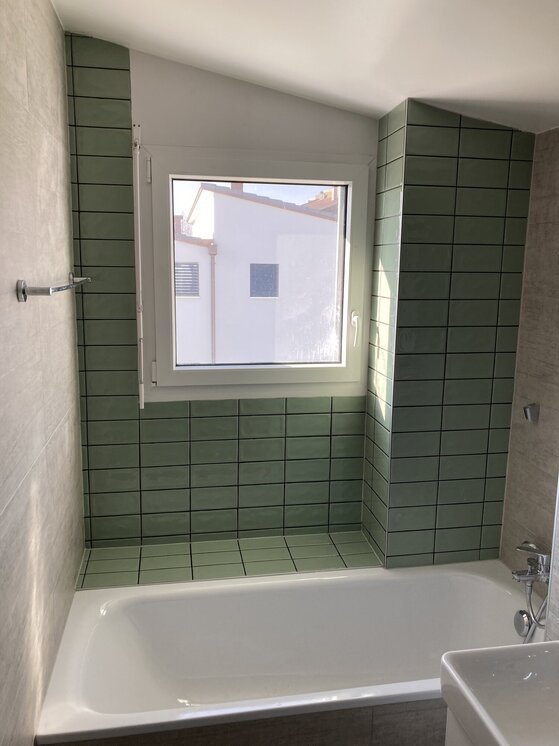
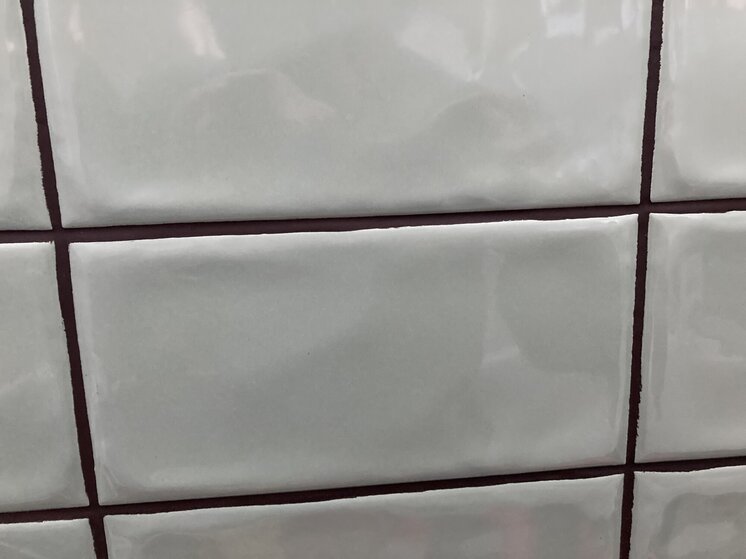
Had a tiling company in to get rid of some glass wall mosaic tiles, redo with green ones. In the process of removing the old they’ve damaged the ceiling (see photo - it’s some sort of plasterboard covered with waterproof paint) and have pumped in a load of silicone to try and mask it. Actually the damage is bad and they’re coming round to fix, but I don’t want to be fobbed off with a bit of whitewash. What would be the proper protocol to fix this professionally? Remove silicone, clean area, fill, then paint? Sorry for my ignorance - just want a course I can insist on. Cheers.
7DFA2ACF-7E18-42A4-A91D-8DE3AC1D806B.jpeg
 
Reaction score
16
Not sure if the photo isn’t doing it justice but the damage doesn’t look as bad as them grout joints. Just ask them to rake out that chewing gum then make good with some suitable matt emulsion.
 
Reaction score
0
Not sure if the photo isn’t doing it justice but the damage doesn’t look as bad as them grout joints. Just ask them to rake out that chewing gum then make good with some suitable matt emulsion.
Thanks Parker! The problem is the silicone is covering quite a deep hole - they seem to have punched right through whatever the ceiling material is in that edge where it meets the tile. Globally the job seems OK. Female tiler set the tiles took some care. Next day her colleague did the grouting took very little care, also with bleed onto the white silicone around. Place was left in a real mess too. Just really disappointing when you pay people well and they do half a good job. Appreciate your answer!
 

Attachments

  • F626370A-7346-4F35-B861-BEB8B7E24816.jpeg
    278.2 KB · Views: 43
Reaction score
1
Well, as far as I can see the job was done good, most of the job. The only thing I see you can do is to cut the silicone with a sharp blade, and then apply some matt emulsion or paint.
 
Reaction score
0
Is there any way to straighten these grout lines a bit now it’s dried? I mean, I can live with it, but wondered if driving through a circular wooden tool with a bevelled edge or something like that might get rid of some of the crud on the sides and even things up a bit?
 

Attachments

  • 798F2AEB-9C6C-485A-82D0-D88682A64033.jpeg
    294.5 KB · Views: 28
Reaction score
16
It’s hard to tell if the grout line is wavy due to application or because the tile is bumpy/rustic.

Get a level on the long edge of a spare tile and hold it up to the light, then move it towards the face of the tile about 30 degrees… if light is getting through in random places then the grout lines will never be uniform on that particular tile, if no light gets through and the level is sitting flat on the pillow edge, “perfect” grout lines should be achievable.

Either way, it’s not a terrible job, everything looks relatively straight at first glance and the slightly wavy lines goes with that sort of tile, just that botched top corner and poor clean up that I wouldn’t be happy with.
 

Reply to Advice Please - Fixing This! in the America area at TilersForums.com

Or checkout our tile courses and training forum or the Tile Blog / Latest Blog Posts

This website is hosted and managed by www.untoldmedia.co.uk. Creating content since 2001.
Please visit our sponsor websites, they keep the forum free to use!
Tile Contractor Forum. The useful tile contractor website.

UK Tiling Forum Stats

Threads
67,365
Messages
881,187
Members
9,529
Latest member
Dawz84
Top
AdBlock Detected

We get it, advertisements are annoying!

Sure, ad-blocking software does a great job at blocking ads, but it also blocks useful features of our website. For the best site experience please disable your AdBlocker.

I've Disabled AdBlock    No Thanks