Hoping to add a QEP laser tomorrow.
I think i have found a way to attach it without altering/drilling the saw housing.
There is a small plate that holds the water pipe at the front-left of the wheel house.
I'm hoping i can use that screw/plate to hold my lasers bracket.
It will simply be a matter of unscrewing the screw, adding my bracket and re-screwing.
I found a bath "wall bracket" that looks like it will be ideal.
It is already bent 90', but with a small u bend in it.
This will allow a little vibration/movement and make adjusting it easier.
I'm not sure how rust resistant it will be, but if it works i have a few spare brackets that i could get rust proofed.
I will post back tomorrow with pictures...
Well it's on and working! (took about ten minutes in total)
First job was to attach the bracket
Here is the original screw i used.

Here is the bracket that is for holding baths to the wall!

Bracket fitted

QEP laser (from my old QEP Pro 900)

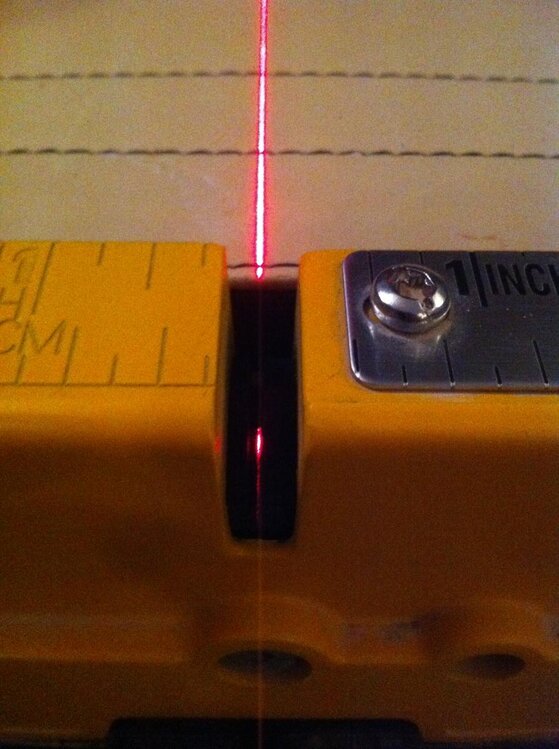
Laser fitted and working (no that's not a new type of tile! Just used to show laser line)

You can adjust the laser sideways by using the two screws on the bracket.
For skew adjustment (so laser lines up from to back etc), use the small screw on the bottom of lens/laser.
Perfect alignment!!!

So that's it. The laser line is actually much thinner than it looks in the picture. (it's about 1mm)
I think the camera phones lens is flaring the light because it is so bright.
The bracket is actually holding the laser very strongly, and everything seems solid.
I'm hoping, it proves quite robust.
I know some think lasers are gimmicks, but they are great for speeding you up.
Just mark the tile, and then line up with the laser and cut....simples


