I
Ian
I did a floor with GBTA (from Creative Impressions) a couple of months ago and took a few pics along the way and thought I'd share them with you all.
A bit of background on this particular floor first.
It was pumped in on April 22nd (2011) at a thickness of 50mm and left to dry for 3 months (longer than necessary but one floor was a basement which held the moisture more than expected when tested with a hygrometer), when we were satisfied that it was dry enough the heating was commissioned and the laitence (which was minimal) was sanded off using a mechanical sander with a metal abrasive pad,
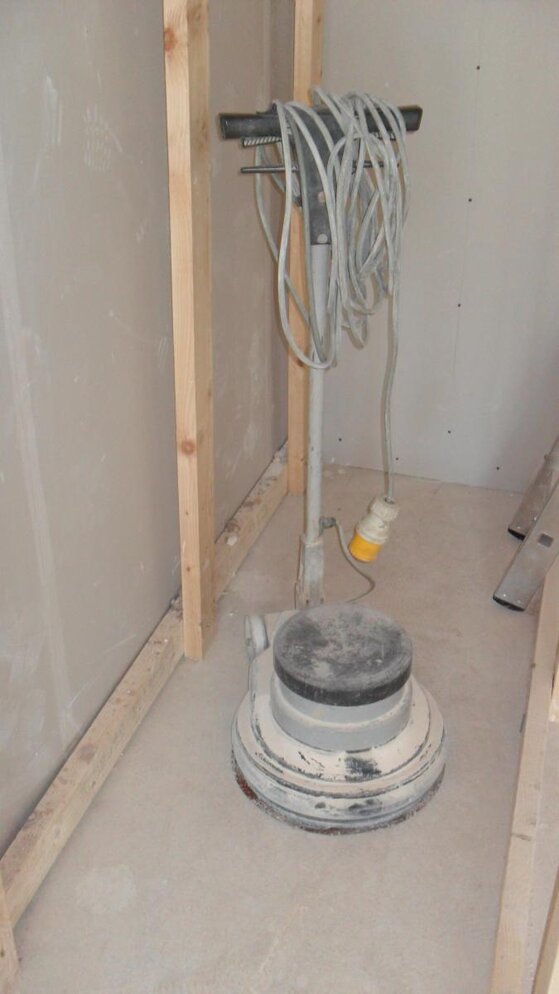
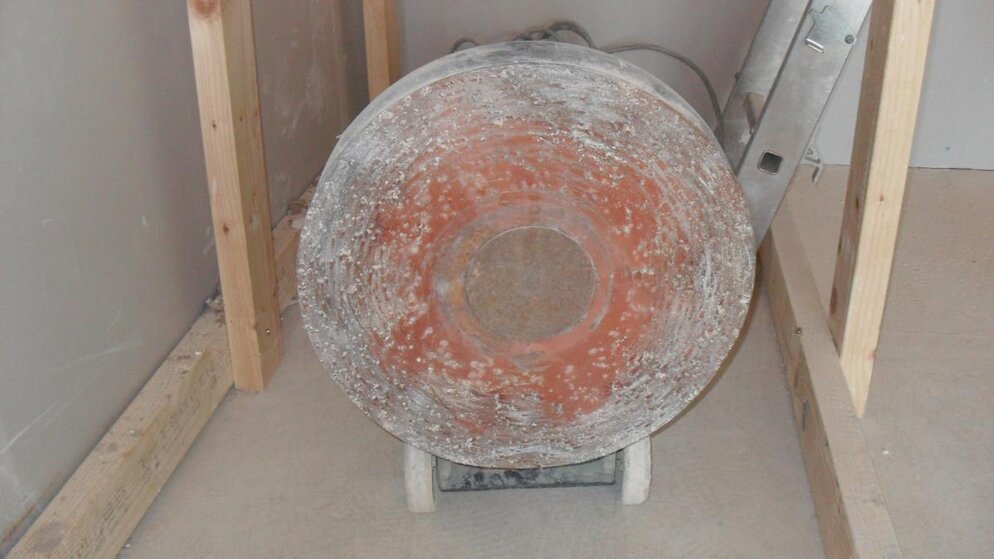
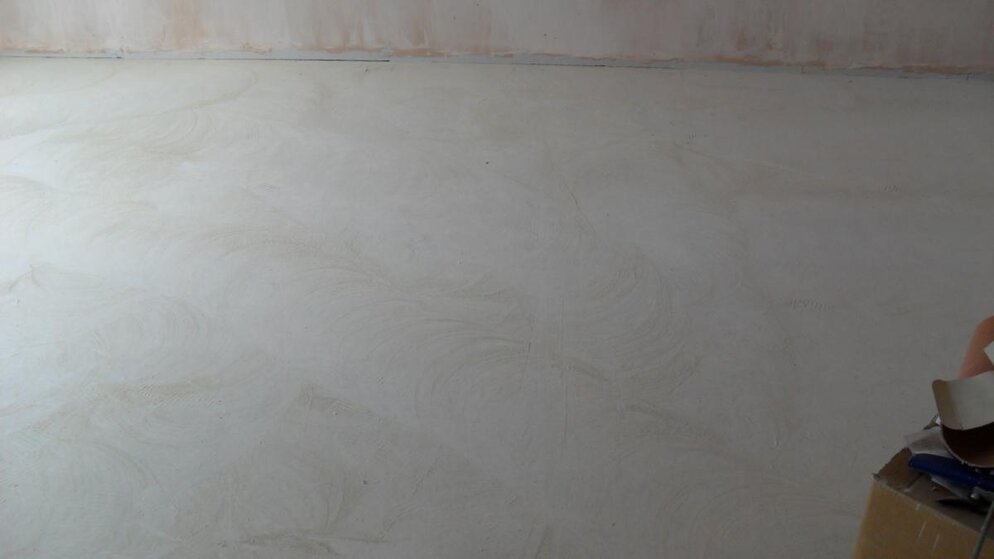
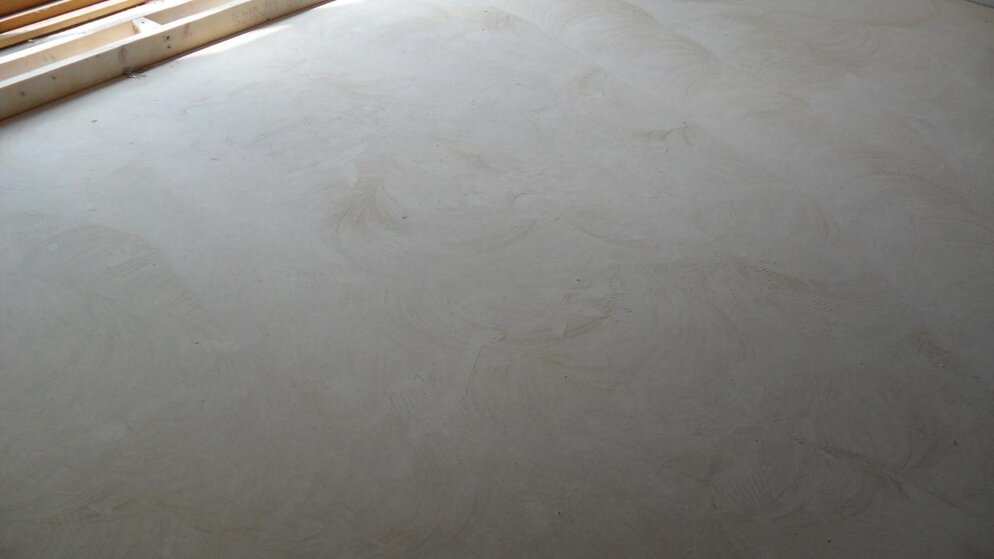
This process removed the laitence and created a lot of dust! It was then hoovered very thoroughly ready to be primed.
ALWAYS WEAR A DUST MASK AND VENTILATE THE AREA YOU ARE WORKING IN!!!
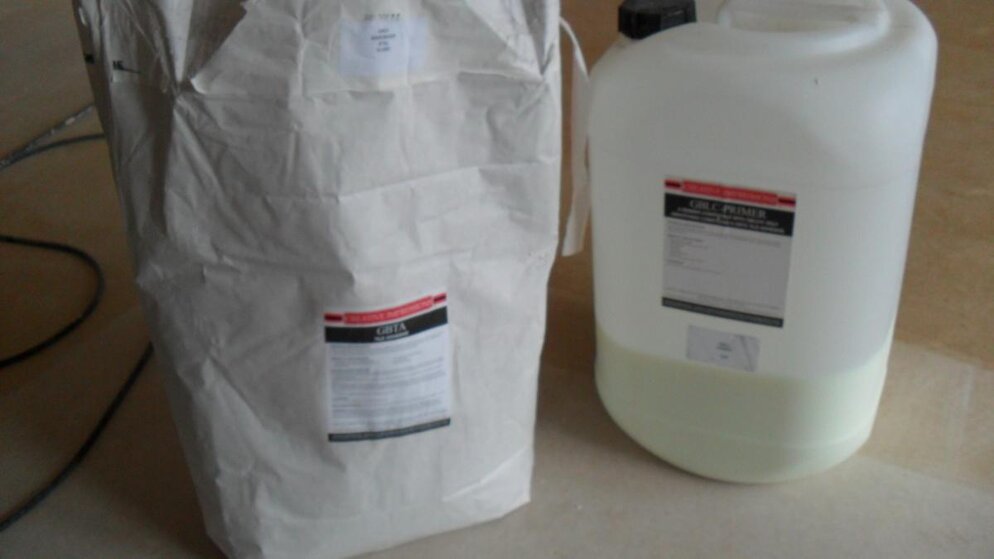
After sanding and hoovering the area to be tiled was then given a 1st coat of the GBLC primer 24 hours before tiling was due to commence.
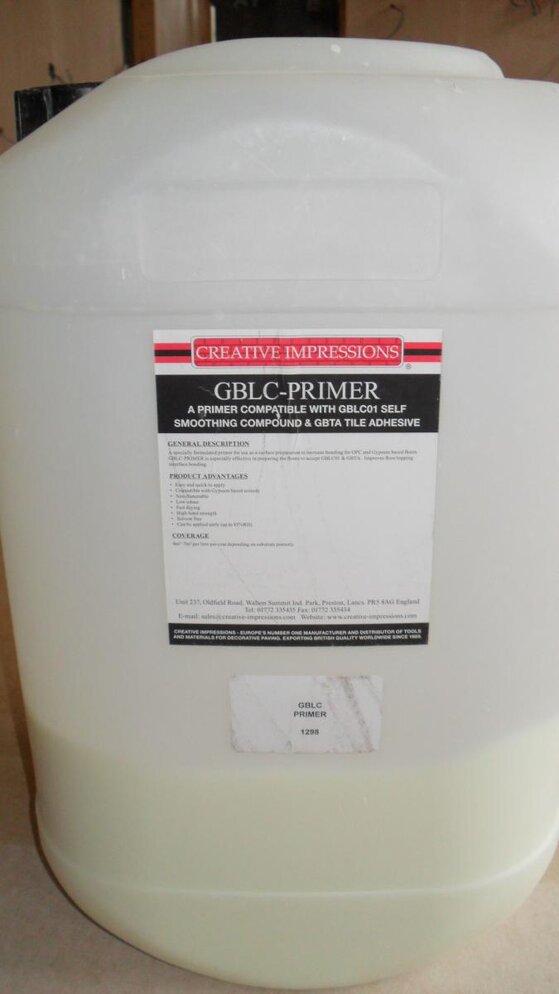
Once the first coat was fully cured a, second coat was required however, this was to be done in smaller sections (5 m2 at a time) and was tiled on whilst still tacky.
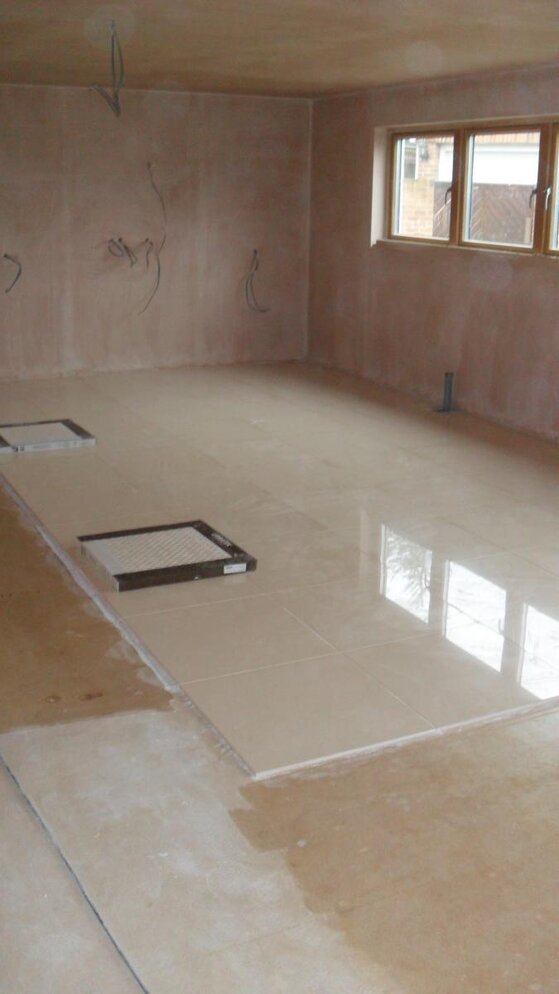
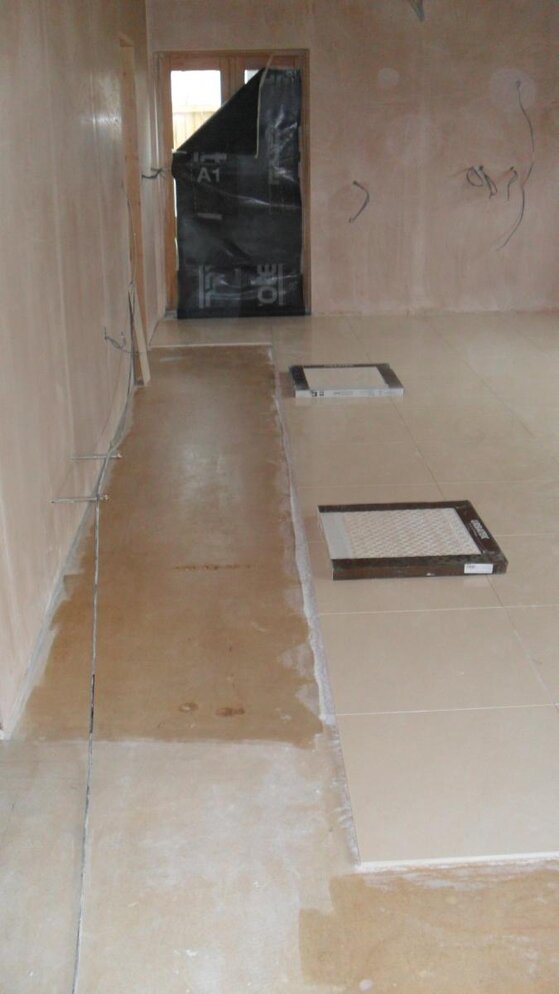
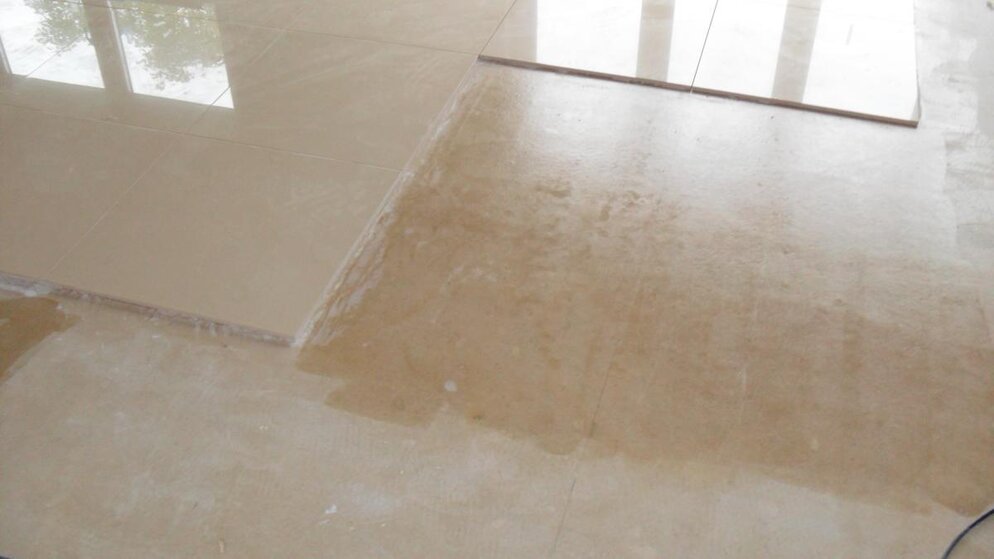
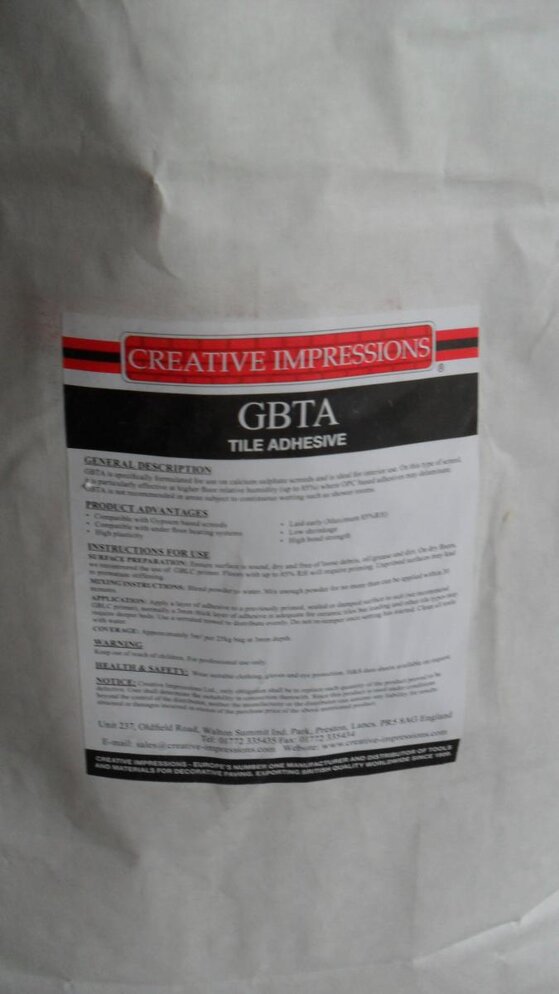
The adhesive itself was very easy to use and had a reasonable pot life (30-40 mins), one thing I will say is that when mixed in the bucket to the correct ratios, it looked too wet but, when troweled out held its ridges and didn't slump at all. With a 10mm round notch and back skimming I was getting between 5-6 m2 from a 25kg bag.
Anyone who has never prepped and tiled on a gypsum floor and are wary of them, I will say that if you follow the recommended curing times, prep the floor in the correct manner and tile using the appropriate products, you have nothing to fear. These floors are becoming very common now so, you will all have to face them sooner or later!
A bit of background on this particular floor first.
It was pumped in on April 22nd (2011) at a thickness of 50mm and left to dry for 3 months (longer than necessary but one floor was a basement which held the moisture more than expected when tested with a hygrometer), when we were satisfied that it was dry enough the heating was commissioned and the laitence (which was minimal) was sanded off using a mechanical sander with a metal abrasive pad,


This process removed the laitence and created a lot of dust! It was then hoovered very thoroughly ready to be primed.
ALWAYS WEAR A DUST MASK AND VENTILATE THE AREA YOU ARE WORKING IN!!!
After sanding and hoovering the area to be tiled was then given a 1st coat of the GBLC primer 24 hours before tiling was due to commence.

Once the first coat was fully cured a, second coat was required however, this was to be done in smaller sections (5 m2 at a time) and was tiled on whilst still tacky.


The adhesive itself was very easy to use and had a reasonable pot life (30-40 mins), one thing I will say is that when mixed in the bucket to the correct ratios, it looked too wet but, when troweled out held its ridges and didn't slump at all. With a 10mm round notch and back skimming I was getting between 5-6 m2 from a 25kg bag.


Anyone who has never prepped and tiled on a gypsum floor and are wary of them, I will say that if you follow the recommended curing times, prep the floor in the correct manner and tile using the appropriate products, you have nothing to fear. These floors are becoming very common now so, you will all have to face them sooner or later!
