Currently reading:
Grounting Indian Sandstone Over Ufh

Discuss Grounting Indian Sandstone Over Ufh in the Canada Tile Advice area at TilersForums.com.

T

tim441

I will be grateful for suggestions and advice on best grout and 'how to' tips for scenario below:
1. Anhydrite liquid screed over wet UFH
2. 22mm indian sandstone installed with Granfix CSR flexi adhesive. Joints approx 10-15mm
3. sandstone is grey and used externally on patio as well with mortar joints tooled with rounded joiner tool


Plan is to seal with Geofix stone protector

Questions: Grout options?
1. Was planning to use Granfix Maxigrout - wide joint/flexible. But bit concerned whether its going to be very painful to use due to riven surface and cleaning it up etc. Any tips or suggestions how to most efficiently use a grout of this type? Want to minimise work but get good finish! Presumably using traditional sponges etc will just rip sponges and be a nightmare to clean grout from sandstone
i) best to use a grout bag?
ii) finish with rounded jointer tool?

2. Is it possible to use sand/cement mixed with flexible additive? if so what mix and type additive do you suggest?

3. any other tips and suggestions welcomed!

thanks!
 
J

J Sid

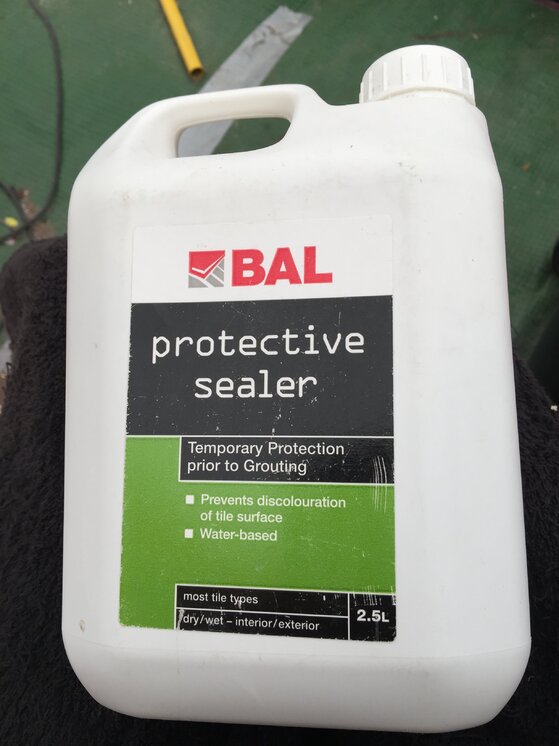
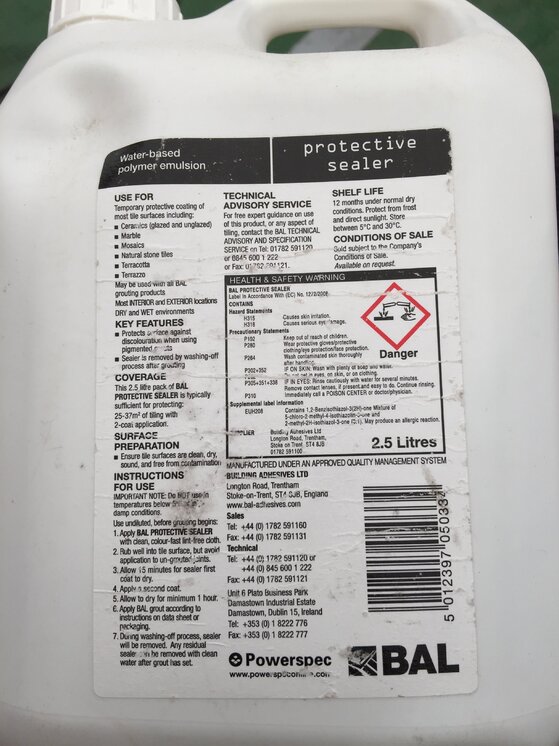
or just use a
wp_ss_20160514_0001.png
and make no mess
 

Lithofin BOB

TF
Esteemed
603
518
Hampshire
If external grade, impregnate, as to suspend the topical. poss use the topical temp sealer above after - on a coarse grade you may need 4-6coats to fill the cappillaries - stop the grout contaminating the pores.

You could seal a spare unlaid stone at the same time, mix up a sample of grout and check and confirm grout release on a section ( ensure impregnator has cured fully)

From there you can apply coats on the sample ,one at a time of above and re test to determine the amount of coats you will require with the texture of stone you have. Then be confident you can remove on the Main floor

Or use the gun after impregnating face and edge ,and don't mess the face
 
T

tim441

20160528_073325_resized_1.jpg hanks for the input.

For those that read in future here is an update on what we have done:

1. Allowed pumped screed to dry naturally for 3 days with doors windows shut for first 24 hours
2. After that added dehumidifiers overnight with fans to help air circulation. We used 3 domestic type ones but ideally would have been at least 500W each. During the day doors and windows open was more effective. Dehumidifies initially filled overnight. after that they part filled only so seemed sufficient. On cold nights left on oil filled electric heater to keep temp around 20 degrees.
3. After a week turned on u/f heating. Started at lowest temp (25 deg) and left on 24x7. Increased temp by 5 deg a day up to 55 deg.
4. We ran like that for about a month (including dehumidifiers). Then gradually reduced temp 5 deg a day to 25 deg and then off.
5. Using the old plastic bag on screed test overnight there was still a little dampness. I would recommend following guidelines and testing with hygrometer or continuing until completely dry. But we gambled and i think its ok as it was almost dry. If using a porcelain or ceramic tile it is vital its dry. With a natural stone it will dry very slowly through the stone. But I am sure the adhesive manufacturers will still insist the screed must be completely dry first.
6. With u/f off for 3 days (dehumidifiers still on) we fixed India sandstone with 10mm notched trowel and Granfix CSA. 65 sq m... approx 20 x 20kg bags
7. Sealed after 2 days with Everbuild GEOSTONE5 Geo-Fix Stone Protector. Followed guidelines. Seemed to do a good job and only used less than 10 litres on 65 sq m. Cost effective compared to other products. Used a roller and brushed into edges. Mopped up any pooling within 30 minutes.
8. Grouted with grey Granfix Maxigrout. 65 sq m ... approx 11 x 10kg bags for patio packs of 22mm calibrated slabs approx 10-15mm joints. Very little wastage.
9. Grouting trial and error on best method for us was.
a) Use grout bags... at least 2 people... one to mix and fill joints.. one to clean etc
b) with grout at thick cream so it stood in joint without running everywhere but completely filled joint. If its too stiff it is too hard to get out of bag and does not fill joint so well.
c) allow to just start to go off... push into joints fully with wide pointing tool. as soon as practical cut off snots with trowel and pick up into waste bucket.
d) continue to clean up with sponges etc as normal.. we washed whole slab to ensure no portrait from grout but probably would have been ok anyway due to sealer.
10. 2 days later sealed again with Geo-Fix as above. In reality slabs did not take much but grout joints took a little

fyi slabs were grey, calibrated 22mm, tumbled, patio pack. used the same as patio... another 150+ sq m with sand/cement base and joints
would recommend allowing time for screed to dry properly. typically 1mm per day up to 50mm i believe. But dehumidifiers and forced heating will reduce the time significantly.

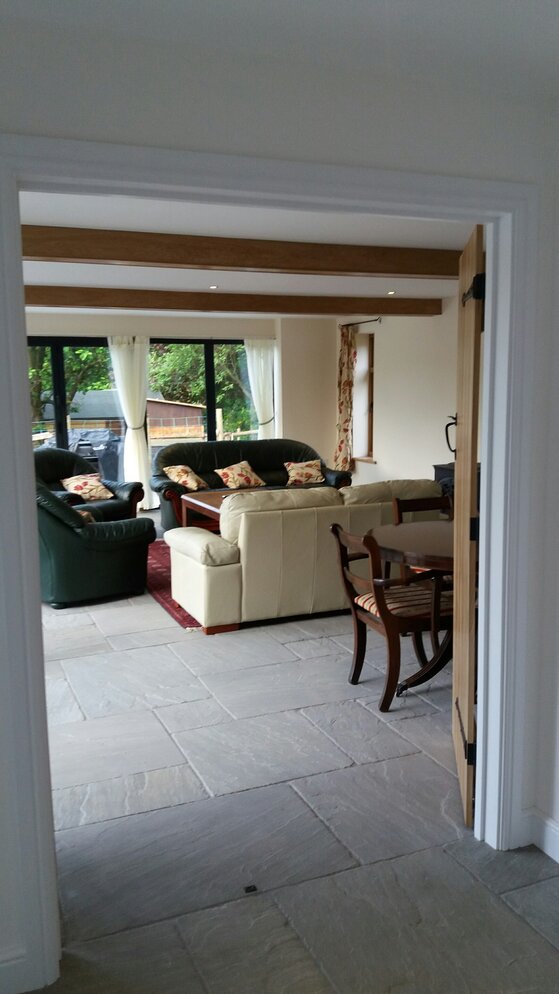
View attachment 81902

Looked very good! forgot to take pic before furnished....
 

Reply to Grounting Indian Sandstone Over Ufh in the Canada Tile Advice area at TilersForums.com

There are similar tiling threads here

Hi, I am trying to achieve a low floor build up including wet UFH over a new suspended timber floor in our barn conversion. The area is large, 21m x 8m. Having spoken to various UFH suppliers I...
Replies
3
Views
2K
Posting a tiling question to the forum? Post in Tilers' Talk if you are unsure which forum to post in. We'll move it if there's a more suitable forum.

Advertisement

Top