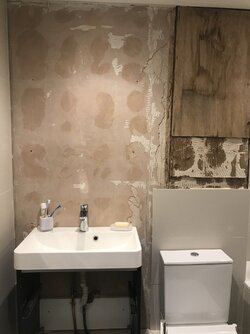
e bathroom in preparing the surface area and removing the existing tiles that are in situ and retiling the area. Including the existing bath panel. The approx. wall sqm is 27 and floor area is 4.5 sqm in a 30x60 tile porcelain tile as existing. Layout of tile to be confirmed most likely horizontal tiling. Tiles supplied by customer-we can also supply if required
Allow 20% for wastage
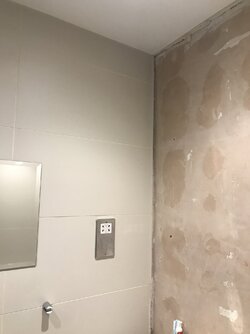
1. Remove remaining existing tiles from the wall (indicated in the photos) and
bath panel surround.
2. Prepare surface wall area for receiving tiles ensure that it the floor and wall
area is level (Depending on condition following strip out).
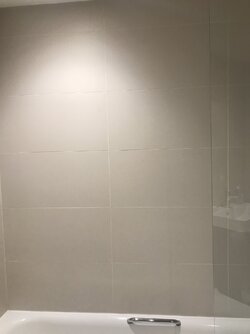
3. Relay new client issue wall tiles in the given layout providing for an access
bath panel for bath and toilet
4. Silicon in an opaque colour for edges to match the tile colour of the adjoining tiles.
5. Create a new tile-able hard back for the boxing of the stack pipe
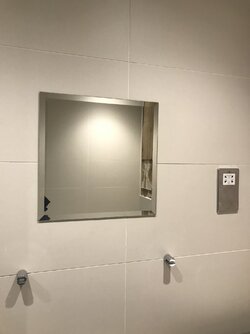
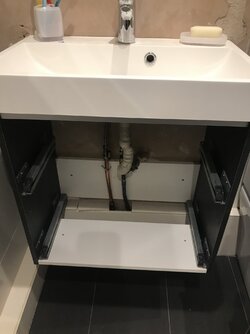
6. Fit accessories - toilet roll holder and bathroom room mirror and install vanity unit under sink.
7. Service Skip for waste removal
Plumbing
1) Remove Toilet and cap off appropriately
2) Remove existing bathroom sink and housing (cap off sink appropriately)
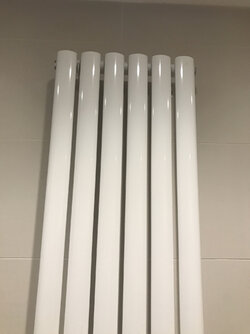
Remove radiator and cap off appropriately
Tile appropriately behind these areas and then reinstate accordingly.
1) Remove Toilet and cap off appropriately
2) Remove existing bathroom sink and housing (cap off sink appropriately).
3) Remove radiator and cap off appropriately
4) Tile appropriately behind these areas and then reinstate accordingly.
Allow 20% for wastage
1. Remove remaining existing tiles from the wall (indicated in the photos) and
bath panel surround.
2. Prepare surface wall area for receiving tiles ensure that it the floor and wall
area is level (Depending on condition following strip out).
3. Relay new client issue wall tiles in the given layout providing for an access
bath panel for bath and toilet
4. Silicon in an opaque colour for edges to match the tile colour of the adjoining tiles.
5. Create a new tile-able hard back for the boxing of the stack pipe
6. Fit accessories - toilet roll holder and bathroom room mirror and install vanity unit under sink.
7. Service Skip for waste removal
Plumbing
1) Remove Toilet and cap off appropriately
2) Remove existing bathroom sink and housing (cap off sink appropriately)
Remove radiator and cap off appropriately
Tile appropriately behind these areas and then reinstate accordingly.
1) Remove Toilet and cap off appropriately
2) Remove existing bathroom sink and housing (cap off sink appropriately).
3) Remove radiator and cap off appropriately
4) Tile appropriately behind these areas and then reinstate accordingly.
Attachments
-
 57E06FDE-4897-42EC-9423-7DDDFDFE6EA6.jpeg340.1 KB · Views: 60
 -
 FDEDBE99-C366-4C04-B6D5-D44235ECC222.jpeg334.2 KB · Views: 54
 -
 5E50D01E-8A69-4D4A-A181-9DC5F129D978.jpeg232.1 KB · Views: 51
 -
 B798D18B-5371-478F-B8E0-831F5496017B.jpeg222.5 KB · Views: 52
 -
 6D879056-DF90-45A5-9E73-E743ADB7A468.jpeg301.1 KB · Views: 56
 -
 1803B3F8-29CF-4CA3-BA4F-D68C2CEFA93A.jpeg229.4 KB · Views: 54
 -
 D029AF5F-8740-43B2-A004-FABCFAC54A4E.jpeg217.5 KB · Views: 56
 -
 1F6F415E-41DF-4410-9FC0-651D6D5FA7A5.jpeg180 KB · Views: 53
 -
 718C09BD-070D-4813-B7F8-5E8C80D59F36.jpeg228.7 KB · Views: 58