Tile Forum | America Tile Forum

Welcome to America Tile Forum, the USA Tile Industry. The Tile Association of America.

Discuss Show Us YOUR Work Thread - Tilers Pictures in the UK Tiling Forum area at TilersForums. The USA and UK Tiling Forum (Also now Aus, Canada, ROI, and more)

M

mattle40

Great work as always pal and just checked the videos, it looks like a great system and perfect for the scenario u were faced with... Top quality ;-)
 
J

jonnyc

looks nice and simple.
we do a simalar thing cutting notch in back of tile and using steel looped wire but these brackets look very easy to use .
how much does it cost for attachment shown on video just to cut a slot at whatever degrees suggested.
 
R

rainsco

here is the video from the manufactor. but i don´t use the plastik setsystem. i just use the safety hook.

RAIMONDI RAI-FIX - YouTube

the stainless steel box is simple but its a easy and fast way to cut the slots. the angle grinder is very low price.
in germany the machine costs 275euro (i think 250 for the box and rest for the grinder :))
70 hooks cost 95 euro (all prices without tax 19%)

its a very fast system. and if i do bigger jobs i can prepare the tiles at home.
 

Tony73

TF
Arms
Reaction score
70
looks good, but i think slot in the tile you can cut by hand with angle grinder. you only need them brackets :thumbsup:. some times (if i have to) i cut slot in tile, for screw head, and fill with two part stone glue and do normal tile fix with tile adhesive.
 
R

rainsco

if you cut the slot by hand i think the brackets don´t fit so exact and if you set the tile on the wall and drill the hole its not nice when the bracket gets out of the slot.
but i think its easy to rebuilt the angle box. but for this price?.
 
R

rainsco

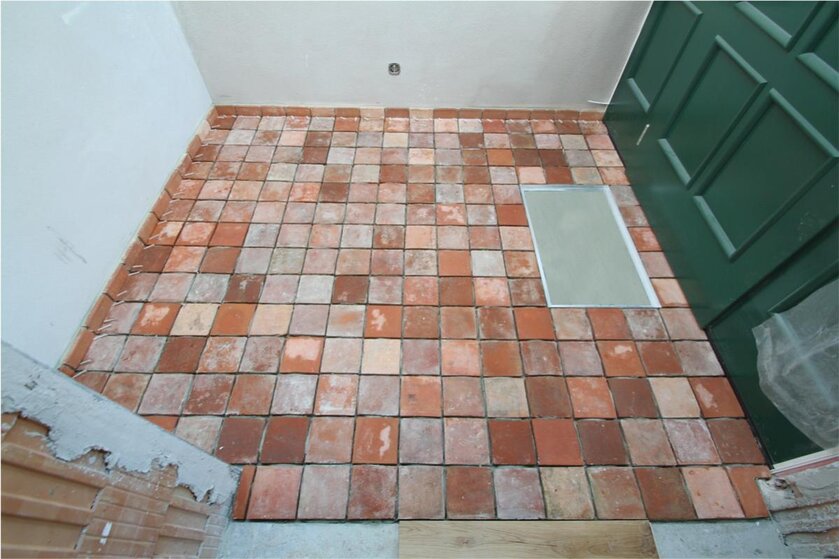
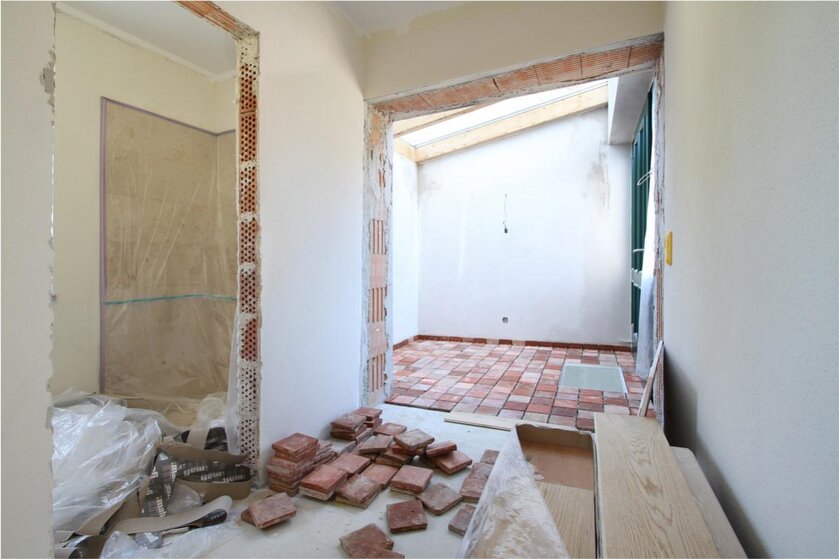
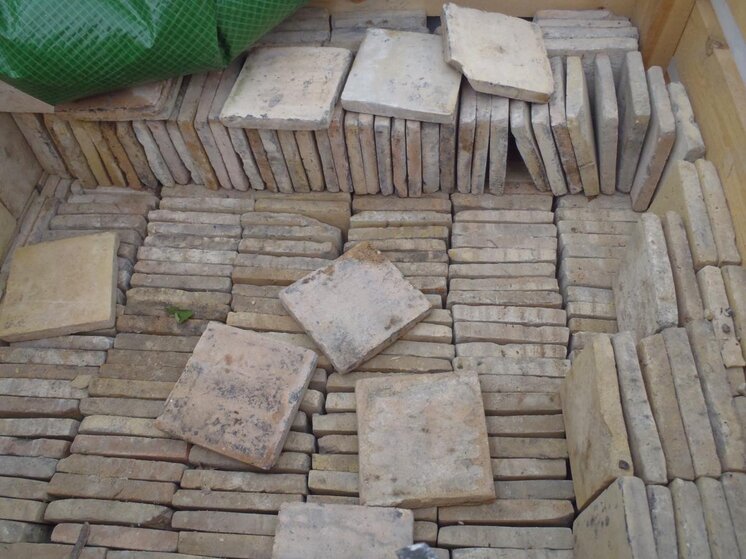
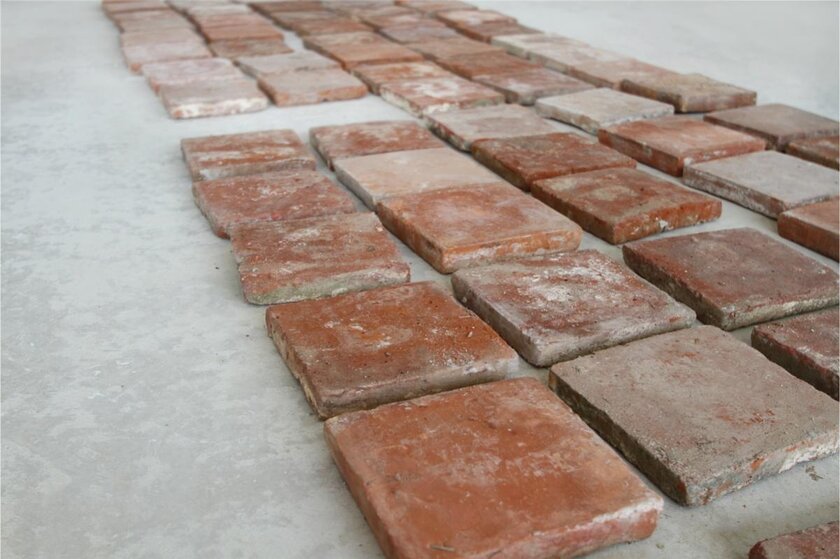
had to tile interesting material yesterday. a historic cotto from france. used. i rather wanted to make the joints narrower but so i have no cutted tiles in the whole room. anyone knowes how they were tiled in historic buildings?
i used kiesel trioflex supertec to set the diffrent thickness. it can do 20mm.
fr-cotto01.jpg fr-cotto02.jpg fr-cotto03.jpg

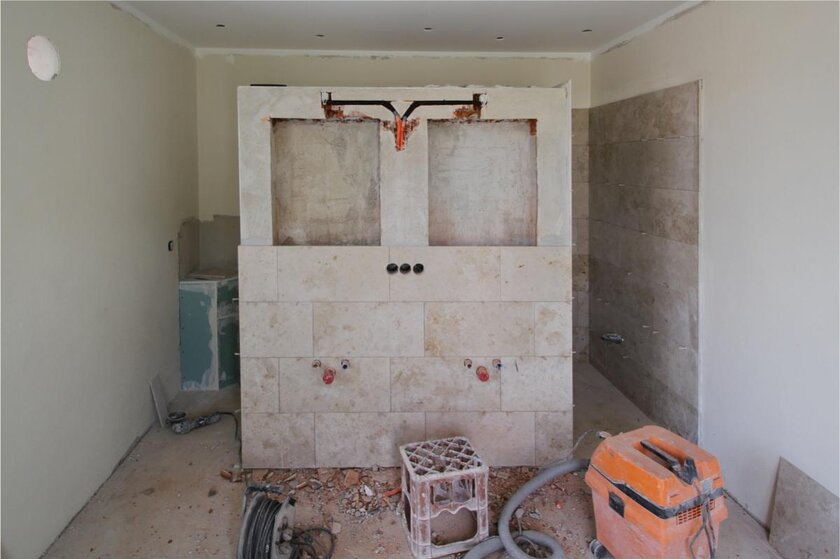
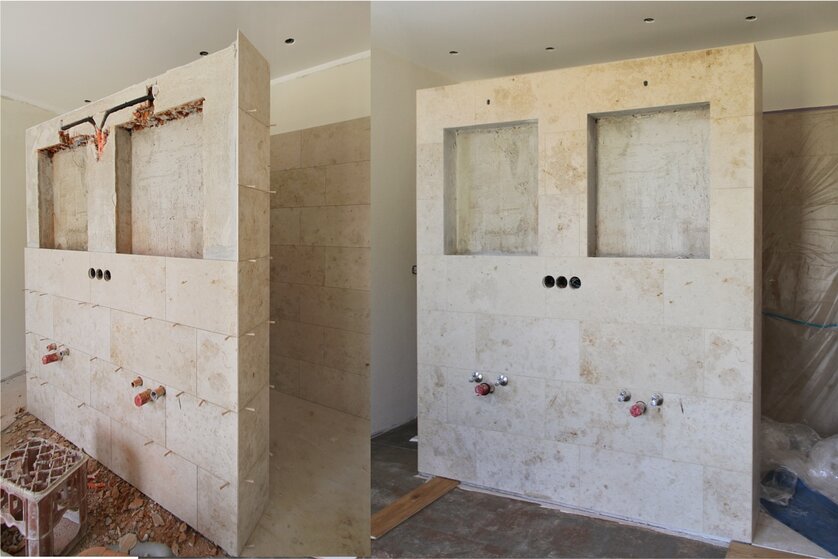
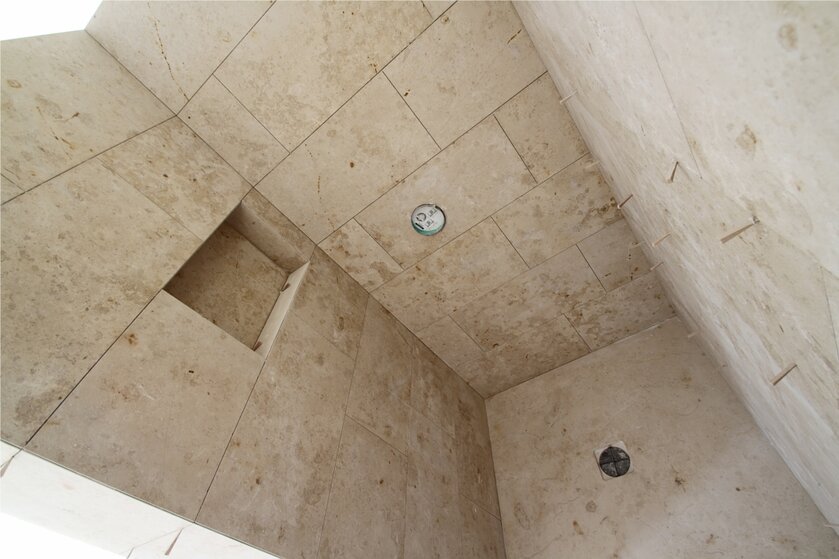
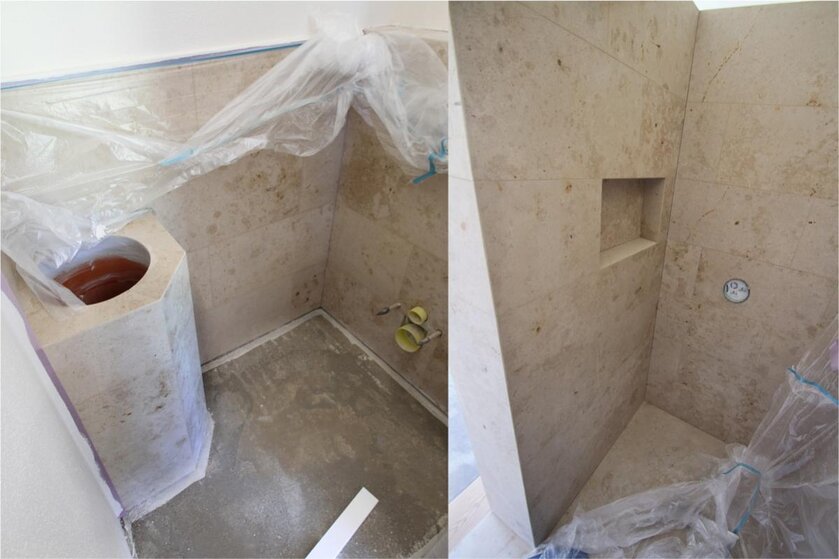
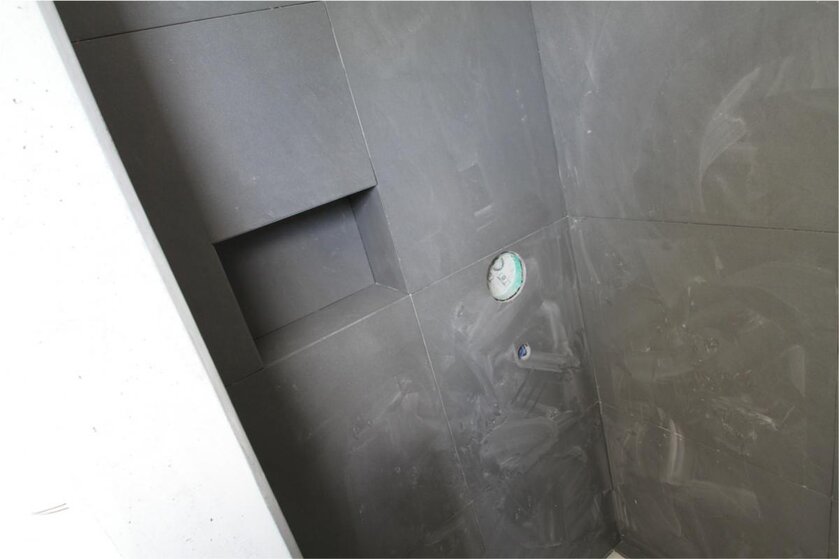
in the same house theres the jura shower and bathroom. i optimized the electric cables for the built in cabinets and face the laundrychute. on floor the bathroom gets wood.
jurabad01.jpg jurabad02.jpg jurabad03.jpg jurabad04.jpg

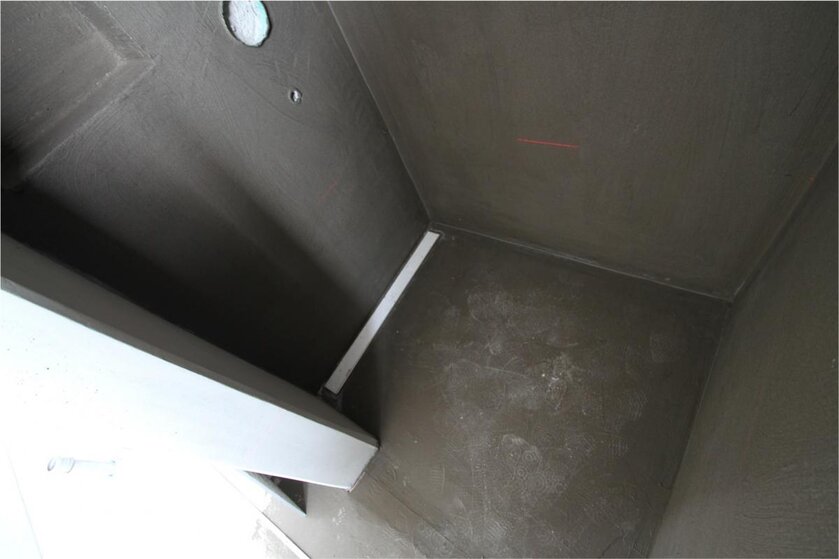
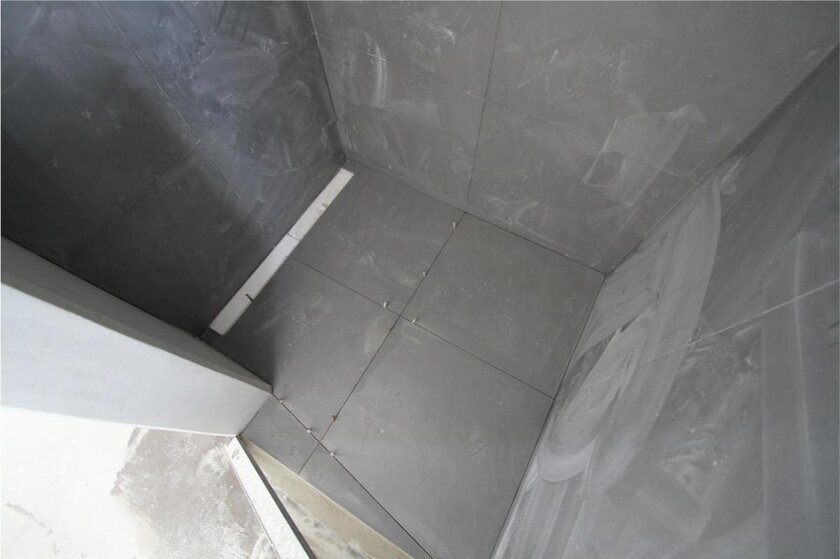
shower with 60x60 tiles. ardex s7 for tanking.
60x60-dusche00.jpg 60x60-dusche01.jpg 60x60-dusche02.jpg
 
J

jonnyc

i have just started the same type of antique terracotta this week as well.
it also came from france .it is the lyon yellow but hasa mix of colour through to beige/pink.
they were laid in lime and sand which is why they coukld be reclaimed without damage.
my area is 100 sq mts and i can see from the backs and front that the tiles have come from 3 different houses and are three diiferent sizes .
i will post some pictures in a bit showing how we lay these tiles to reduce joint widths
 
J

jonnyc

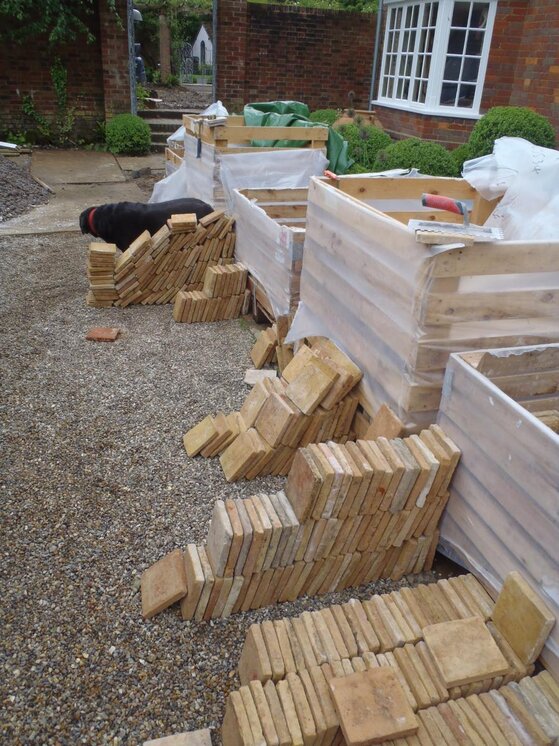
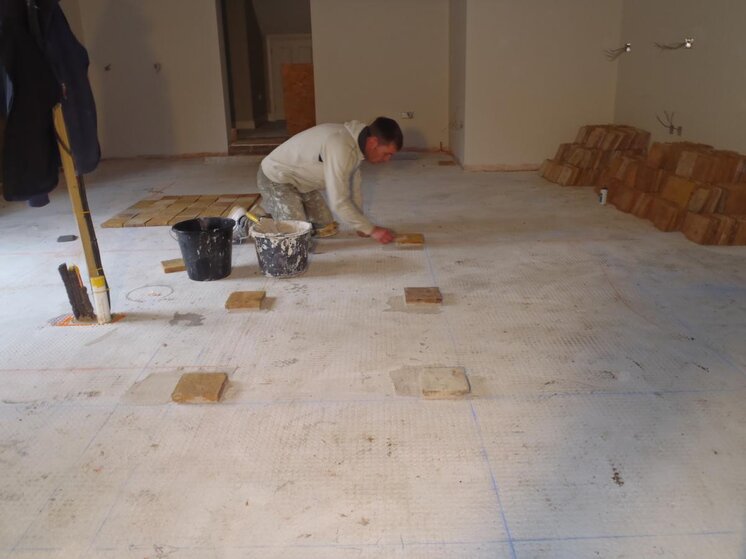
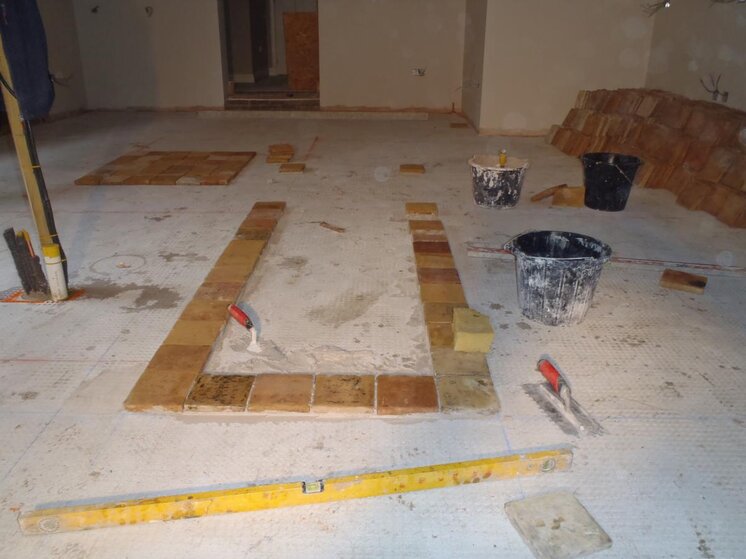
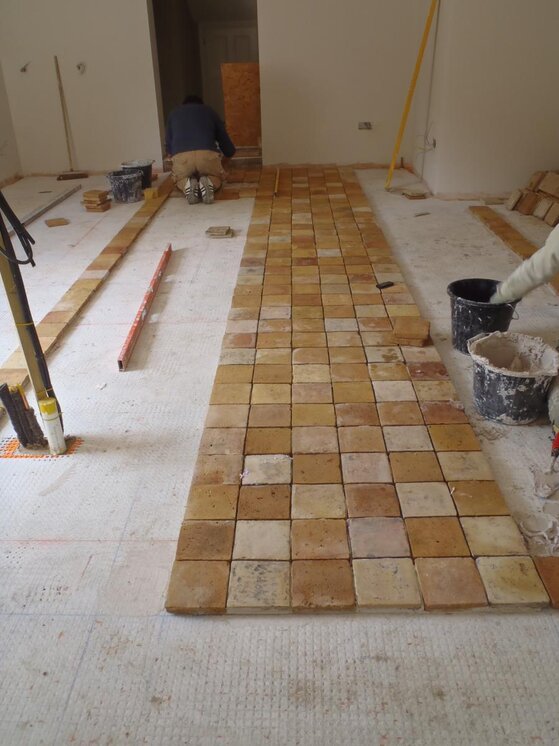
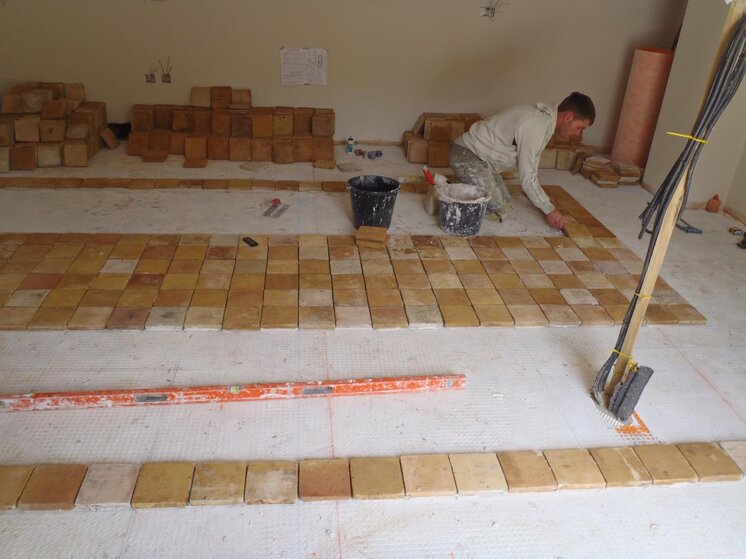
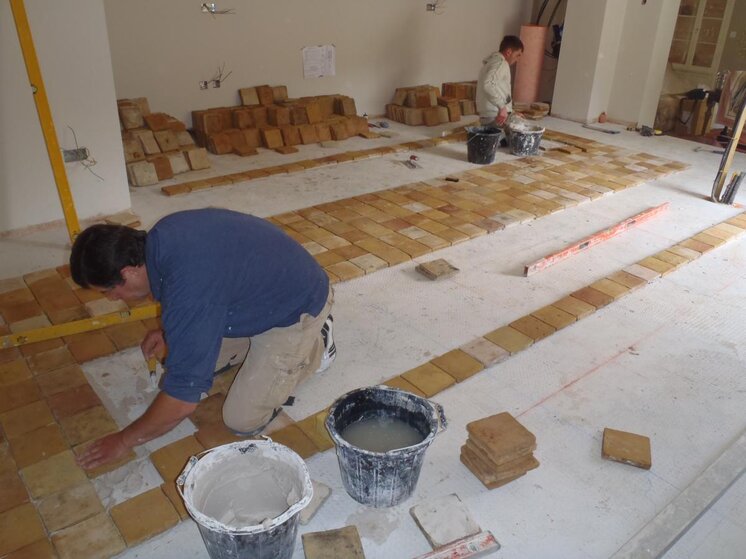
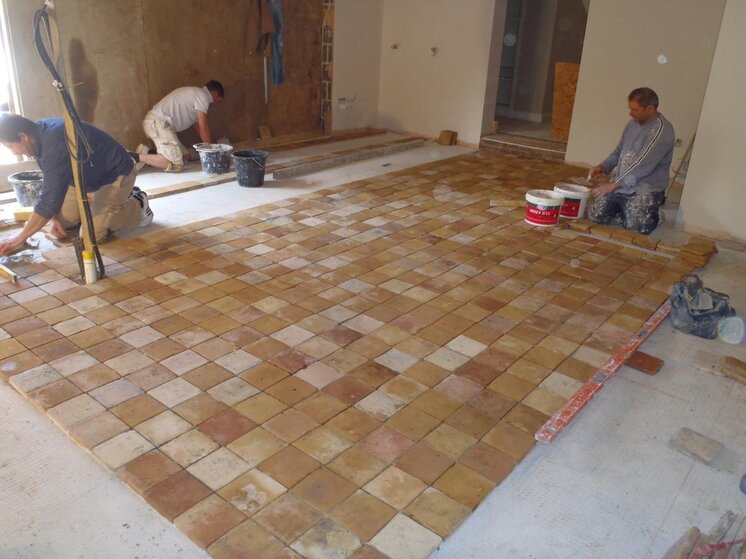
110.jpg 107.jpg 111.jpg 112.jpg 118.jpg 119.jpg 121.jpg 124.jpg here are the french antique terracotta tiles we are laying now.
i sorted through the whole six crates which took 3 days to grade in to 3 sizes .
the reason for this is that we need to get a good mix of all sizes so that the joints dont get too big or small.
also we found that there wre layers of different tiles reclaimed from different houses in different crates and needed to blend them all in.
to keep the floor from snaking and turning out of square with all the odd sizes, i take the average size tile of say 160mm and add 5mm for joint. i then mark square boxes on floor that are the size of six average tiles and joints.
it turned out i had 50 percent average of 160mm , 30 percent of 155mm and 20 percent of 165mm.
so in each box of 36 tiles we had 18 of 160mm ,11 of 155mm and 7 of 165mm.
one of the guys fixes a tile level in each corner of box and works his way up and down room.
the others loose lay the other 32 tiles in a box to check they lock in and fit before fixing.
it takes quite some time to keep turning tiles round to get them to interlock as many of the tiles may be 165mm one way and 155 the other way or 150 one way and 160mm the other.
when box looks fairly straight from both angles we simply bed tiles between corner tiles and they are automatically level.
the thickness varies alot from 15mm to 30 mm so it is easy to bed tiles between corner tiles adding more or less thickbed adhesive for each tile.
the more experienced of my guys who have probably laid over fifty of these floors would sort and lay 5 sq mts in a day.
we need to fix each box in a time span when all tiles can move as when box finished we move some of the edge tiles to box inside of chalk line or over so that you do not see a straight line grid when boxes are completed.
this is method i came up with over 15 years ago when i fixed my first old terracotta floor and got in a right mess.
the other advantage of laying a tile in corner of boxes is that many times i lay in sand/cement and adhesive in quite a thick bed .
i did a huge one in israel of about 500 sq mts and every room had diagonal tiling within grid pattern boxes and laid sqaure on outside.
i was able to set out tiles on corners of these bay grids and my other guys just had to fill in between and not even use a level just a long box section straightedge. i had them starting in different rooms at same time so we could make sure the tiles were evenly distributed in all rooms . otehrwise i would have had to go through 18000 tiles before we could even start.
you will see from photo that big variance in colour at moment but this is because some are much wetter than others and probably take about 3 weeks to dry before can seal and grout with washed westerham sand and white/gryey cement grout. then waxed.
you have a very good tile shop near the eisar river in munich not far from you that i have visited. they specialize in old reclaimed terracotta and stone and you could get very good work from them rainsco.
i will look up the company name for you if you like this tyope of work.
another great job from you again.
we will be doing the next room next month laid on diagonal and double border. this will be connected to kichen tiling now by terracotta steps
 
R

rainsco

hi jonny,
the smaller joints looking way better....!!!!!!
i allways try the smalles joints but on this floor the size of the entrance floor and the alu-frame decided the joints. and i thought in history they were laying with bigger joints..
i sorted the diffrent sizes while laying. i had 6,5qm and the room is 5,3.
the material came from Habitarte* - Historische Baustoffe - Home
i think 50% were used tiles and 50% looked a little fresher. and the new one are thicker and harder to cut. not cheap material!
your mix is very nice. have i really 3 weeks to wait to groat the tiles? i used no fast adhesive. is zement-sand the best joice? wich grain size do you recommend?
 

Tony73

TF
Arms
Reaction score
70
So yesturday i did some work in my garden. floor was done some time ago, but was fixim porcelain tiles on walls and carrara marble on top. Got up 6-30 this morning , grouted marble joints and washed floor.
DSC_0334.jpg DSC_0335.jpg DSC_0336.jpg
 
J

jonnyc

how long it takes to dry really depends on how wet tiles are.
the reclamation yards in france often have to clean off a lot of red paint on top of tiles.
sometimes they do this with paint stripper or pressure washer.
the french used to paint their terracotta withthis paint just like we used to in uk with red cardinal paint over quarries .
i would get a dehumidifier in as soon as possible and block offf the door to make air tight. i also use an air blowing machine which i leave on with dehumidifier . it greatly increases drying time.
will try to find a link for for one of these.
it is one of the most useful tools i have ever bought, especially if i am cleaning a stone floor and want to reseal same day.
washed fine grain render/plaster sand with white and grey cement mixed to proportion to give colour you want looks far better than grout.
some people mix sand with the grout but i dont think this looks very good.
dont know what clour sand you have in your part of bavaria.
fast set adhesive no good when laying this sort of tile as need to adjust joints when areas layed.
you probably have two different batches of tiles from different places and the wear on top is different.
the difficult thing is trying to get a reasonably even finish on rough and smooth surfaces of tiles.
cant use wax in bathroom as will go white if gets too wet.
i would look at lithofin products.
thier classic wax forerracotta is very easy to apply and buff
like the look of that habitarte, i dont rember seing that when i lived in munich.
they used to put a huge marquee tent up in the summer near the nyphenburger palace where hundereds of bacpackers could sleep very cheap.
i lived a whole summer there once . the stone shop i know is not this one.
 

Reply to Show Us YOUR Work Thread - Tilers Pictures in the UK Tiling Forum area at TilersForums.com

Or checkout our tile courses and training forum or the Tile Blog / Latest Blog Posts

This website is hosted and managed by www.untoldmedia.co.uk. Creating content since 2001.
Tile Contractor Forum. The useful tile contractor website.

UK Tiling Forum Stats

Threads
67,371
Messages
881,208
Members
9,534
Latest member
Lowpaul22
Top
AdBlock Detected

We get it, advertisements are annoying!

Sure, ad-blocking software does a great job at blocking ads, but it also blocks useful features of our website. For the best site experience please disable your AdBlocker.

I've Disabled AdBlock    No Thanks